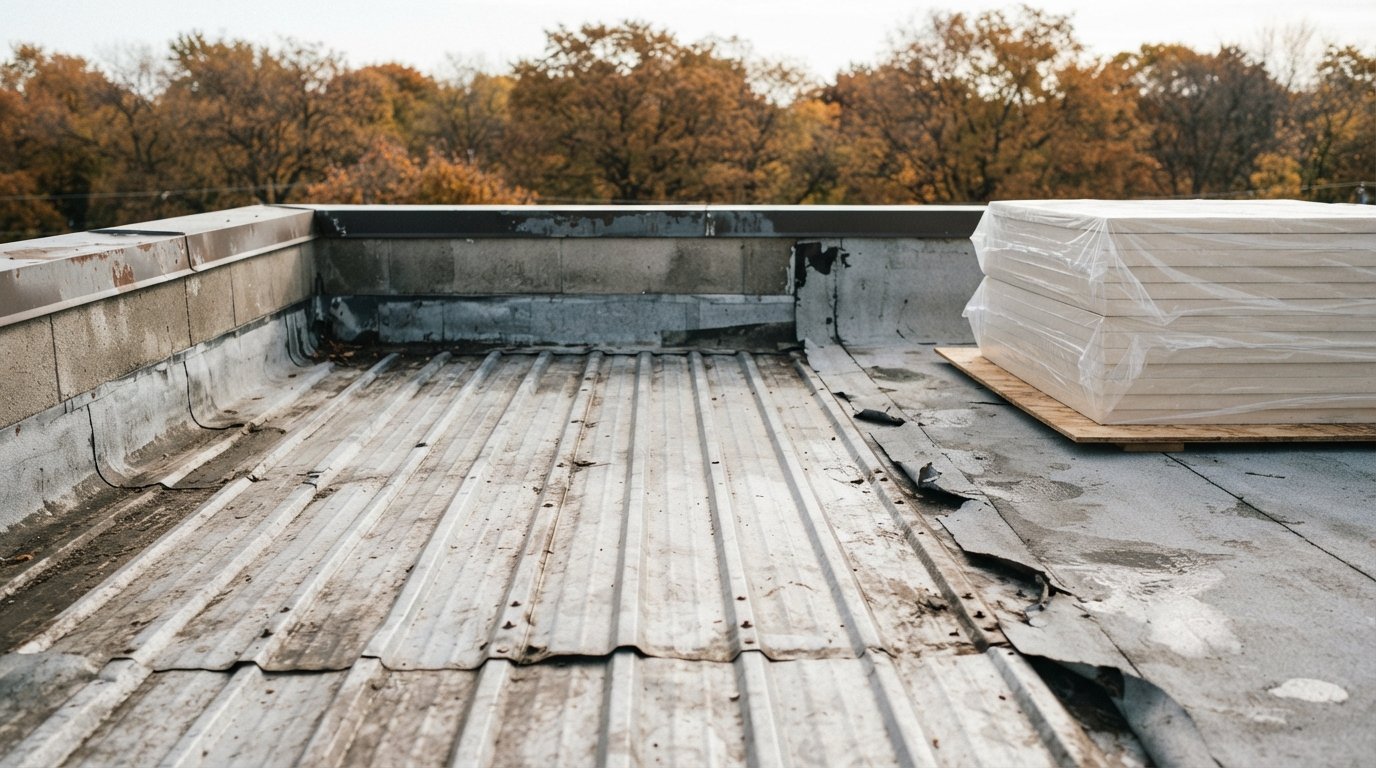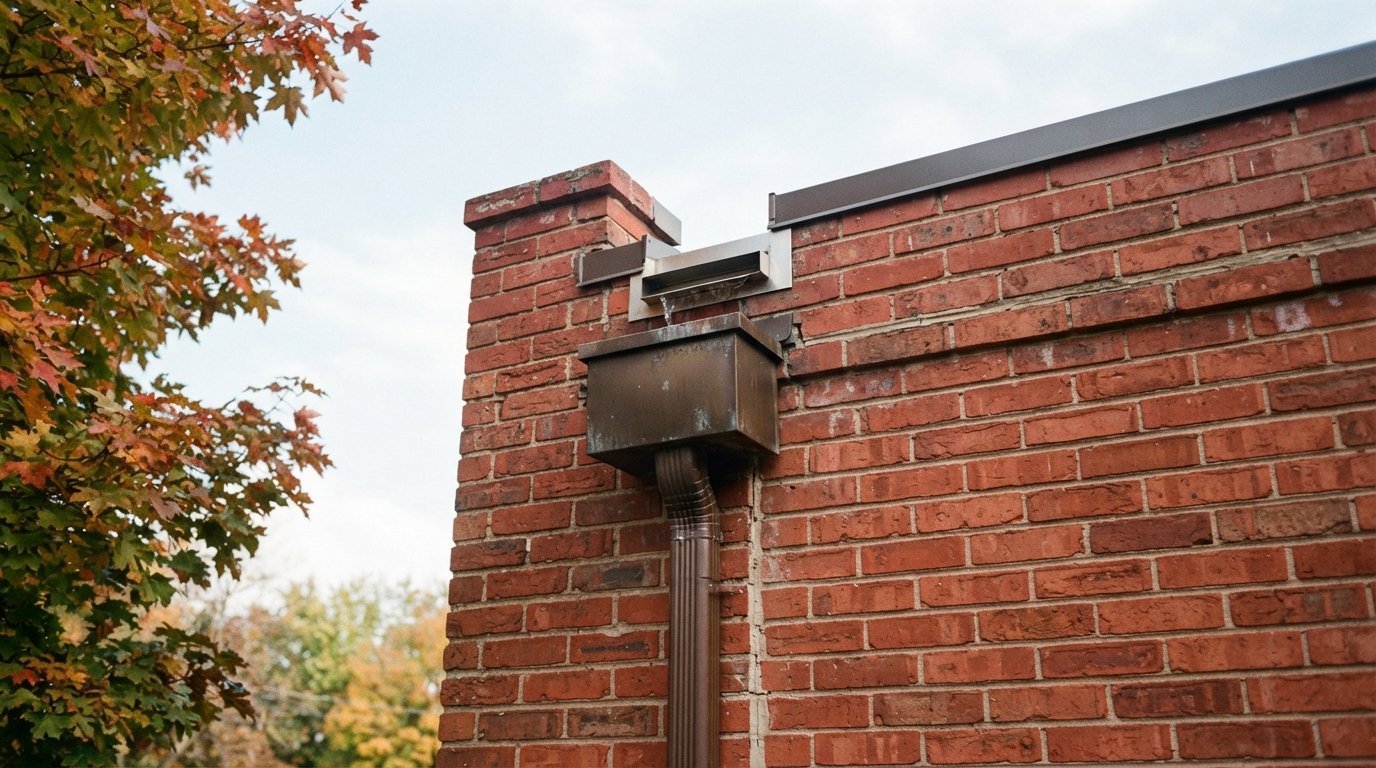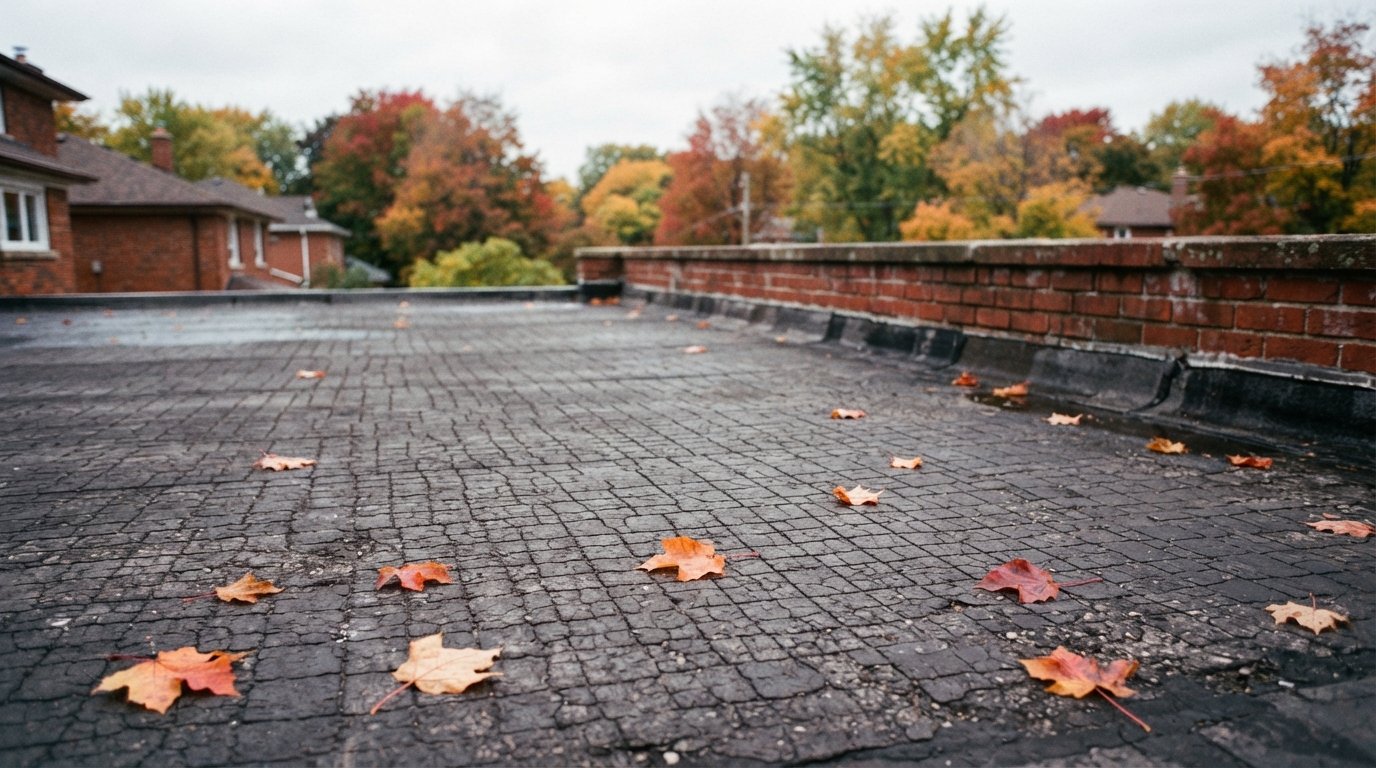

A rooftop HVAC unit flat roof assembly is one of the most failure-prone areas on any low-slope roof in the Greater Toronto Area. Every condensing unit, rooftop package unit (RTU), or make-up air unit that sits on a flat roof has to be supported, levelled, and waterproofed where it meets the membrane, and that connection point, the curb, is where leaks, ponding, and membrane fatigue most often begin. Whether you own a home in Markham with a rooftop condenser or manage a Mississauga commercial building with a 5-tonne RTU, understanding how curbs, penetrations, and Toronto code interact will protect both your roof and your mechanical investment. This guide walks through curb construction, sealing details, flashing standards, Ontario Building Code requirements, and realistic 2026 GTA pricing.
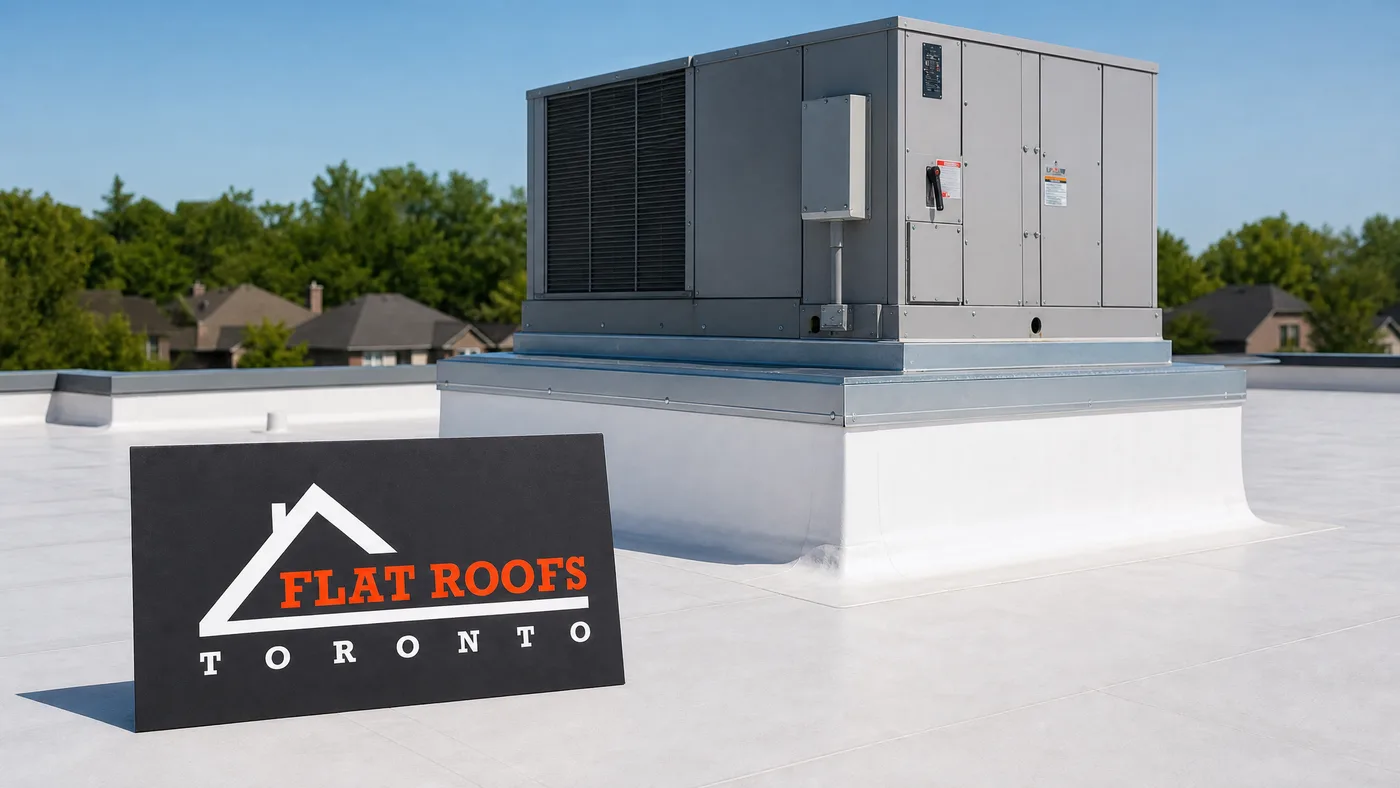
Why a Rooftop HVAC Unit Flat Roof Curb Matters More Than the Unit Itself
The mechanical unit will outlast its waterproofing if the curb is wrong. A rooftop HVAC unit flat roof curb is the raised, insulated frame that elevates the equipment above the roof surface and allows the membrane to be turned up and terminated at a safe height. Without it, equipment sits directly in the path of meltwater, ice, and ponding, and every fastener becomes a potential leak path. In Toronto’s freeze-thaw climate, water that pools around a poorly curbed unit will repeatedly freeze, expand, and work its way under the membrane.
Three things make a curb succeed or fail: height, integration with the field membrane, and the quality of the metal counter-flashing or factory cap. A curb that is too short, that uses caulk instead of proper flashing, or that was retrofitted onto an existing roof without tying into the membrane below will leak within a few seasons. The team at Flat Roofs Toronto sees these exact failures on service calls every winter, almost always traceable to a shortcut taken during the original mechanical install rather than a fault in the roofing membrane.
The most common mistake is treating the curb as the HVAC contractor’s responsibility and the membrane as the roofer’s, with neither party owning the seam between them. On a correctly built system, the roofing crew flashes the curb as part of the field installation, and the mechanical crew sets the unit on top with a gasketed connection. Coordinating these trades is central to any successful commercial flat roof installation.
Anatomy of a Code-Compliant Curb and Penetration
A curb is more than a wooden box. A correctly engineered rooftop curb integrates structural framing, insulation, a membrane base flashing, and a metal counter-flashing or factory-formed cap that sheds water away from the opening. Below the deck, the duct or pipe penetration must be sealed against both water and air leakage, because a curb that stops water but leaks conditioned air will drive condensation and rot inside the assembly.
The table below outlines the standard components and what each one does on a GTA flat roof.
| Component | Function | Typical Material (2026) |
|---|---|---|
| Structural curb frame | Supports unit load, transfers to roof deck/joists | Pressure-treated wood or 14-ga galvanized steel |
| Curb insulation | Stops thermal bridging and interior condensation | Rigid polyiso, R-5 per 25 mm |
| Base flashing | Turns field membrane up the curb face | TPO/EPDM/PVC, heat-welded or adhered |
| Counter-flashing / cap | Sheds water over the membrane termination | Pre-finished 24-ga steel or factory cap |
| Equipment gasket | Seals unit base to curb top | Closed-cell neoprene, continuous |
Note that caulk and sealant appear nowhere as a primary waterproofing layer. Sealant is a secondary, sacrificial detail. Any curb relying on a bead of caulk to keep water out has been built incorrectly and will need attention within one or two Toronto winters.
Curb Height, Flashing and Ontario Building Code Requirements
Curb height is the single most enforced specification, and for good reason. Membrane manufacturers and the Ontario Building Code both require enough vertical flashing height that snow accumulation and ponding cannot reach the membrane termination. On most GTA flat roofs the accepted minimum is a 200 mm (8 in.) base flashing height above the finished roof surface, with manufacturers such as those supplying TPO and PVC systems voiding warranty coverage below that figure. In heavy-snow microclimates north of the city, 250 mm is increasingly specified.
The following table summarizes the key code and warranty specifications applied on Toronto-area projects in 2026.
| Specification | Requirement | Code / Standard Basis |
|---|---|---|
| Minimum base flashing height | 200 mm (8 in.) above roof surface | OBC + manufacturer warranty |
| Counter-flashing overlap | Minimum 100 mm (4 in.) over base flashing | CRCA / manufacturer detail |
| Curb-to-curb spacing | Minimum 600 mm between adjacent units | Service access / OBC clearance |
| Penetration clearance | Minimum 200 mm from curb to other penetrations | Membrane weldability |
| Walkway pad protection | Required at all serviceable units | Membrane warranty condition |
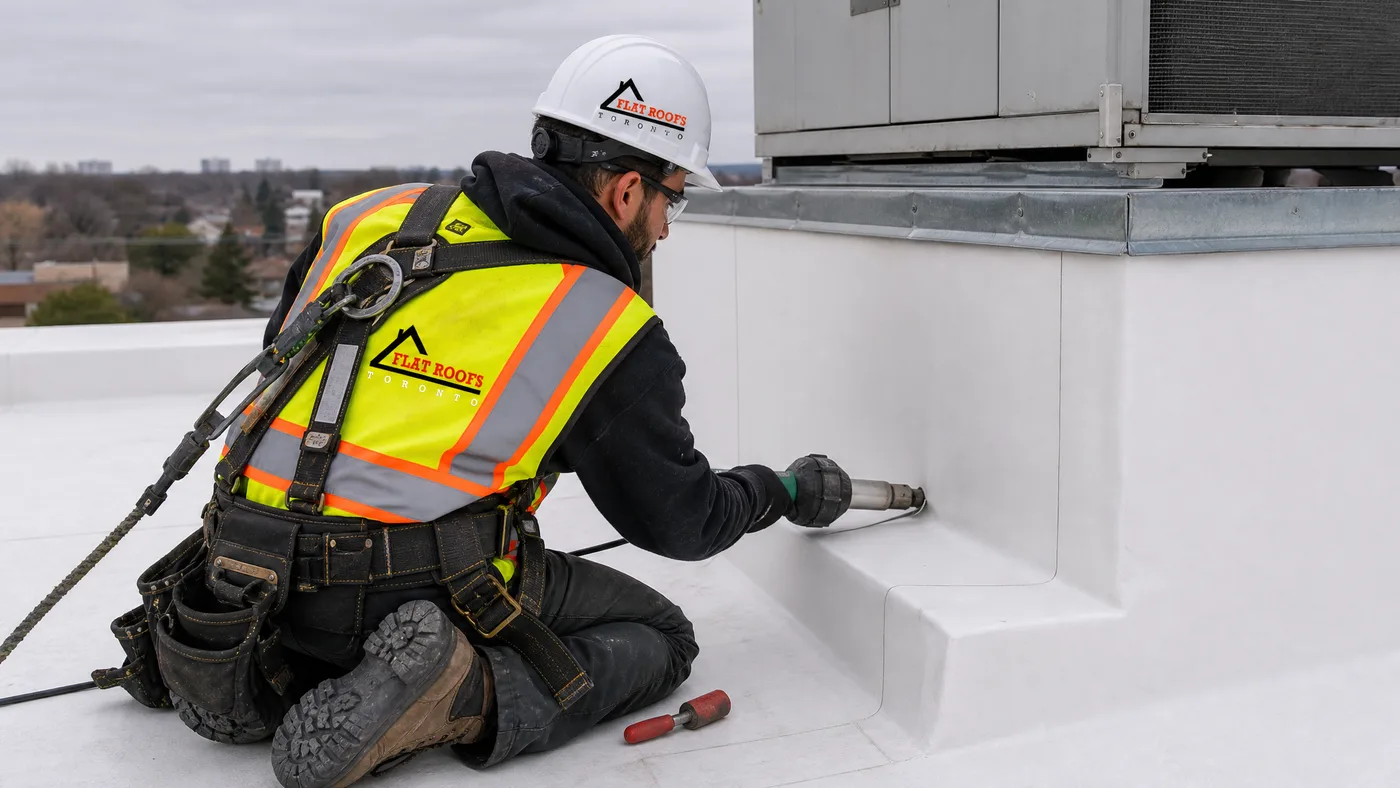
Counter-flashing must overlap the base flashing by at least 100 mm so that water sheds over, never into, the termination. The base flashing itself is mechanically fastened at the top edge under the counter-flashing, never left to rely on adhesion alone at its upper terminus. On a membrane roof, the field sheet is run up the curb, the corners are detailed with pre-moulded or field-fabricated patches, and only then is the metal cap installed. This sequence is non-negotiable on a warranted residential flat roof installation.
Sealing Penetrations Around the Unit: Ducts, Conduit and Condensate
A rooftop unit rarely sits alone. It brings ductwork, electrical conduit, refrigerant lines, gas piping, and condensate drainage, each of which is a separate penetration that must be sealed independently. The cleanest approach concentrates all of these inside the curb opening so the membrane only has to be flashed once at the curb perimeter. When penetrations are scattered across the field of the roof outside the curb, each one needs its own boot or pitch pocket, multiplying the failure points.
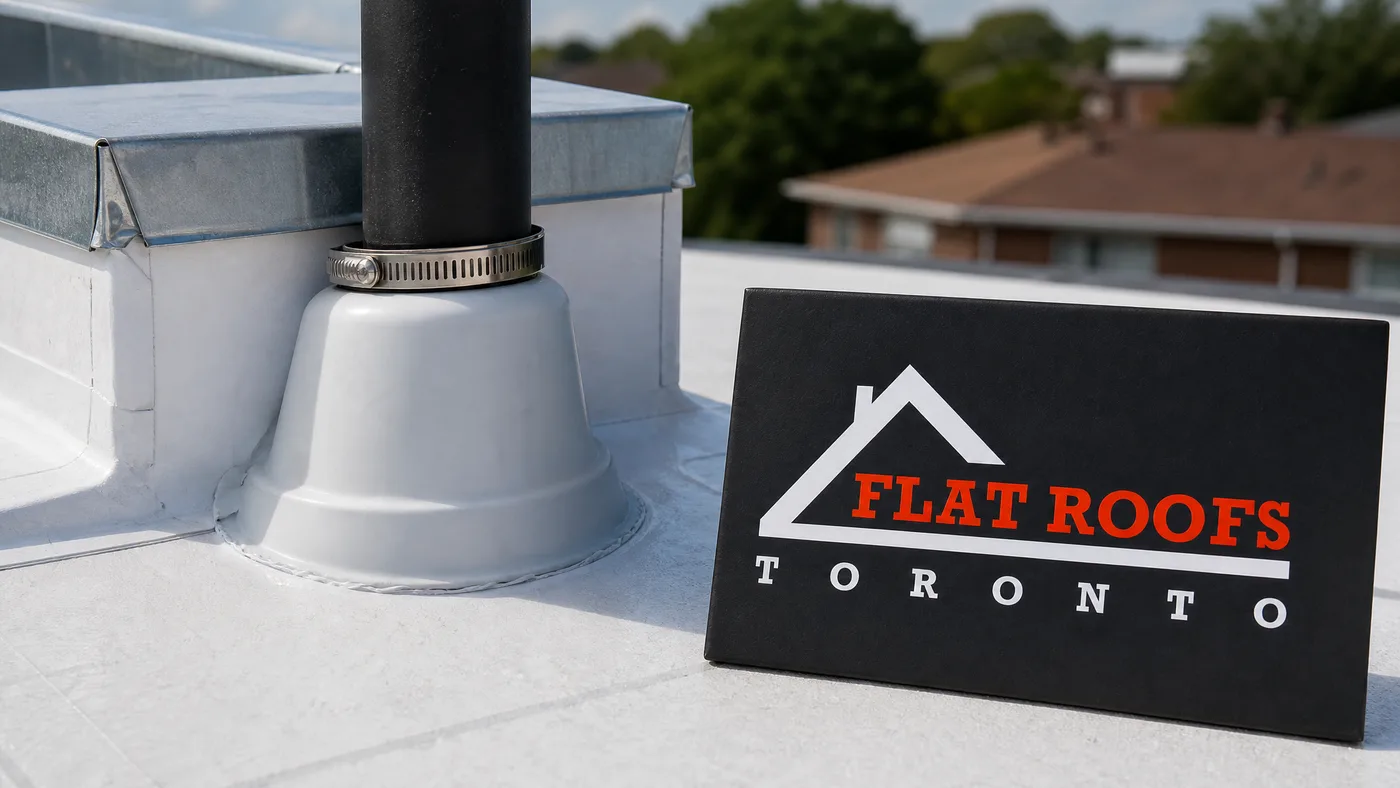
Individual pipe and conduit penetrations are best sealed with manufacturer-supplied pre-moulded pipe boots that are welded or adhered to the membrane and clamped with a stainless draw band at the top. Pitch pockets filled with pourable sealer are a last resort, acceptable only for irregular clusters that cannot be boot-flashed, and they require an annual top-up because the sealer shrinks. Condensate lines deserve particular attention in Toronto: a condensate drain that discharges directly onto the membrane will cause biological staining and, in winter, an ice patch that lifts seams. Condensate should be piped to an internal drain or a scupper, not dumped on the field.
Gas and refrigerant penetrations are frequently overlooked during reroofing. When an old roof is replaced under the unit, these lines are sometimes left with degraded boots while the crew focuses on the curb. A thorough scope of work, like those documented in our project gallery, treats every penetration as a distinct detail with its own inspection sign-off.
Common Curb and Penetration Failures on GTA Flat Roofs
Most rooftop HVAC unit flat roof leaks are not random; they cluster into a handful of repeatable failure modes. Recognizing them early is the difference between a minor service repair and a soaked ceiling. The table below ranks what our crews encounter most often across Toronto, Mississauga, Markham and Vaughan service calls.
| Failure Mode | Root Cause | Typical Repair Cost (2026) |
|---|---|---|
| Caulk-only termination failure | No metal counter-flashing installed | $650 – $1,400 |
| Short curb / membrane flooded | Curb below 200 mm height | $1,800 – $4,500 (rebuild) |
| Pipe boot split | UV degradation, no clamp | $350 – $750 per boot |
| Pitch pocket dried out | Sealer shrinkage, no maintenance | $300 – $600 |
| Condensate ice damage | Drain discharged onto membrane | $500 – $1,200 |
| Corner flashing tear | Field-cut, not pre-moulded | $450 – $900 |
When a leak appears at an interior ceiling near a rooftop unit, the entry point is usually upslope of the stain, because water travels along the deck before dropping through. A proper diagnosis floods or inspects the curb perimeter, the boots, and the condensate path before any repair begins. If water is already entering the building, this becomes an emergency roof repair rather than scheduled maintenance, and acting quickly limits interior damage.
Coordinating Roofing and Mechanical Work During a Reroof
The riskiest moment for any rooftop HVAC unit flat roof is a reroofing project, because the unit usually has to be lifted, the curb rebuilt or reflashed, and the equipment reset, often by two different trades on overlapping schedules. Poor coordination here is the leading cause of post-reroof leaks. The mechanical contractor disconnects and lifts the unit, the roofing crew rebuilds the curb and flashes the new membrane, and only then is the unit reset on a fresh gasket with new fasteners.
On larger GTA buildings, a crane lift is scheduled for a single day so the unit is off the roof for the minimum time, weather-permitting. Smaller residential condensers may simply be slid aside on the roof. Either way, the sequence below reflects how a well-run project unfolds and the realistic 2026 timeline for each stage.
| Stage | Responsible Trade | Typical Duration |
|---|---|---|
| Disconnect and lift unit | HVAC / crane | 0.5 – 1 day |
| Remove old roof at curb | Roofing | 0.5 day |
| Rebuild / reflash curb | Roofing | 1 day |
| Install new membrane field | Roofing | 1 – 3 days |
| Reset unit on new gasket | HVAC | 0.5 – 1 day |
| Final flood / leak test | Roofing | 0.5 day |
While the unit is off, it is also the ideal time to upgrade the roof assembly: adding tapered insulation to eliminate ponding around the curb, improving attic insulation continuity at the deck, or installing daylighting where appropriate. Building owners often pair HVAC work with new commercial skylights or residential skylights while the roof is open, since mobilizing crews once is far more economical than twice.
Maintenance That Keeps a Rooftop HVAC Unit Flat Roof Watertight
A curbed and flashed unit is not maintenance-free. Toronto’s freeze-thaw cycles, UV exposure, and the vibration of the equipment itself all work against the seals over time. A twice-yearly inspection, spring and fall, catches the small issues before they become interior leaks. Inspectors should walk the curb perimeter, press-test the base flashing for adhesion, check every pipe boot clamp, top up any pitch pockets, confirm the condensate path is clear, and verify that walkway pads still protect the membrane along service routes.
Keep a simple log of what was checked and when, because membrane warranties on a flat roof frequently require documented maintenance to remain valid. Skipping inspections is one of the most common reasons a manufacturer denies a warranty claim. Debris is another silent threat: leaves and granules accumulate on the upslope side of a curb, hold moisture against the membrane, and accelerate seam failure. Clearing debris during each inspection is quick and prevents disproportionate damage.
Finally, never let an unrelated trade walk or work on the roof without protection. The single most damaging event for a membrane is an HVAC technician dragging tools or dropping a compressor across an unprotected field during a service call. Permanent walkway pads from the roof hatch to every serviceable unit pay for themselves the first time they prevent a puncture.
Schedule Your Rooftop HVAC Unit Flat Roof Inspection Today
If your building has a rooftop condenser, RTU, or make-up air unit on a low-slope roof, the curb and its flashings deserve a professional eye before the next Toronto winter. The crews at Flat Roofs Toronto specialize in diagnosing, rebuilding, and waterproofing HVAC curbs and penetrations across the GTA, coordinating cleanly with your mechanical contractor so no detail falls between the trades.
Call us today at (647) 333-3528 or request a free flat roof quote to book a curb and penetration inspection or to plan a reroof around your rooftop equipment.
Flat Roofs Toronto proudly serves Toronto, Mississauga, Markham, Vaughan and the wider GTA with expert flat roofing, curb flashing, and rooftop waterproofing.