
A skylight can transform a dark hallway, stairwell or kitchen into a sun-filled space, but on a low-slope roof the engineering is far less forgiving than on a steep shingle roof. Successful flat roof skylight installation Toronto homeowners can rely on comes down to three things: a properly built insulated curb, watertight flashing tied into the membrane, and detailing that accounts for ponding water, snow load and the freeze-thaw cycles that define our climate. Get any one of those wrong and the bright new opening becomes the single most likely leak point on the entire roof. This guide walks through curb mounting, flashing systems, leak prevention, realistic GTA costs and the code requirements you need to know before cutting a hole in your roof.
Why Flat Roof Skylight Installation in Toronto Is Different
On a pitched roof, gravity is your friend: water runs off shingles and away from any penetration. On a flat or low-slope roof, water lingers. Even a properly drained membrane holds a thin film after rain, and shaded corners around a skylight can hold standing water for hours. That is why a successful flat roof skylight installation Toronto project never sets the glass flush with the membrane. Instead, the skylight is mounted on a raised curb that lifts the glazing well above the water line.
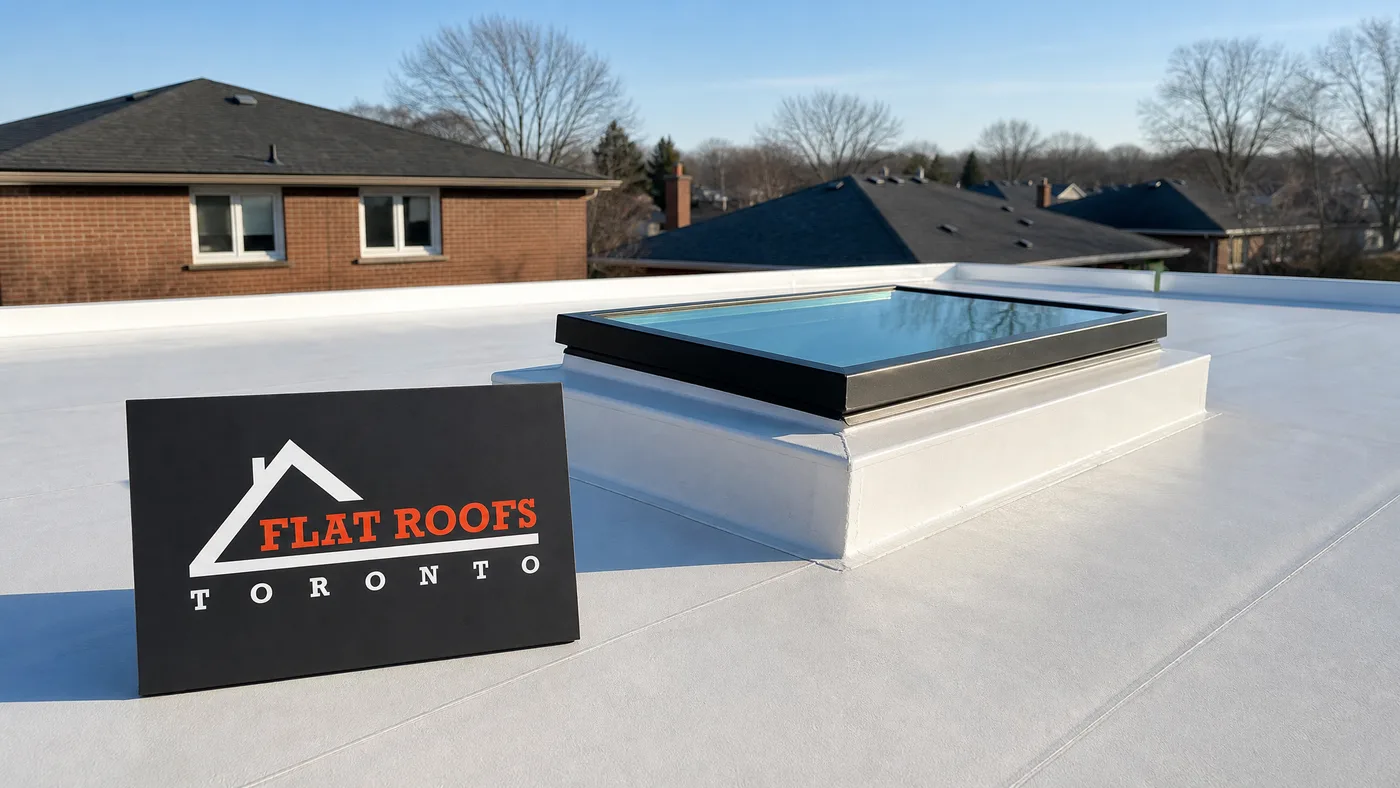
The curb is a box-shaped frame, typically built from pressure-treated lumber or pre-fabricated metal, that rises a minimum of 150 mm (about 6 inches) above the finished roof surface. This height keeps the watertight seal out of the splash zone and above the maximum expected snow accumulation against the unit. The membrane, whether TPO, EPDM, PVC or modified bitumen, is then carried up and over the curb and terminated under a metal cap. Because the membrane itself becomes the waterproofing layer around the opening, the quality of that flashing is everything.
Toronto’s climate adds three stressors most installers in milder regions never face: heavy wet snow that can sit against the curb for weeks, ice damming where meltwater refreezes at the edge, and roughly 60 to 70 freeze-thaw cycles per winter that work caulk and sealant loose. A flush-mounted or poorly curbed skylight on a GTA flat roof is, in practice, a scheduled leak. Pairing the skylight work with quality residential flat roof installation ensures the curb and membrane are designed as one system rather than patched together later.
Curb-Mounted vs Deck-Mounted Skylights on Low-Slope Roofs
There are two broad mounting approaches, but only one is appropriate for a true flat roof. Deck-mounted (sometimes called self-flashing) skylights are designed for sloped roofs of 14 degrees or more, where an integrated flashing apron sheds water down the shingle field. Drop one onto a low-slope deck and water will pool against the low edge and find its way under the apron. Curb-mounted skylights are purpose-built for flat and low-slope applications: the glazing unit sits on top of a raised curb, completely separated from the roof plane.
For roofs under 2:12 pitch, manufacturers such as VELUX and Wasco void warranties on deck-mounted units unless a site-built curb is added. The table below compares the two systems in the Toronto context.
| Factor | Curb-Mounted (Flat Roof) | Deck-Mounted (Sloped Roof) |
|---|---|---|
| Minimum roof pitch | 0:12 to 2:12 (low-slope) | 2:12 and steeper |
| Curb height above membrane | 150 mm minimum | Integrated, no curb |
| Flashing method | Membrane wrapped up curb + metal cap | Step / apron flashing |
| Leak risk on flat roof | Low when detailed correctly | High / not recommended |
| Typical GTA installed cost | $2,200 to $4,500 per unit | Not suited to flat roofs |
For the vast majority of Toronto, Mississauga, Markham and Vaughan flat-roof homes and additions, the answer is curb-mounted, every time. If you are weighing fixed glass against a venting unit, our overview of residential skylights breaks down the options by room and roof type.
How the Insulated Curb Is Built and Mounted
The curb is the structural and thermal heart of the installation. A well-built curb does four jobs at once: it raises the glazing above water, provides a solid nailing base for flashing, carries snow and wind loads, and breaks the thermal bridge that would otherwise cause condensation. Here is the sequence a qualified crew follows.
First, the opening is cut and the roof structure is reinforced. Rafters or joists cut during the opening must be doubled and headered so the curb transfers load back into the framing. The curb is then framed, usually from 2×6 or 2×8 lumber for residential work, sized so its inside dimensions match the skylight’s required rough opening. On commercial decks the curb may be a pre-fabricated insulated metal unit. The curb is fastened down through the deck into the reinforced framing, then the exterior face is sheathed and the interior is insulated to limit heat loss and condensation, which ties directly into overall attic insulation performance.
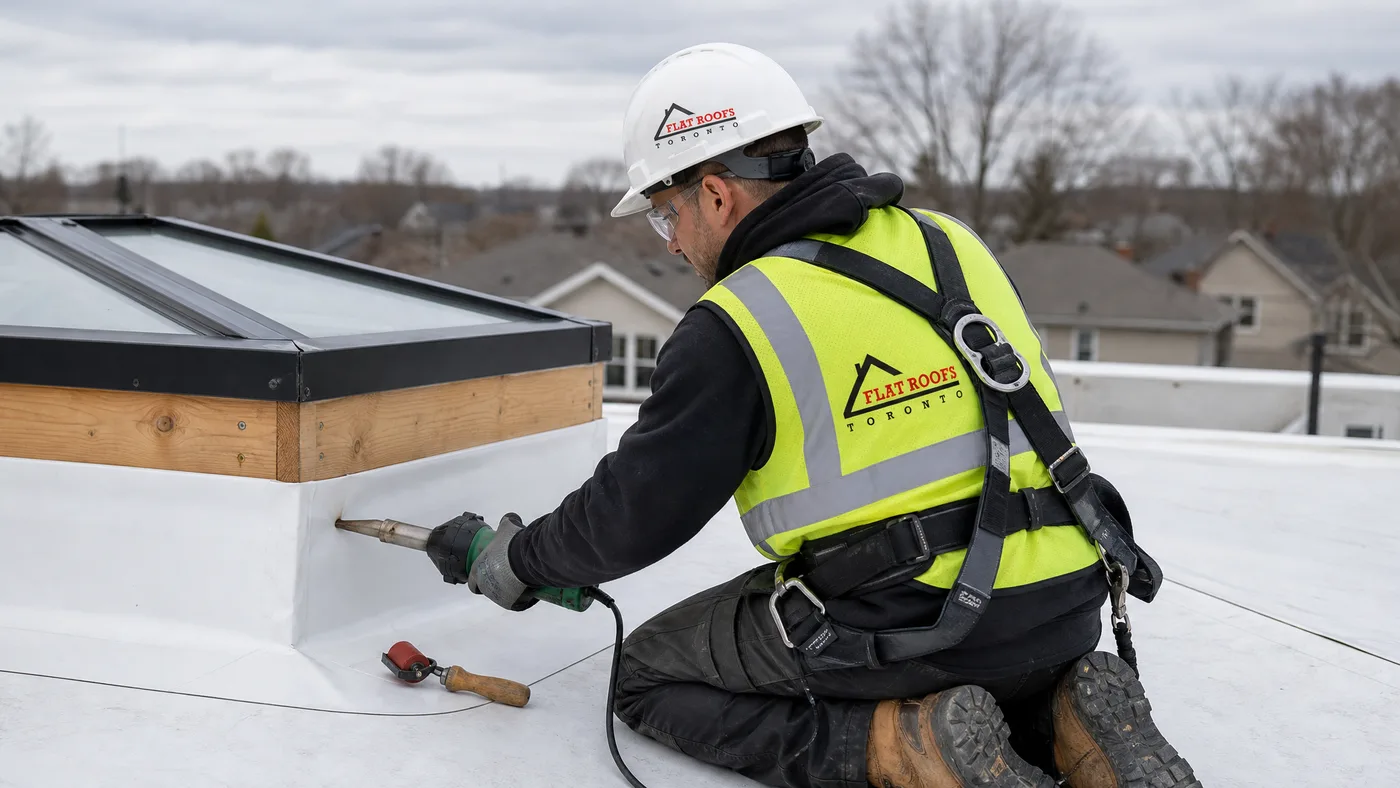
Only after the curb is solid and square does membrane work begin. The roofing membrane is cut, dressed up the four faces of the curb, and mechanically fastened near the top edge. On TPO and PVC roofs this lap is then heat-welded; on EPDM it is bonded with seam adhesive and covered with cover tape; on modified bitumen it is torch- or adhesive-applied. A pre-formed corner or field-fabricated boot seals each corner, which is statistically where most curb leaks begin. Finally a metal counter-flashing cap is set over the membrane termination and the skylight is bedded in sealant and screwed to the top of the curb.
Flashing the Skylight Into the Membrane
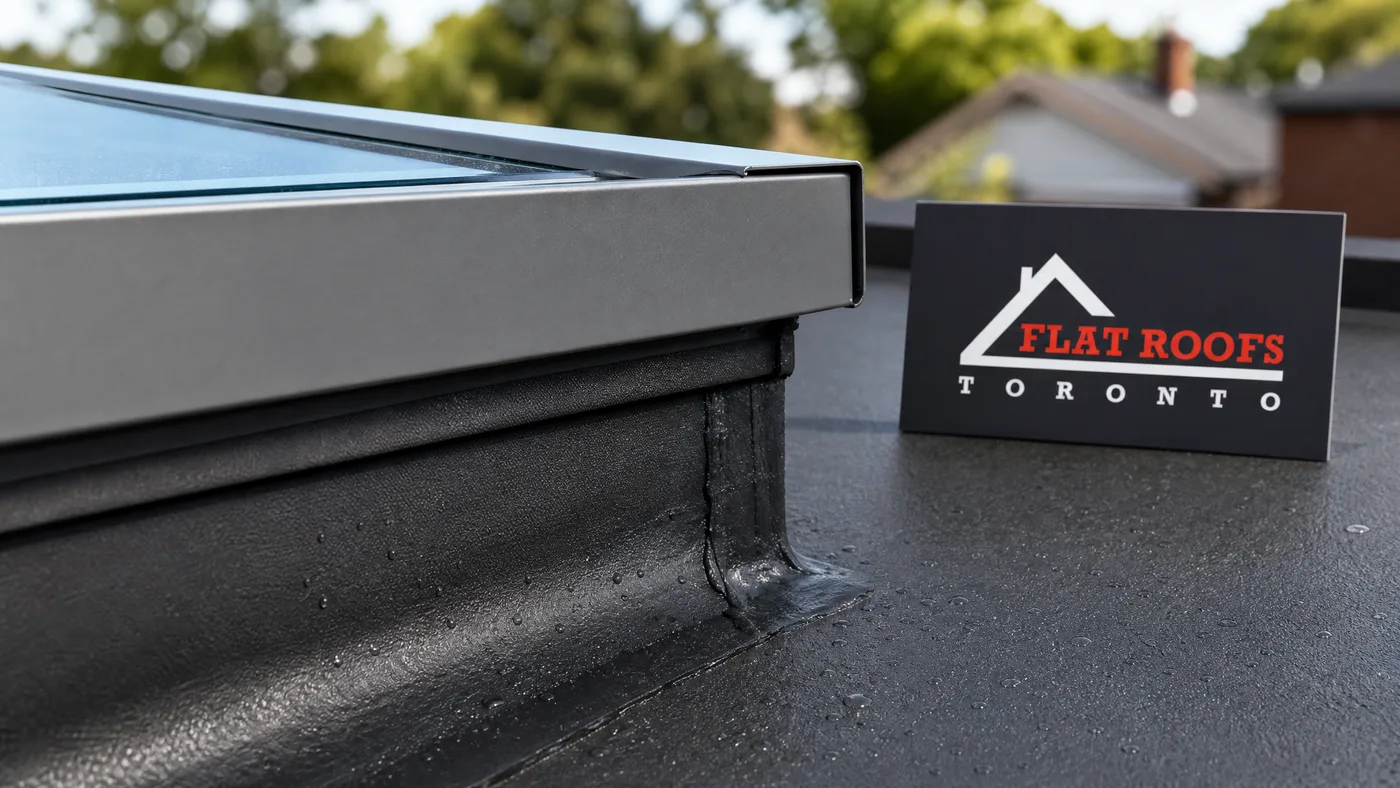
Flashing is where craftsmanship separates a 25-year skylight from a two-year headache. The goal is a single continuous waterproof envelope: the field membrane flows up the curb, the corners are sealed, and the metal cap protects the top termination from UV and physical damage. There is no exposed caulk doing the primary waterproofing job; sealant is a backup, never the main defence.
Each membrane type has its own flashing discipline. The summary below reflects the materials and methods most common on GTA flat roofs in 2026.
| Membrane | Flashing Method at Curb | Seam Technique | Typical Service Life |
|---|---|---|---|
| TPO | Membrane welded up curb, T-joint patches at corners | Hot-air welded | 20 to 30 years |
| PVC | Membrane welded up curb, pre-moulded corners | Hot-air welded | 25 to 30 years |
| EPDM | Uncured flashing wrapped up curb, cover tape | Adhesive bonded | 20 to 25 years |
| Modified Bitumen | Cant strip + membrane plies turned up curb | Torch / cold-applied | 15 to 20 years |
Two details matter more than anything else. The first is the cant strip or rounded transition at the base of the curb: a sharp 90-degree inside corner stresses the membrane and cracks over time, while a 45-degree cant or rounded fillet lets the membrane turn the corner without strain. The second is the height of the membrane termination, which must sit above the snow line and be capped by metal so UV never degrades the exposed edge. On larger or commercial projects, these same principles scale up; our commercial skylights work applies the identical envelope logic to bigger curbs and unit skylights.
The Real Leak Risks and How They Are Prevented
Almost every flat-roof skylight leak traces back to one of a handful of failure points. Knowing them helps you ask the right questions and spot a rushed installation before it costs you a ceiling. Ponding water is the leading culprit: if the area around the skylight does not drain, water finds the smallest pinhole in a seam. Proper slope toward drains, or tapered insulation built up around the curb, keeps water moving.
Corner seams are the second major risk because they involve compound folds in the membrane. A skilled crew uses pre-formed corners or carefully welded patches rather than relying on sealant to bridge a gap. Condensation is a third, quieter failure: a poorly insulated curb lets warm interior air hit cold glass and framing, dripping moisture that homeowners often mistake for a roof leak. The table below maps the common risks to their prevention.
| Leak Risk | Root Cause | Prevention |
|---|---|---|
| Ponding water | No slope around curb | Tapered insulation, drainage toward roof drains |
| Corner seam failure | Hand-folded membrane, sealant-dependent | Pre-moulded or welded corners |
| Curb too low | Glazing within splash/snow zone | 150 mm minimum curb height |
| Condensation | Thermal bridge at curb, single glazing | Insulated curb, double or triple glazing |
| UV-degraded termination | Exposed membrane edge | Metal counter-flashing cap |
If you already have a leaking skylight, do not wait for the next storm to make it worse. Our emergency roof repair team can dry-in the opening and diagnose whether the problem is the flashing, the curb or the glazing seal. You can see examples of completed curb and flashing work in our project gallery.
Costs, Timelines and Code Requirements in the GTA
Pricing depends on glazing type, unit size, curb construction and whether your existing membrane needs patching or full replacement around the opening. A single fixed curb-mounted skylight on an existing flat roof typically runs $2,200 to $4,500 installed in the Toronto area, while a venting or electric unit with rain sensors and motorised opening pushes higher. Adding a brand-new opening that requires structural reframing adds labour and a building permit. The breakdown below reflects 2026 GTA pricing.
| Item | Typical GTA Cost (2026) | Notes |
|---|---|---|
| Fixed curb-mounted skylight, installed | $2,200 to $3,500 | Existing opening, double-glazed |
| Venting / electric skylight, installed | $3,500 to $6,000 | Motor, rain sensor, controls |
| New opening with structural reframing | +$1,200 to $2,800 | Headers, permit, drywall return |
| Curb construction and flashing only | $900 to $1,800 | Per unit, membrane-dependent |
| Building permit (City of Toronto) | $200 to $500 | Required for new structural openings |
Most single-skylight projects take one to two days once materials are on site, weather permitting. Code-wise, work in Ontario follows the Ontario Building Code: glazing in skylights must be safety glazing (tempered or laminated), the curb and any cut framing must maintain the structural capacity of the roof, and a permit is required whenever you alter the structure to create a new opening. Replacing a unit in an existing curb usually does not require a permit, but the membrane tie-in must still be done to manufacturer specification to keep the roof warranty intact. Because the skylight and the roof share one waterproofing system, it is almost always cheaper and safer to coordinate skylight work with any planned commercial flat roof installation or residential re-roof rather than cutting into a finished membrane later.
Frequently Asked Questions
Can you install a skylight on a completely flat roof?
Why do flat roof skylights leak more than sloped ones?
How much does flat roof skylight installation cost in Toronto?
Do I need a building permit to add a skylight?
What membrane works best around a flat roof skylight?
Will a skylight cause condensation on my flat roof?
Schedule Your Flat Roof Skylight Installation Toronto Consultation Today
A skylight should add years of natural light, not years of leak chasing. The difference is a contractor who treats the curb, the flashing and the membrane as one engineered system designed for our snow loads and freeze-thaw cycles. Flat Roofs Toronto builds insulated curbs, welds and bonds watertight flashing, and details every corner so your skylight stays dry through decades of GTA weather.
Call us today at (647) 333-3528 or request a free flat roof quote to get started.
Flat Roofs Toronto has been serving Toronto, Mississauga, Markham, Vaughan and the GTA with expert flat roofing and skylight installation built to last.