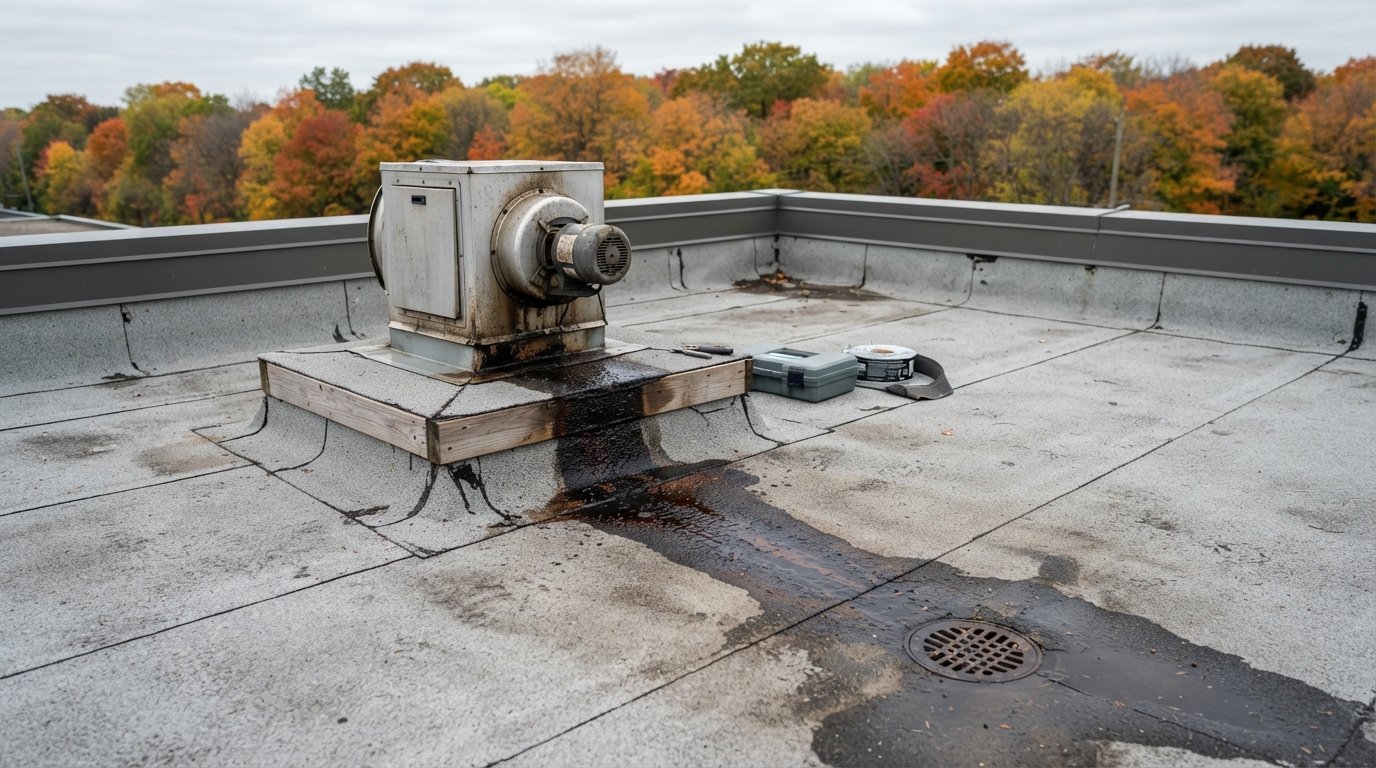

Large buildings move. A long warehouse, a plaza, a school or an office building with an addition grows and shrinks with the seasons and settles slightly over time, and the structure is often designed with separations so those movements do not crack it. Where one of those separations passes through the roof, a roof expansion joint has to let the building move while keeping water out. It is one of the most demanding details on a flat roof, and one of the most often neglected until it leaks.
Covered here: where buildings need these joints, how curbed and low-profile covers differ, why they fail, how they should be rebuilt during a re-roof, and why autumn temperature swings make now a sensible time to check them.
What A Roof Expansion Joint Does And Where Buildings Need One
A roof expansion joint sits over a structural separation: a deliberate gap between two parts of the building that lets each part move independently. The roofing assembly over that gap has to accommodate the movement without tearing, and it has to stay watertight while it does.
Where buildings need them is a structural design decision made by the building’s engineer, not by the roofer. In general, you tend to find them:
- On long buildings, where the total thermal movement along the length would be too much for a continuous structure.
- Where an addition meets the original building, since the two parts were built at different times and may settle differently.
- At wings of L-, T- or U-shaped buildings, where sections meet at an angle.
- Where structural systems change, such as a change in deck type, framing direction or support system.
- Where a low roof meets a taller wall of another building section, sometimes as a roof-to-wall expansion joint.
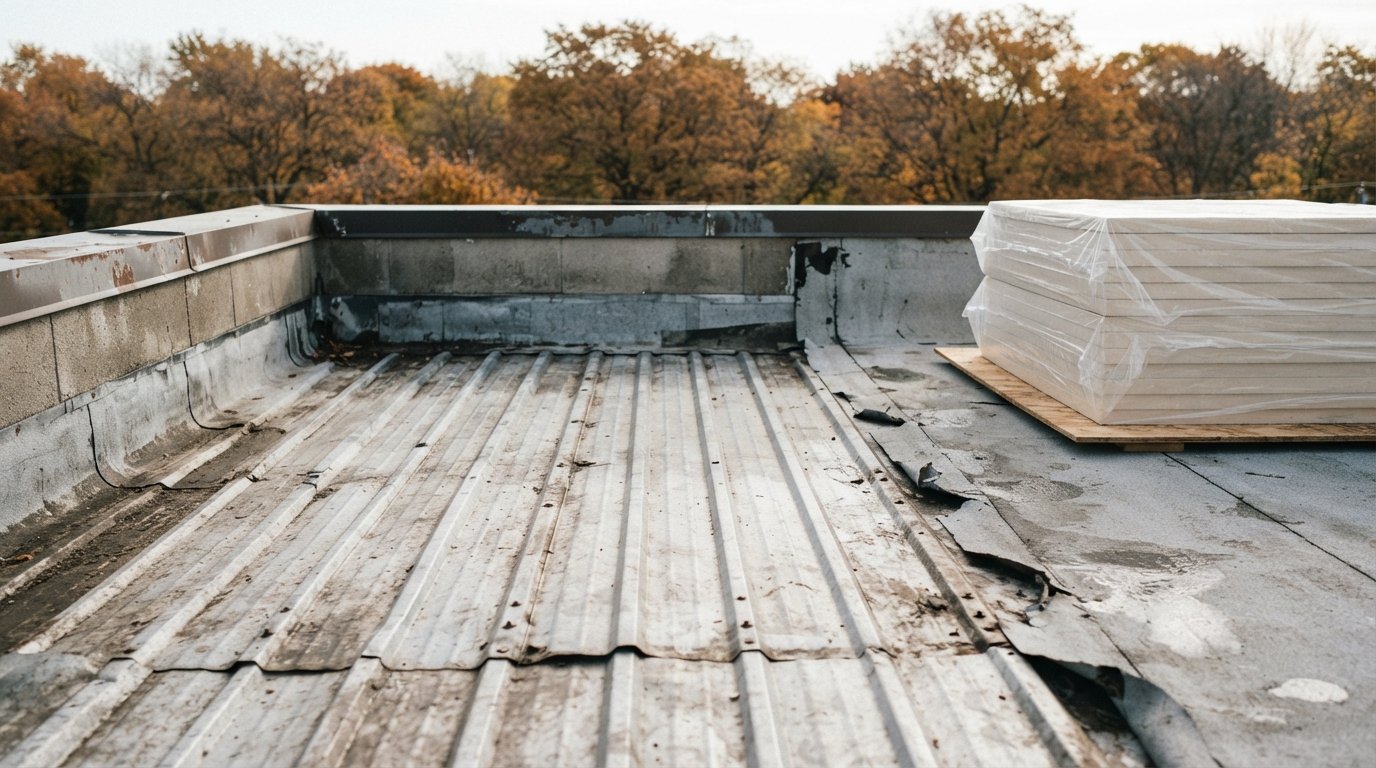
It is important to distinguish a true expansion joint from an area divider. Area dividers are roofing details that divide a large roof into sections to relieve stress in the membrane and insulation. They do not sit over a structural separation. Both look like raised curbs on the roof, so owners often confuse them, but a true structural joint has to be treated with more care. Before any repair is planned, a commercial flat roofing contractor should establish which of the two is on the roof, from drawings where they exist.
Curbed Versus Low-Profile Expansion Joint Covers
There are two broad ways to build the roof side of an expansion joint.
Curbed (raised) joints
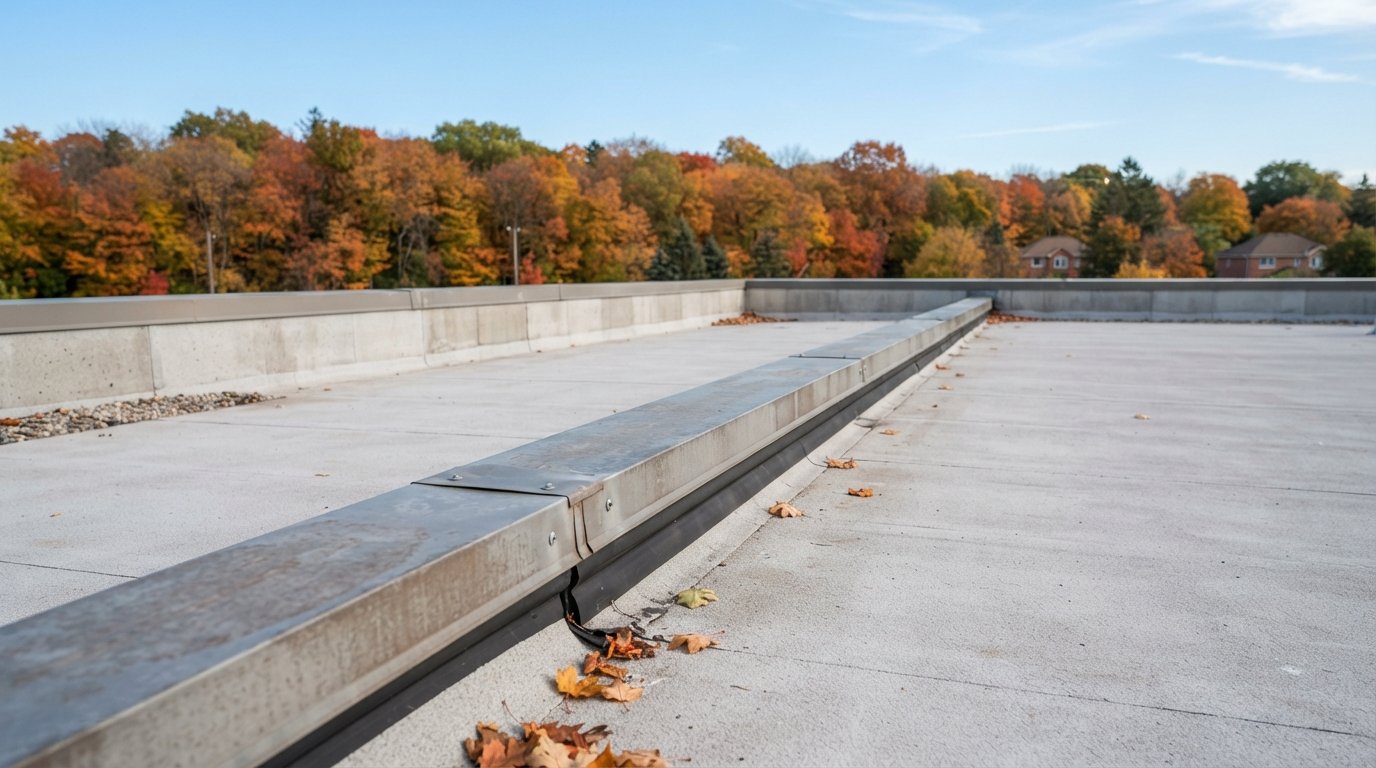
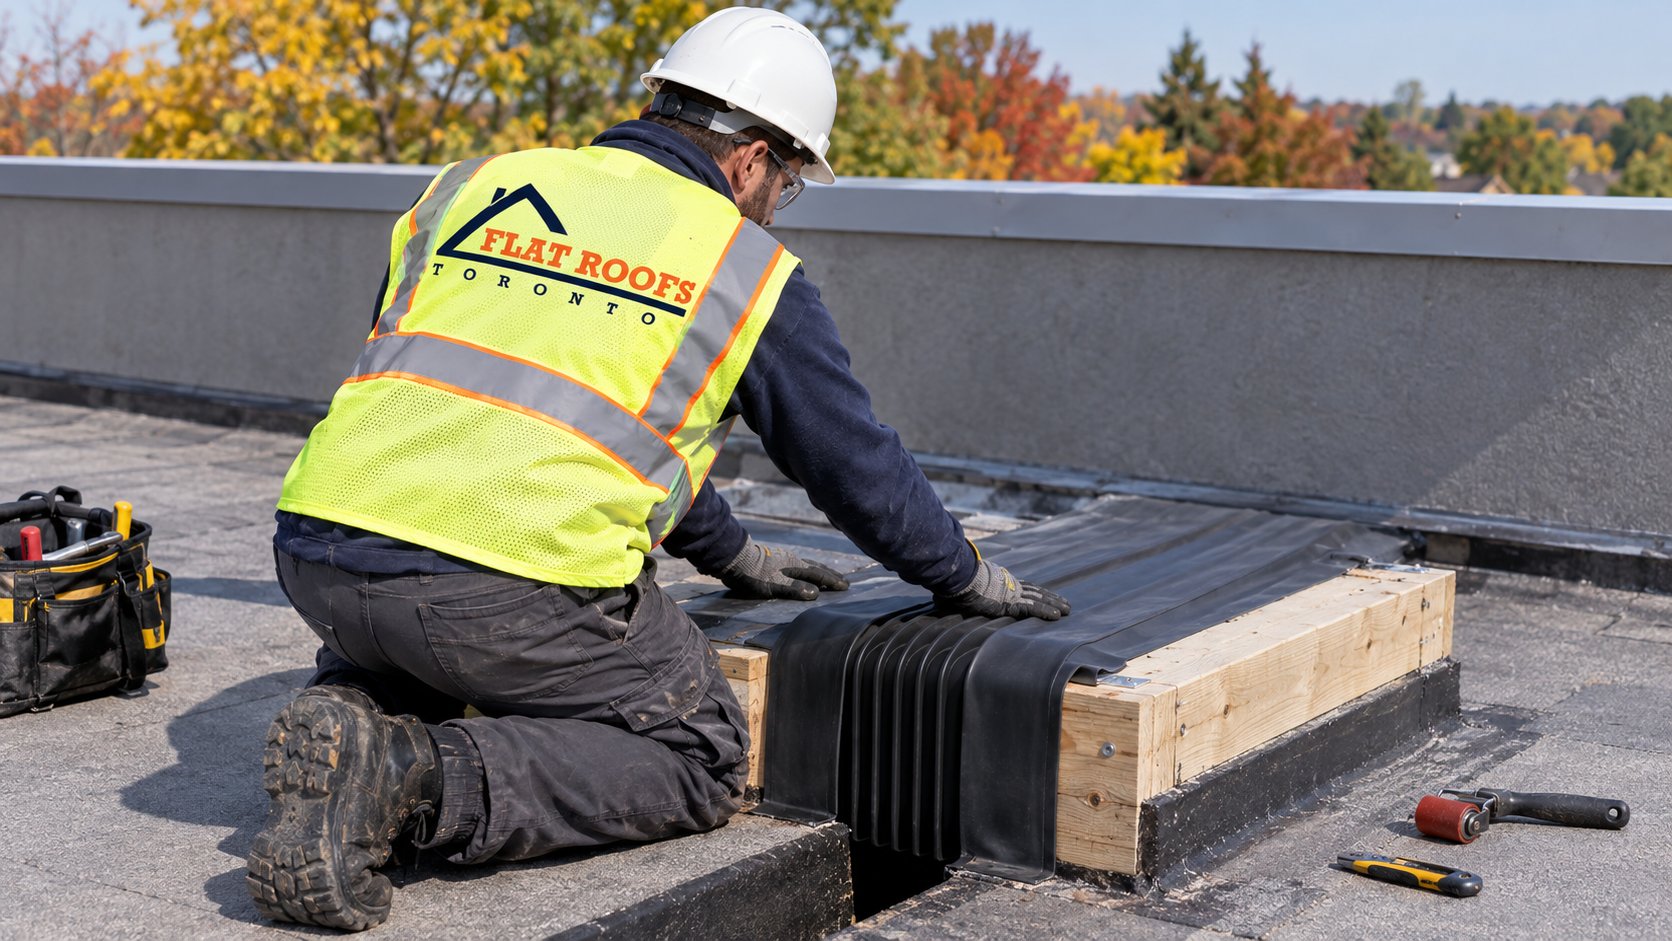
The most common approach on commercial roofs raises the joint above the roof surface on wood or other curbs on each side of the gap. The membrane runs up both curbs as flashing, and the gap between the curbs is bridged by a flexible element, often a loop of membrane or a prefabricated bellows, with compressible insulation inside. A metal cover or a prefabricated cap protects the top. Because the joint sits above the roof surface, water flowing across the roof passes around it rather than over it.
Low-profile (flush) joints
Low-profile covers sit close to the roof surface, with flanges that are stripped into the membrane on each side and a flexible centre section over the gap. They are used where a raised curb would block drainage or create a barrier, for example across walkways or where a joint must cross a drainage path. Because they sit in the water path, the roof must be designed so water flows away from them, not along them.
| Feature | Curbed joint | Low-profile joint |
|---|---|---|
| Position relative to water | Raised above the roof surface, water flows around it | At or near roof level, in the water path |
| Typical use | Most structural joints on commercial roofs | Where curbs would block drainage, traffic or equipment access |
| Movement capacity | Depends on the bellows or cover chosen; can be large | Depends on the product; check the manufacturer’s rated range |
| Vulnerable points | Curb flashings, cover laps, ends where the joint meets parapets | Flange stripping, ponding near the joint, ends and transitions |
| Re-roof considerations | Curbs often need raising to suit new insulation thickness | Must be reset at the new roof level and stripped into the new membrane |
For most structural joints, a curbed design is the more forgiving choice because it keeps the movement element out of standing water. Whether a joint should be curbed or low-profile, and what movement it must accommodate, should be confirmed with the building’s designer or a structural engineer when it is rebuilt.
Why Roof Expansion Joints Fail
Most failures come down to one of three things: the joint cannot move as much as the building does, the materials have aged, or the details at the ends were never right.
| Symptom | Likely cause | What it means | Usual response |
|---|---|---|---|
| Torn or split bellows | Movement beyond the joint’s capacity, or brittle aged material | Open path for water into the joint and building | Replace the bellows or cover with a properly rated product |
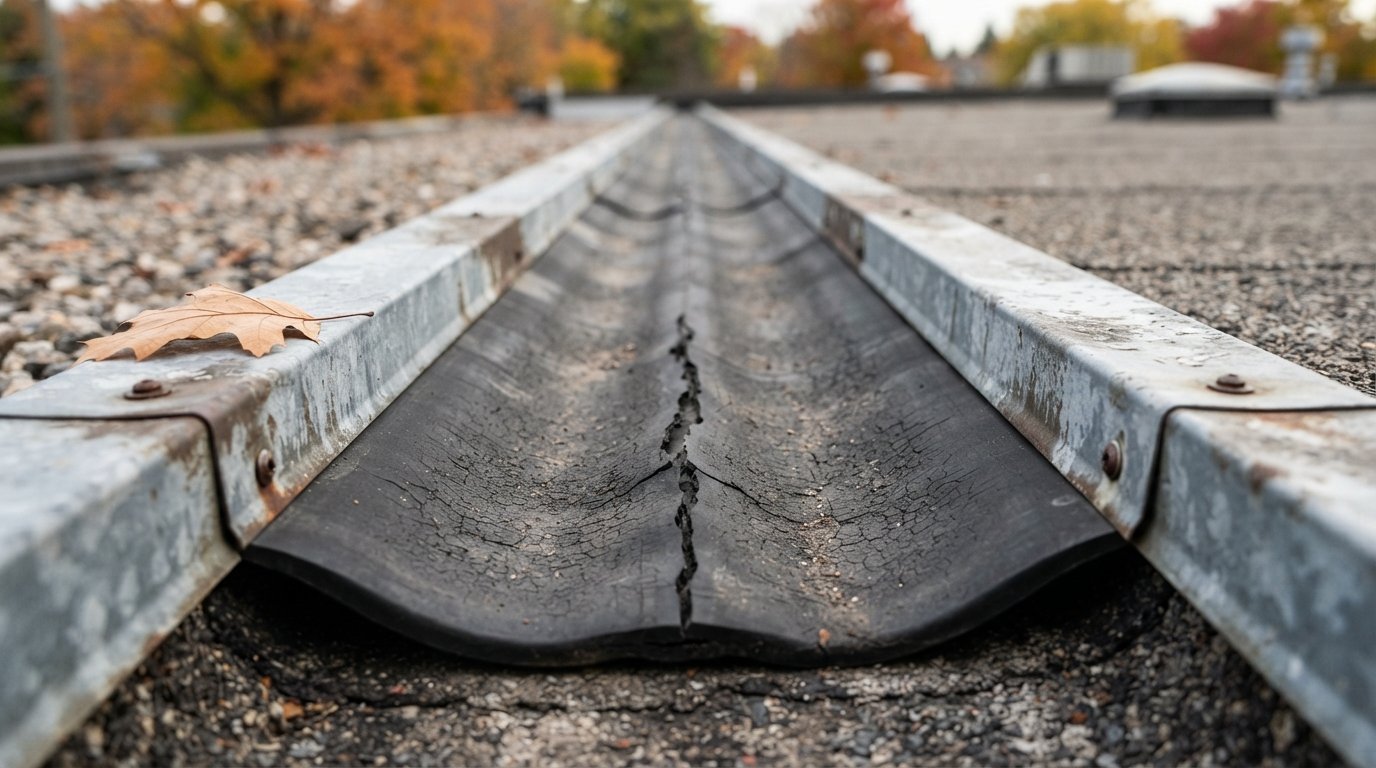
| Cracked or crazed rubber on the cover | UV and weathering of exposed flexible material | Material losing flexibility; failure likely to follow | Replace or protect with a cover suited to UV exposure |
| Metal cover fasteners pulled out or bent | Cover fastened on both sides, restricting movement | The cover is fighting the building and will keep failing | Rebuild so the cover is fixed on one side only or uses a sliding detail |
| Leak at the end of the joint | Poor transition where the joint meets a parapet or wall | Water entering at the most complex part of the detail | Rebuild the end with proper transition pieces |
| Membrane torn along a line on a flat area | Previous re-roof installed membrane straight across the joint | Structural movement tearing the roof | Open the area and install a proper expansion joint detail |
| Ponding against the joint | Joint acting as a dam, or low-profile joint in a low area | Water pressure against seams and flanges | Improve drainage with crickets or tapered insulation |
The most common mistake
One of the most damaging errors on older buildings is a previous re-roof that simply carried the new membrane straight over the joint, often because the joint was hard to see or was misunderstood. The membrane may hold for a season or two, then the building’s movement tears it along a straight line that tracks the structural gap below. If you find a straight, recurring split across a large roof, this is one of the first things to rule out.
Ends and intersections
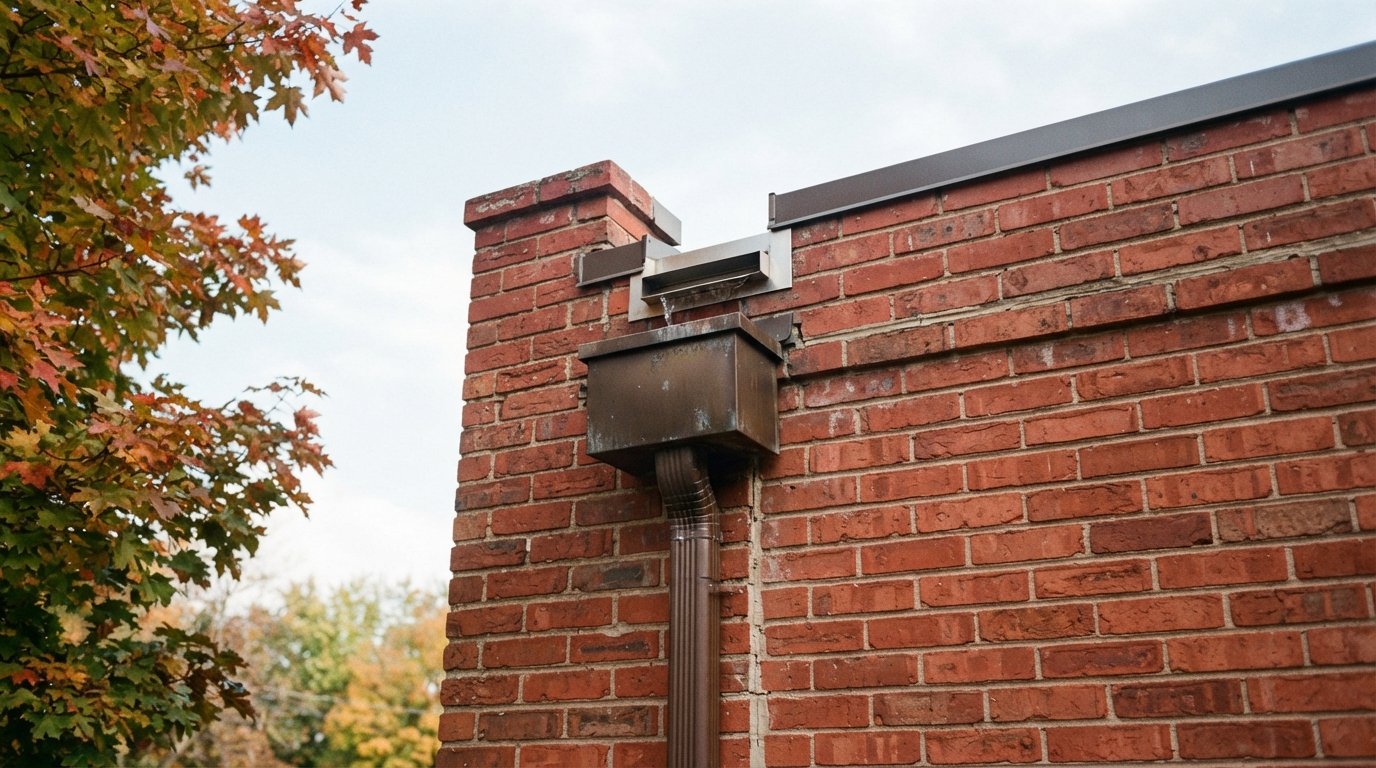
Where a joint reaches a parapet, turns up a wall or crosses another joint, the cover has to change direction while still allowing movement. Prefabricated transition pieces exist for many of these conditions. Field-built ends without them are a common source of leaks that show up well away from the joint itself.
A joint that is already leaking into the building needs emergency flat roof repair first: a temporary cover to stop the water, then a permanent rebuild planned properly.
Autumn Temperature Swings And Joint Movement
Expansion joints work hardest when temperatures swing. In October in the GTA, a sunny afternoon can heat a dark roof well above the air temperature, and a clear night can drop it close to freezing. The building contracts as the season cools, and joints generally open toward their widest as winter sets in.
That has a few practical consequences:
- Weak joints show up now. A bellows that is already brittle or a cover that is fastened too tightly is more likely to tear as the cold arrives.
- Repairs are easier before winter. Adhesives, primers and sealants used on joint covers typically have minimum application temperatures. Late autumn still offers working days; deep winter often does not.
- Water in the joint will freeze. If the joint is open or the insulation inside it is wet, freeze and thaw cycles will widen the problem over the winter.
- Snow hides the joint. Once snow covers the roof, a failing joint is hard to inspect and repair until spring.
That is why an autumn inspection of every roof expansion joint on a large building is time well spent, especially if the building has had leaks along a joint line before.
Detailing A Roof Expansion Joint During A Re-Roof
A re-roof is the best chance to get the joint right. It is also the moment when joints most often get damaged or covered over. Good practice usually follows a sequence like this:
| Step | What is done | Why it matters |
|---|---|---|
| Identify every joint | Locate structural joints and area dividers on drawings and on the roof | Prevents roofing straight over a structural separation |
| Confirm movement and design | Check expected movement and joint type with the designer or engineer where needed | The new cover must accommodate the building’s movement |
| Remove old joint materials | Strip old covers, wet insulation and failed bellows | Old wet materials will not perform and can hide damage |
| Rebuild or raise curbs | Set curbs to suit the new insulation thickness and keep the joint above the water line | New roofs are often thicker; low curbs end up below the surface |
| Maintain continuity below | Carry the air or vapour retarder and insulation across the joint as designed | Prevents condensation and heat loss at the joint |
| Install the flexible element | Fit a bellows, membrane loop or prefabricated cover rated for the required movement | This is what actually allows movement while staying watertight |
| Detail the ends | Use proper transitions at parapets, walls and intersections | Ends are where most joint leaks start |
| Protect the top | Install a metal cover or cap that is fixed so it does not restrict movement | Prevents covers from tearing loose as the building moves |
On roofs where the joint has caused repeated leaks, it is worth asking whether the original layout made sense. Sometimes drainage can be improved by adding crickets so water flows away from the joint, or a low-profile section can be replaced with a curbed design. If a full re-roof is on the horizon, the flat roof replacement page sets out how a project runs from survey to completion, while the flat roofing systems page shows how each membrane is flashed at curbs.
Repair costs in general terms
Repair costs vary widely with joint type, length, access and condition. Resealing a cover lap or repairing a short section is often a modest job, while replacing a long run of bellows and covers and rebuilding the curbs is a substantial project usually priced per linear foot. As a broad estimate, full joint cover replacement on commercial roofs commonly falls somewhere in the range of $60 to $200 per linear foot, depending on the product, curb work and transitions. Length, height and the number of transition pieces move the number more than anything else, so have it priced on site.
Inspecting Expansion Joints Between Re-Roofs
Roof expansion joints should be checked at least once a year, ideally in autumn, and after any severe storm. A proper inspection looks at:
- The flexible element: splits, cracks, brittleness or crazing
- Metal covers: loose, bent or missing fasteners, open laps, signs the cover is restricting movement
- Curb flashings: open seams, failed terminations, low curb height
- Ends and intersections: transitions at parapets and walls
- Drainage: ponding against the joint or along a low-profile cover
- Inside the building: stains or damage along the line of the joint below
Rooftop equipment contractors should be asked not to step on or rest materials on joint covers, which are easily damaged. The FAQ page answers broader upkeep questions.
Tracing A Leak Back To The Joint
Leaks from a roof expansion joint have a recognizable pattern inside the building, which helps separate them from ordinary membrane leaks:
- Staining in a line. Water entering at a joint tends to travel along the structural gap, so stains, drips or damaged ceiling tiles often appear along a straight line rather than in one spot.
- Leaks at the joint’s interior cover. Many buildings have an interior expansion joint cover in the ceiling or wall directly below. Water at that cover is a strong clue.
- Leaks that change with temperature. A joint that leaks during cold rain but not warm rain, or only after a sharp temperature drop, may be opening enough to expose a weak point.
- Leaks near the ends. Water appearing near an exterior wall below the joint often points to the transition where the joint meets the parapet.
Because water can travel some distance along a joint before it shows, the roofer should inspect the full length and both ends, not just the area above the stain. A moisture survey across the joint and the roof on either side can also show whether insulation next to the joint has become wet, which affects whether the repair can stay local.
Questions to ask before joint work
- Is this a structural expansion joint or an area divider, and how was that confirmed?
- What movement does the new cover need to accommodate, and who confirmed it?
- Will the curbs be raised to suit the new insulation thickness?
- How will the ends and intersections be detailed?
- Is the insulation inside and beside the joint dry?
- How is the metal cover fastened so it does not restrict movement?
What is a roof expansion joint?
How do I know if my building has expansion joints?
Can a roofer just roof over an expansion joint?
Curbed or low-profile: which is better?
Why do expansion joints leak more in autumn and winter?
How often should expansion joints be inspected?
Get Every Roof Expansion Joint Checked Before Winter
A failing joint can let water into a building along its entire length. Flat Roofs Toronto inspects expansion joints end to end, repairs covers and flashings, and rebuilds joints during a re-roof so the building can move without tearing the roof.
Call us today at (647) 333-3528 or request a free estimate.
Expansion joint inspections and rebuilds on large flat roofs across Toronto and the GTA.