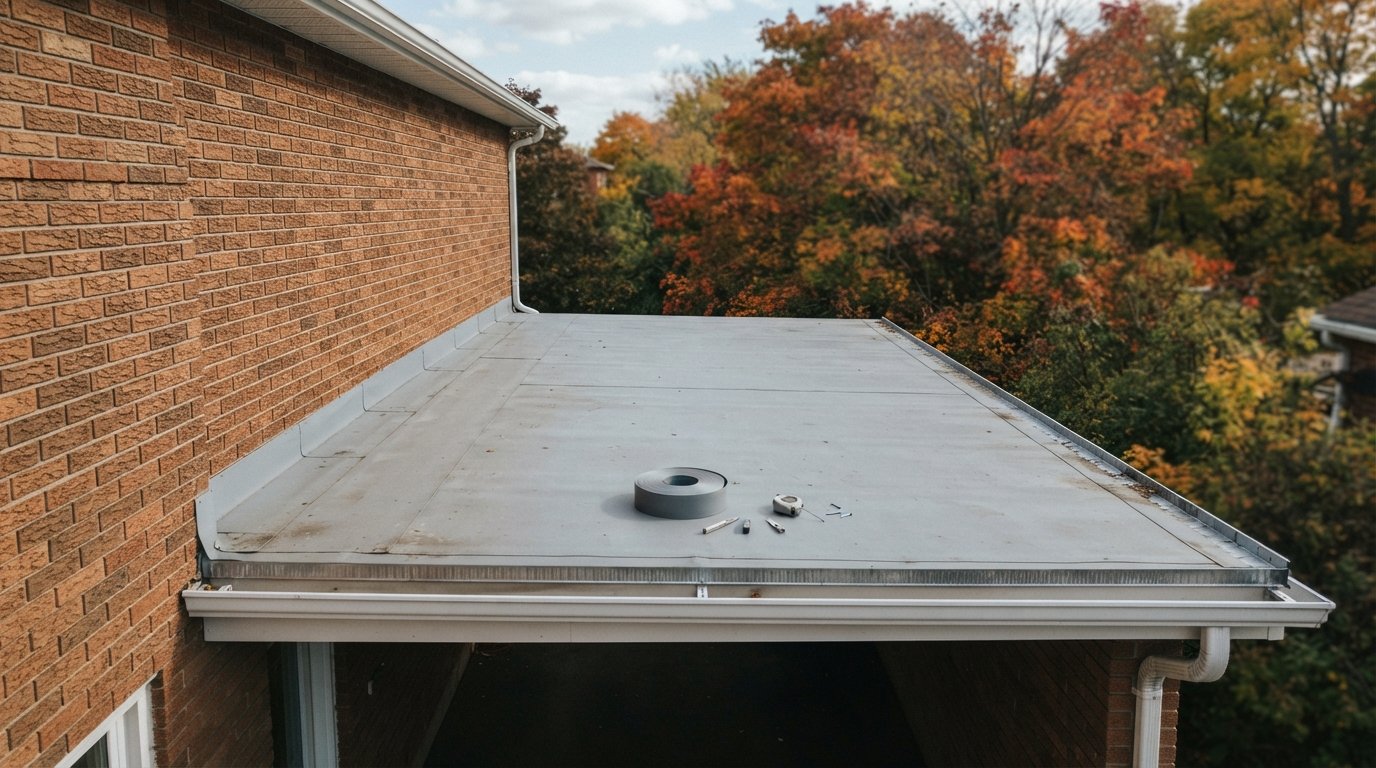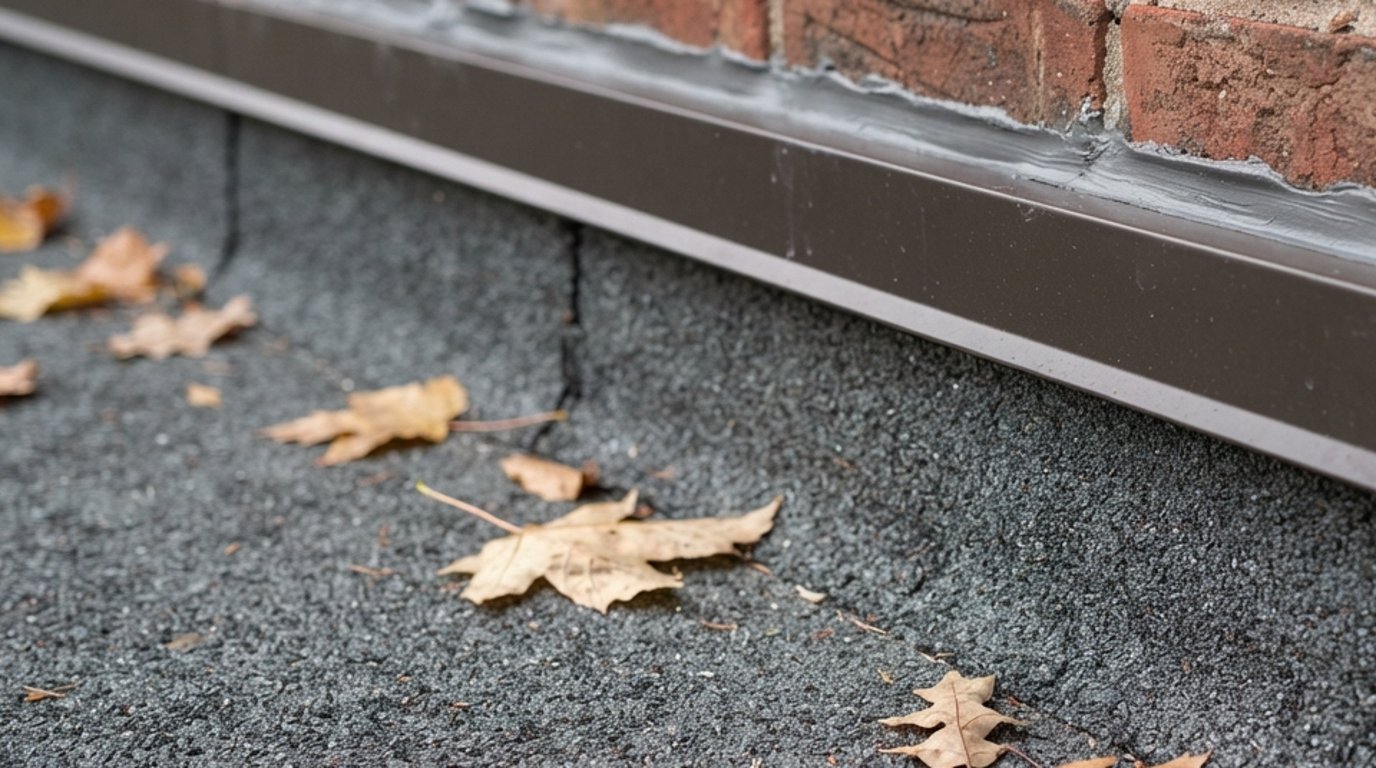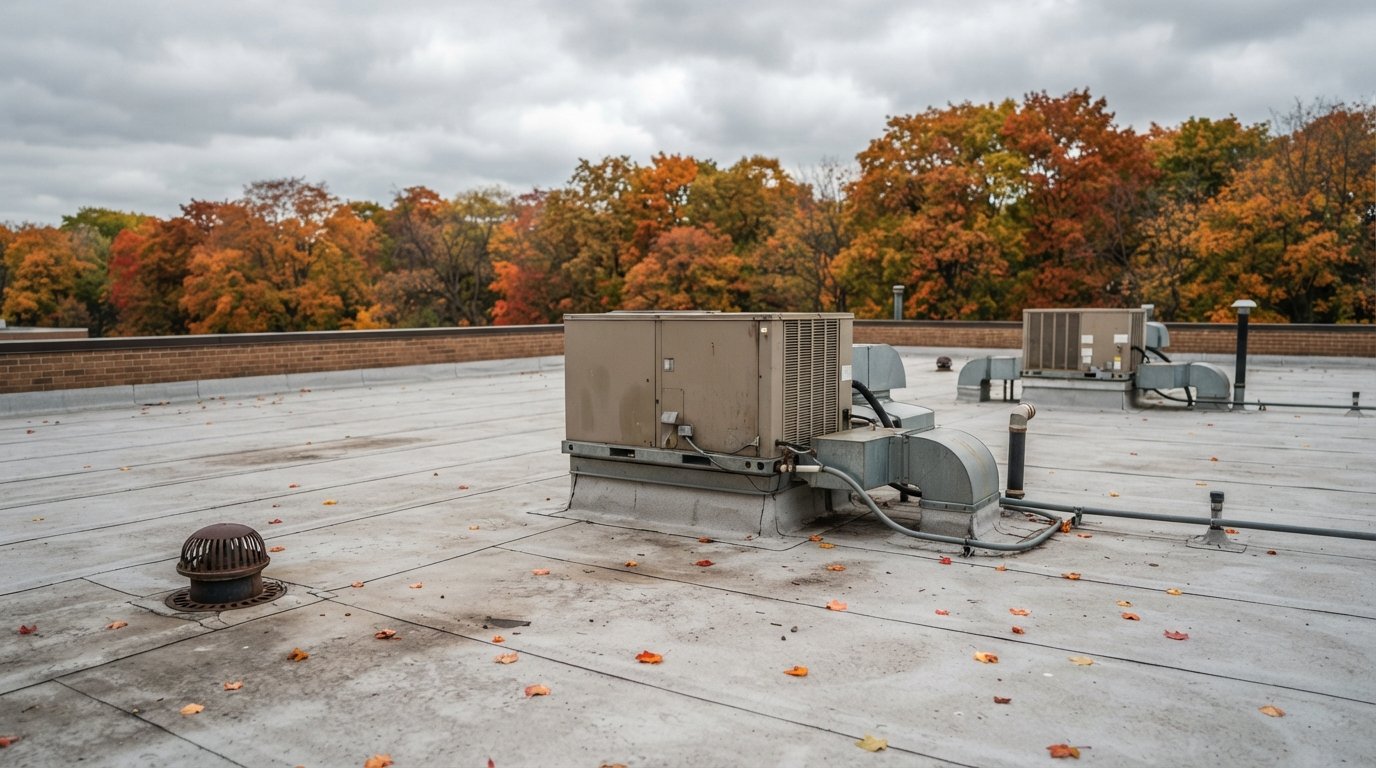

EPDM shrinkage is one of the clearest signs that a rubber roof is getting old. You see it at the edges first: the black membrane that used to lie neatly against the base of a parapet now stretches across the corner like a drum skin, flashings are pulled down from the wall, and the corners of skylights and rooftop curbs look tented. On a calm summer day it might not seem urgent. When the first cold snaps of autumn arrive, those tight spots get tighter, and that is often when they split.
So what makes the membrane shrink, where does it do the most damage, why does cold weather make it obvious, and how does a roofer choose between targeted repairs and a new roof? Those are the questions this article works through.
What EPDM Shrinkage Is And Why Older Roofs Show It
EPDM is a synthetic rubber sheet that has been used on flat roofs for decades and is still widely used on houses and commercial buildings in the GTA. It is tough, flexible and resistant to UV, which is why many EPDM roofs last a long time. But the material is not static. As it ages, the sheet gradually loses some of its flexibility and tends to draw in on itself. Over many years that adds up to EPDM shrinkage that pulls on whatever the membrane is attached to.
Several factors influence how much it shows:
- Age and the original sheet. Older membranes, particularly those installed decades ago, are the ones most likely to be pulling at the perimeter.
- How the roof was attached. Fully adhered sheets are bonded across the deck, so the adhesive resists movement. Ballasted and mechanically attached roofs are held mainly at the perimeter and seams, so any shrinkage concentrates its pull at those points.
- Installation practice. EPDM comes off the roll with some built-in tension. Manufacturers typically call for the sheet to be unrolled and allowed to relax before it is adhered or secured. Skipping that step can lead to stress at the edges early.
- Perimeter securement. Good installations secure the membrane at the base of walls and curbs before it turns up. Where that securement is missing or has failed, shrinkage pulls the membrane off the wall.
If a shrinking membrane has already split or a seam has opened and water is coming in, our crews provide flat roof repair for leaking EPDM, including temporary sealing to get you through to a permanent fix.
Where It Shows Up: Bridging, Tenting And Pulled Flashings
The membrane shrinks across the whole roof, but the damage happens where it meets something that does not move: parapets, curbs, pipes and corners.
Bridging at walls
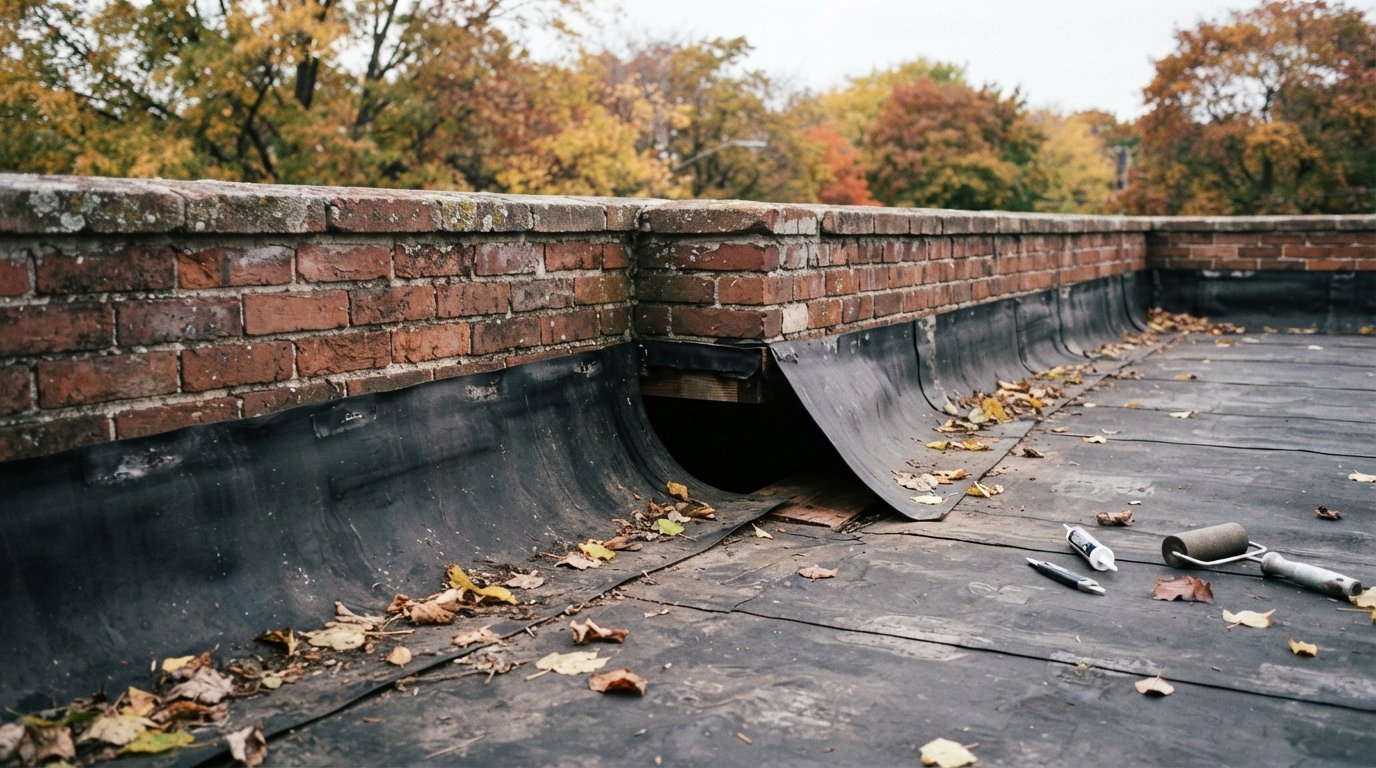
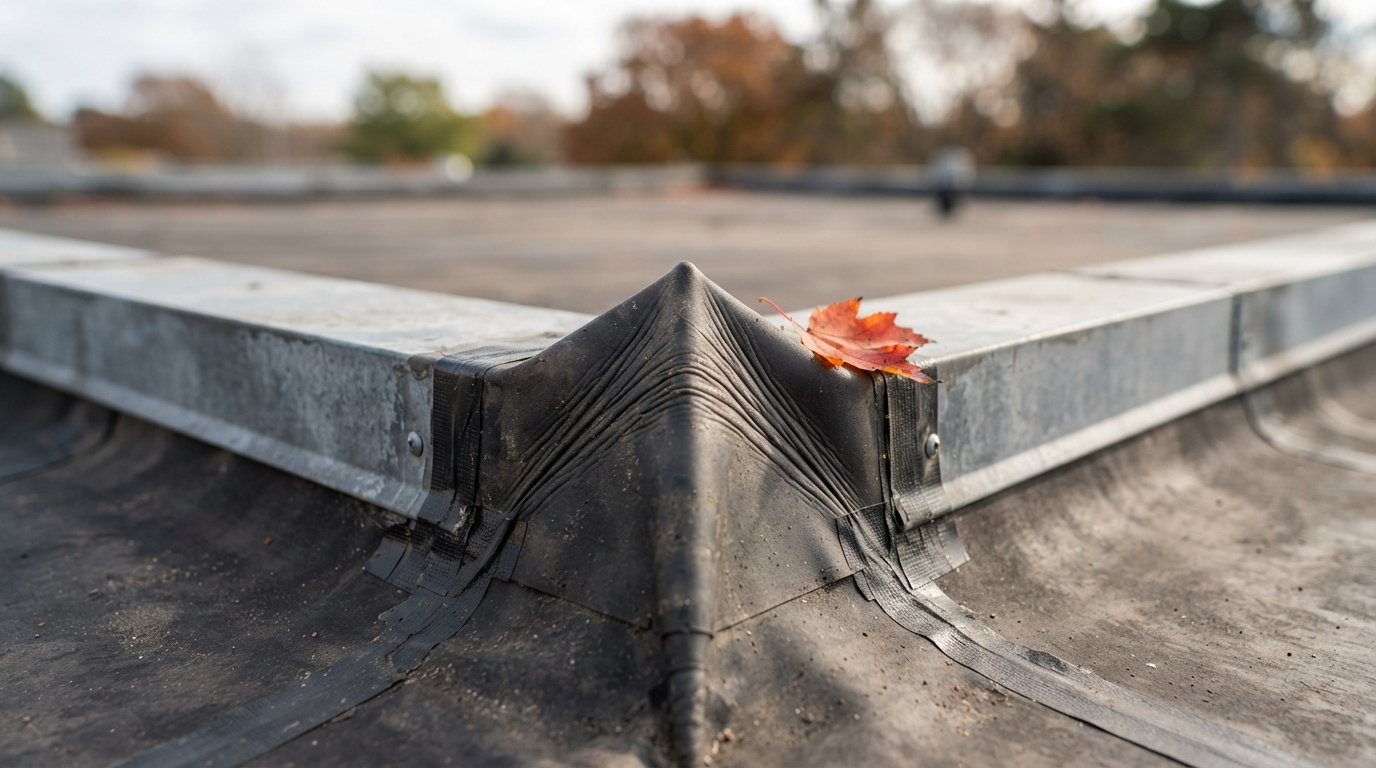
At the base of a wall, the membrane should lie flat on the roof, turn the corner and run up the wall to a termination. When EPDM shrinkage pulls the field inward, the membrane lifts out of that corner and spans it at an angle, leaving a hollow underneath. This is called bridging. A bridged corner is unsupported, so foot traffic, snow load or wind flexing can tear it, and the stress concentrates where the flashing is attached above.
Tenting at inside corners and curbs
At inside corners and around skylights, rooftop units and hatches, the membrane is pulled from two directions. It tents up into a peak or forms a tight fold. These are often the first places to crack or tear.
Pulled flashings and terminations
Shrinkage can drag flashing membrane down the wall, pulling it out from under the termination bar or counterflashing. Sometimes you can see a clean band of wall above the membrane that used to be covered. At that point water can run behind the flashing.
Seam and penetration stress
Seams that cross the roof near the perimeter take load too. Older adhesive-spliced seams and tape seams can begin to peel. Pipe boots and penetration flashings can be stretched to one side so they no longer seal around the pipe.
| Location | What you see | What is happening | How urgent |
|---|---|---|---|
| Base of parapet walls | Membrane spanning the corner, hollow underneath | Bridging: membrane pulled out of the angle change | High if near walkways or heavy snow areas; tears easily |
| Inside corners and curbs | Peaked or tented membrane, tight folds | Pull from two directions concentrates stress | High; often the first point to split |
| Wall flashings | Exposed band of wall above flashing, loose termination bar | Flashing dragged down by the field membrane | High; water can enter behind flashing |
| Field seams near edges | Seam edges lifting or peeling | Seam carrying tension it was not meant to carry | Moderate to high depending on extent |
| Pipe boots and vents | Boot pulled off centre, gap at the pipe | Membrane movement distorting the penetration flashing | Moderate; easy to fix but often missed |
Why Cold Weather Makes EPDM Shrinkage Obvious
Rubber contracts and stiffens as it gets colder. On a warm day an aging EPDM membrane is relatively relaxed and may still sit close to the wall. On a cold autumn morning the same membrane is tighter and less forgiving, so bridging becomes more pronounced and tented corners pull harder. Many owners first notice the problem in October or November for exactly this reason.
Cold also makes the membrane less able to absorb a sudden load. A person stepping on a bridged corner, a heavy wet snowfall, or ice building up at the base of a wall can all tear a membrane that would have flexed in summer. Freeze and thaw cycles then work water into any small split. That is why we encourage owners to have suspected EPDM shrinkage looked at in the autumn while the roof is still clear, rather than waiting until a leak appears during a thaw.
How A Roofer Assesses A Shrinking Rubber Roof
A proper assessment looks at the whole roof, not only the obvious corner. The roofer will typically:
- Walk the full perimeter and every curb to find bridged, tented or pulled areas
- Check terminations, counterflashings and the condition of the wall above them
- Probe seams to see whether they are bonded or peeling
- Check how the membrane is attached: adhered, ballasted or mechanically fastened
- Look for signs of moisture: soft insulation, stains below, blisters or wrinkles in the field
- Assess whether the membrane is still pliable enough to clean, prime and splice new material to
That last point matters. Aged EPDM can often still accept repairs if it is cleaned and primed properly, but a membrane that is cracking across the field, has widespread seam failures, or is sitting on wet insulation is usually past the point where perimeter repairs make sense.
It also helps to separate shrinkage from other rubber roof problems that can look similar from a distance, because the fixes are different.
| Problem | Typical signs | Usual cause | How it differs from shrinkage |
|---|---|---|---|
| EPDM shrinkage | Bridging at walls, tented corners, flashings pulled down | Aging membrane drawing in against fixed edges | Damage concentrates at the perimeter and curbs |
| Seam adhesive failure | Open laps across the field, often in straight lines | Aged splice adhesive or poor original seam preparation | Occurs anywhere a seam runs, not only near walls |
| Wrinkles and ridges in the field | Folds or ridges away from the edges | Wet insulation, loose boards or adhesive loss underneath | Often points to moisture or attachment problems below |
| Punctures and cuts | Small holes or slits, often near units or walkways | Foot traffic, dropped tools, debris | Local damage; the membrane is not under unusual tension |
| Ballast displacement | Bare membrane where stone has moved | Wind scour, foot traffic, drainage flow | Exposes membrane to UV and wind but is not a tension problem |
On many older roofs, two or three of these appear together. A roof with shrinkage at the walls and open seams across the field is telling you it is near the end of its service life, while a roof with shrinkage alone is often a good candidate for perimeter repairs.
Repairing EPDM Shrinkage: What The Work Involves
When the membrane is still in fair condition and the shrinkage is mainly at the perimeter and curbs, repairs can restore the details and relieve the stress.
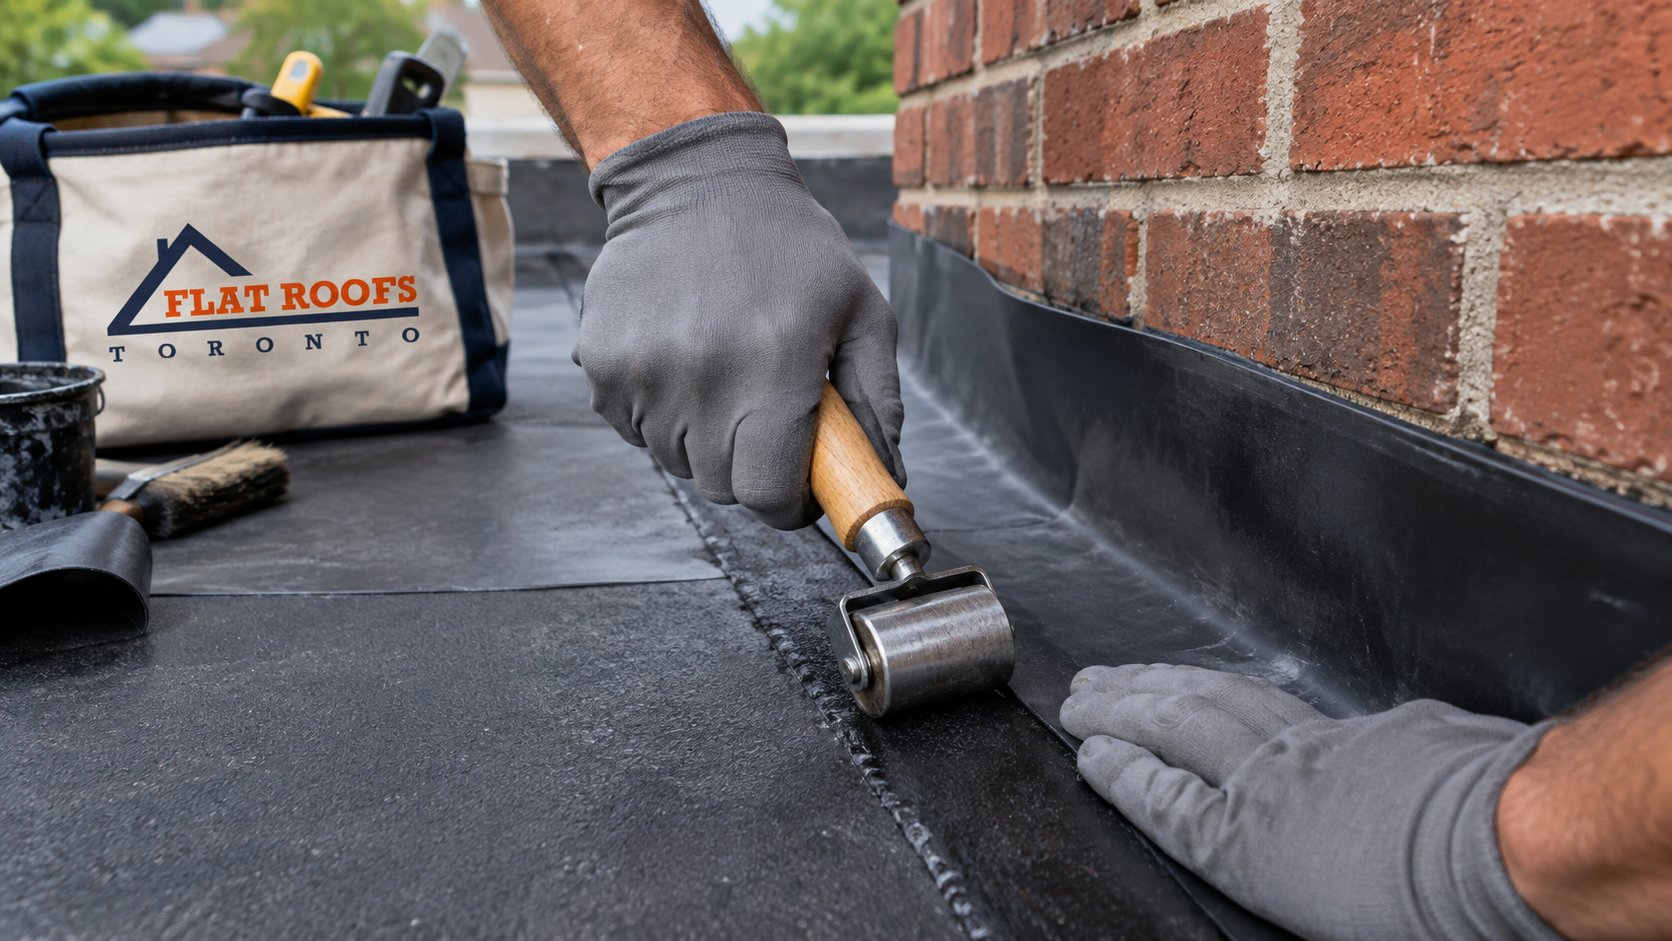
- Release the tension. The bridged or pulled membrane is cut back at the base of the wall or curb so it can lie flat on the roof again.
- Secure the field. The membrane is fastened or bonded at the base of the wall using the manufacturer’s perimeter securement method, so future movement pulls on the securement rather than on the flashing.
- Install new flashing. A new piece of EPDM flashing is run from the roof, into the corner and up the wall to a proper termination.
- Splice the pieces. The new flashing is joined to the field with primer and seam tape, following the manufacturer’s splice details. Surfaces must be cleaned properly for the bond to hold.
- Rebuild corners and curbs. Inside and outside corners get preformed or field-fabricated corner pieces. Curbs are re-flashed on all sides.
- Replace distorted penetrations. Pipe boots and vent flashings that have been pulled off centre are replaced.
- Reinforce stressed seams. Seams near the perimeter that show peeling are cleaned, primed and covered with cover strip.
Done carefully, this kind of repair can extend the life of a roof that is otherwise sound. It does not stop the field membrane from continuing to age, however, so it is a way to buy time rather than to reset the clock.
Repair Or Replace: Making The Call
The decision usually comes down to how widespread the problem is, how the membrane itself is holding up, and what is underneath.
| Situation | Usual recommendation | Why | Typical cost range (estimate only) |
|---|---|---|---|
| Shrinkage at one or two walls or curbs, membrane pliable, roof dry | Targeted perimeter repair | Fixes the stressed details and buys several seasons | Often $800 to $2,500 depending on length and access |
| Shrinkage around most of the perimeter, membrane still pliable | Full perimeter repair | Larger job but still less than replacement on a sound roof | Commonly $25 to $60 per linear foot of perimeter |
| Multiple curbs, skylights and penetrations pulled | Curb and penetration re-flashing plus perimeter work | Each detail needs rebuilding | Often $400 to $1,500 per curb on top of perimeter work |
| Widespread seam failure, cracking membrane, wet insulation | Replacement | Repairs would be ongoing and the assembly underneath is compromised | Commonly $12 to $22 per square foot for residential work |
Perimeter length, roof height, wall type, insulation and the replacement system all shift these ranges, so read them as rough GTA planning figures and get the actual scope priced in writing.
Questions that tip the decision
- How old is the roof, and what is its likely remaining life even after repair?
- Is the insulation dry, and how was that confirmed?
- Are seams failing in the field, not just near the edges?
- How many repairs has the roof already had?
- Are you planning other work, such as adding insulation or new skylights, that would make replacement more sensible now?
If replacement makes sense, it is also a chance to reconsider the system and add insulation. The steps of a flat roof replacement are laid out on their own page, and if you are weighing a different membrane, the flat roofing systems page compares EPDM with modified bitumen and TPO.
Residential And Commercial Rubber Roofs
On houses, EPDM is common on rear additions, garages and second-floor roofs installed during renovations. These roofs are small, so a perimeter repair is often affordable, but they also tend to have many details in a small area: a skylight, a couple of vents, a chimney and parapets. Each one is a point where shrinkage shows, so a residential flat roofing inspection should cover every detail, not just the worst corner.
On commercial buildings, ballasted and mechanically attached EPDM roofs cover large areas, and shrinkage can pull at long runs of parapet and at many rooftop units. Here it is important to inspect the whole roof before deciding on repairs, because perimeter work on a roof with widespread seam problems is rarely money well spent.
Preventing Damage Until The Work Is Done
If you know your roof has bridged corners and repairs are scheduled, a few precautions help:
- Keep foot traffic away from bridged areas and corners.
- Keep drains and scuppers clear of leaves so water does not pond against stressed flashings.
- Ask your roofer whether any area should get a temporary repair before freezing weather.
- Check ceilings under the roof after heavy rain and note any staining.
Other common rubber roof questions are answered on our FAQ page.
What causes EPDM shrinkage?
What is bridging on a rubber roof?
Why does the problem look worse in cold weather?
Can a shrinking EPDM roof be repaired?
Will shrinkage come back after a repair?
How do I know if my roof has EPDM shrinkage?
Book An EPDM Shrinkage Inspection Before Winter
Bridged corners and pulled flashings are easiest to fix before snow and ice put extra load on them. Flat Roofs Toronto walks the perimeter and every curb, shows you where the rubber is pulling, and explains whether targeted repairs or a replacement makes more sense.
Call us today at (647) 333-3528 or request a free estimate.
EPDM repairs and rubber roof replacements for homes and businesses in Toronto and the GTA.