
An entrance canopy roof is one of the smallest flat roofs on a building and one of the most likely to cause trouble. Storefront canopies on plazas, entrance canopies on apartment buildings and offices, and porch canopies over the front doors of houses all have the same basic problem: a small membrane that must tie tightly into a wall, drain properly over a doorway, and survive brackets, lights and signs being added over the years. When any of those details fail, the leak rarely shows up on the canopy. It shows up inside the wall, at the door head or in the vestibule ceiling.
The sections that follow trace where canopy leaks start, how small membranes and flashings should be built, what to do about lighting and sign penetrations, and how repairs can usually go ahead while the entrance stays open.
Why A Canopy Roof Leaks Into The Wall
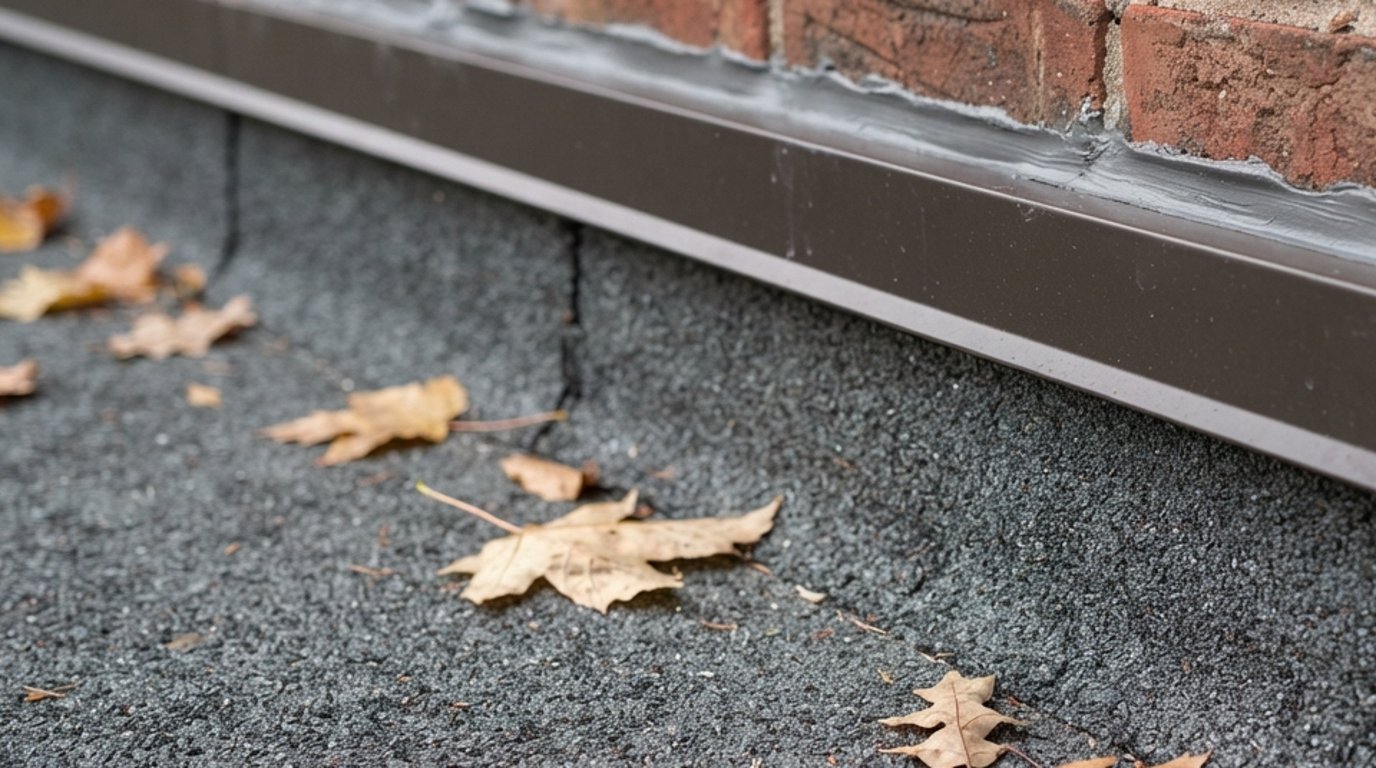
A canopy roof catches more than the rain that falls on it. Water running down the wall above lands right at the junction between the canopy and the building, which is the most complicated detail on the whole canopy. If that junction is not flashed properly, water gets behind the membrane and into the wall cavity, the canopy framing or the steel lintel over the door.
From there it travels. On a brick building it may run down inside the wall and appear at the door frame. On a wood-framed house it may soak the sheathing and rot the header. On a steel-framed canopy it can rust the supports and drip through soffit lights. Because the water often appears well below or to one side of where it entered, owners frequently replace door seals, re-caulk windows or repaint ceilings before anyone checks the canopy itself. On storefronts and lobbies, that junction is one of the first places a commercial flat roofing contractor should check when the leak shows up somewhere puzzling.
Three things cause most canopy leaks:
- Poor wall flashing. The membrane stops at the wall or is only caulked, instead of turning up the wall and being covered by counterflashing or tied into the wall’s water-resistive layer.
- Poor drainage. The canopy is dead flat, or worse, slopes back toward the building, so water sits against the wall.
- Penetrations added later. Brackets, sign supports, conduit and support rods are fastened through the membrane after it was installed, often without proper flashing.
Wall Flashing: The Detail That Decides Everything
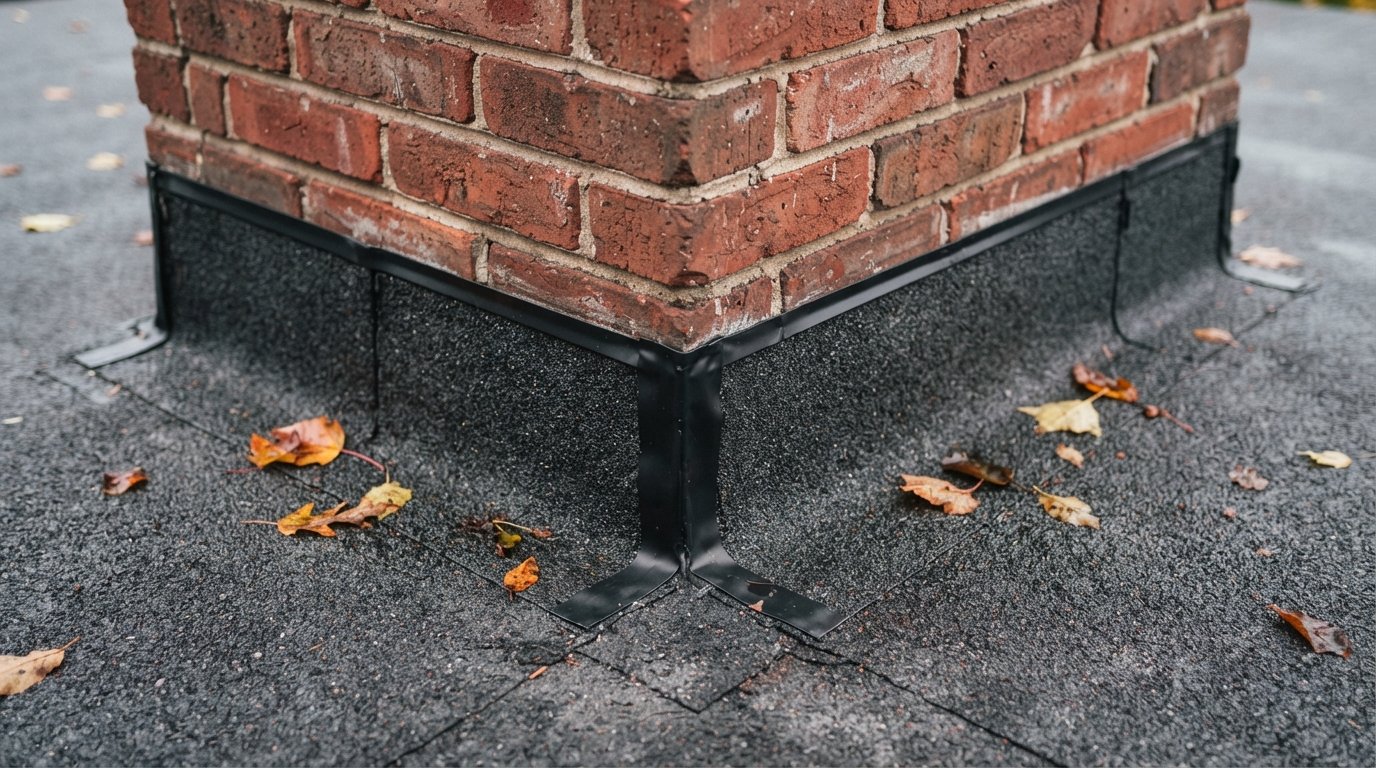
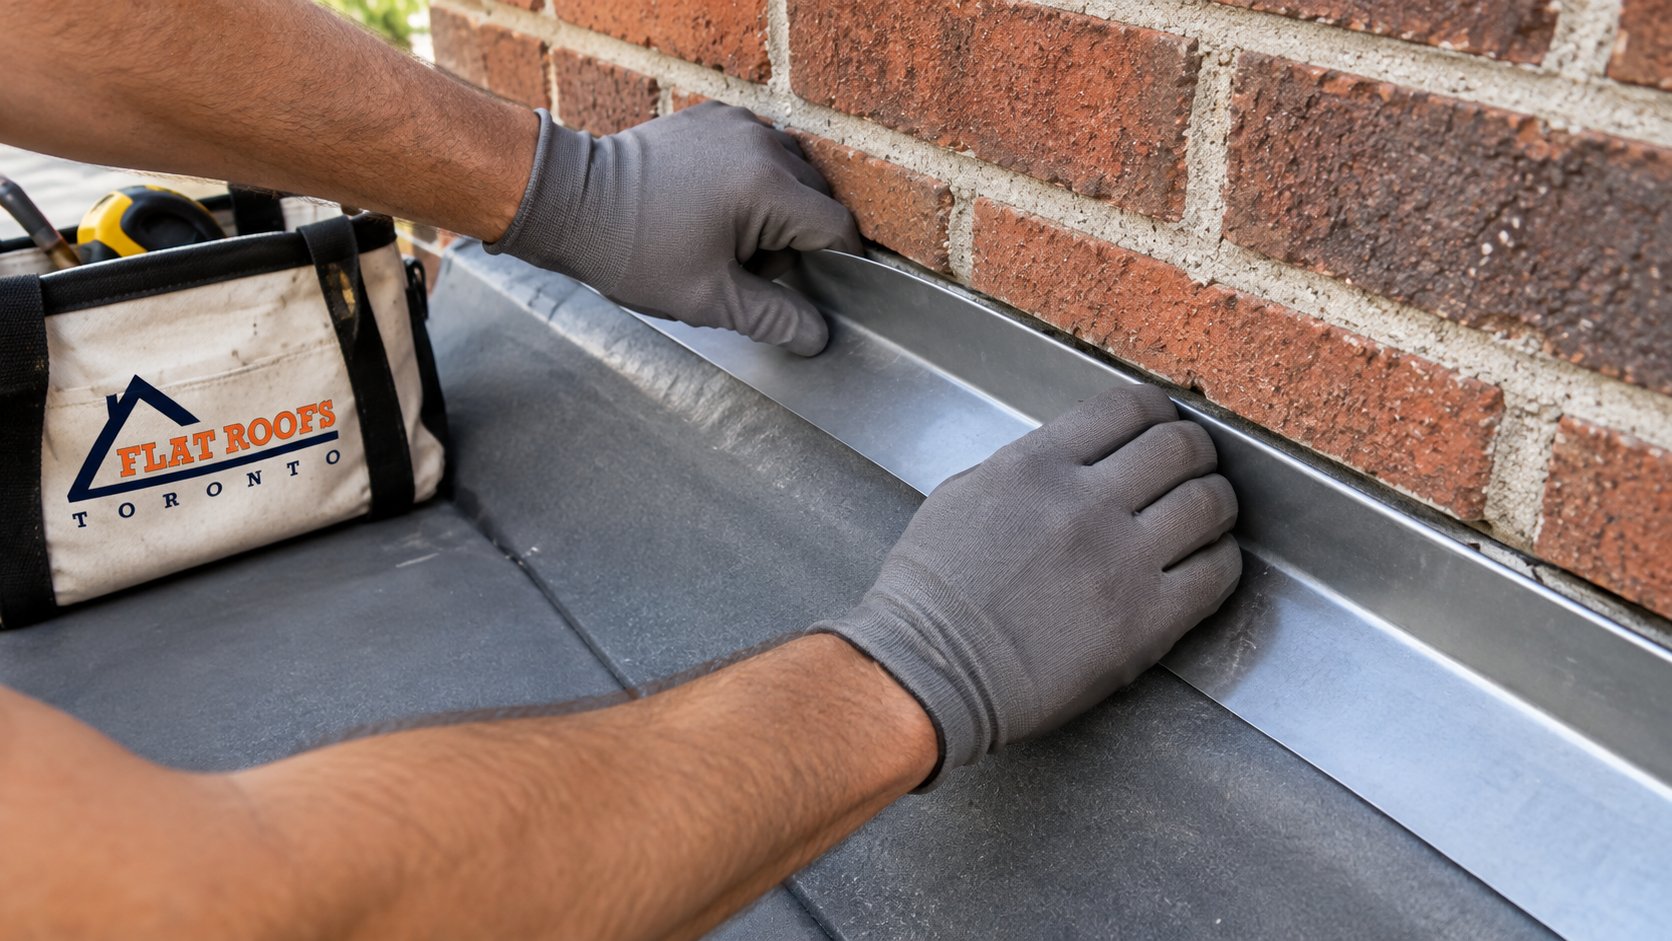
The membrane on a canopy roof should run up the wall a reasonable height above the canopy surface, high enough that water ponding or splashing at the junction cannot get over it. How it is protected at the top depends on the wall.
Brick and masonry walls
On masonry, the upturned membrane is protected by a metal counterflashing. Better details tuck the counterflashing into a cut joint or reglet in the masonry, or tie into a through-wall flashing above, so water inside the brick is directed out over the canopy rather than behind it. Surface-mounted counterflashing sealed only with caulk is common but needs regular maintenance, and the sealant usually fails long before the membrane.
Siding, stucco and panel walls
On framed walls with siding, stucco or panels, the membrane should run up the sheathing and lap under the building’s water-resistive barrier, so water running down behind the cladding is directed over the membrane. When the membrane is applied over the face of the cladding instead, water behind the cladding runs behind the membrane, into the framing. Fixing this properly often means removing a strip of cladding above the canopy.
Ends of the canopy
The two ends where the canopy meets the wall are especially vulnerable. Water running down the wall reaches the corner and needs a path out. Kickout flashings, end dams and properly formed corner details are what keep that water from running down inside the wall below the canopy.
| Where the leak shows | Likely source | What to check | Usual fix |
|---|---|---|---|
| Door head or frame below the canopy | Water entering behind the wall flashing | Membrane height on wall, counterflashing, sealant | Rebuild wall flashing with proper counterflashing or lap under barrier |
| Vestibule or lobby ceiling | Water through the canopy framing into the building | Wall junction, membrane, end details | Repair junction and end flashings; check framing |
| Water dripping from soffit lights | Membrane failure or penetrations above | Membrane condition, brackets, conduit penetrations | Repair penetrations; reroute wiring through proper flashings |
| Rust stains or efflorescence below | Water saturating masonry or steel lintels | Wall flashing, through-wall flashing, lintel | Repair flashings; masonry and lintel work as needed |
| Water spilling over the front edge | Blocked or missing drainage | Scuppers, gutter, drain leaders | Clear or add drainage; correct slope |
Drainage On A Small Flat Roof
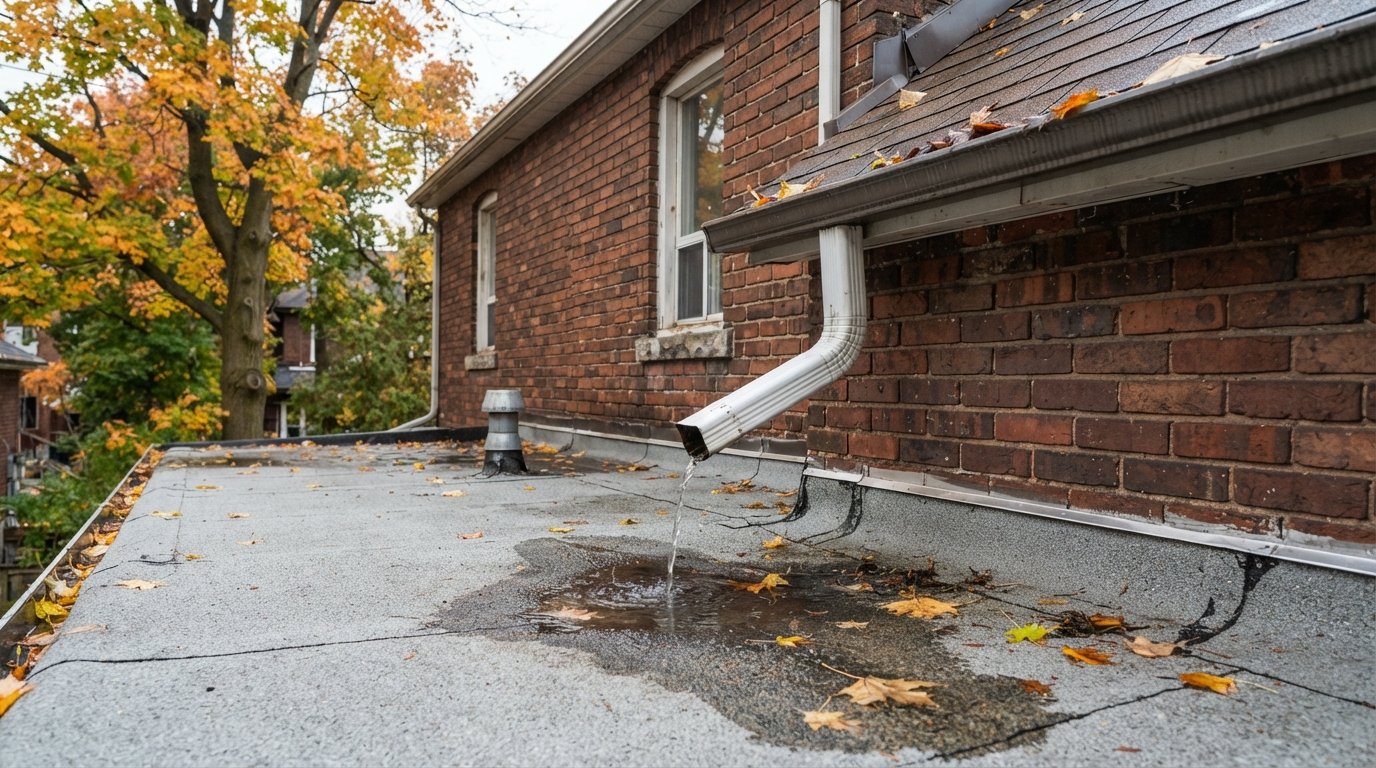
A canopy roof should slope away from the building toward a front edge, gutter or scupper. That sounds obvious, but many canopies were built level, and some have settled or deflected so they now pitch back toward the wall. Ponding against the wall is the worst possible place for standing water.
The drainage options are usually one of these:
- Front edge with a gutter. The canopy drains to a front edge with a drip and gutter, which feeds a downspout. Simple and easy to clean, but the gutter must be kept clear of leaves.
- Scuppers through the canopy fascia. Small scuppers at the front or ends carry water out through the canopy edge. They need to be big enough not to clog with leaves.
- Internal drain. Some commercial canopies have a small drain with piping that runs down inside a column. These clog easily and can leak inside the column, so they need regular cleaning.
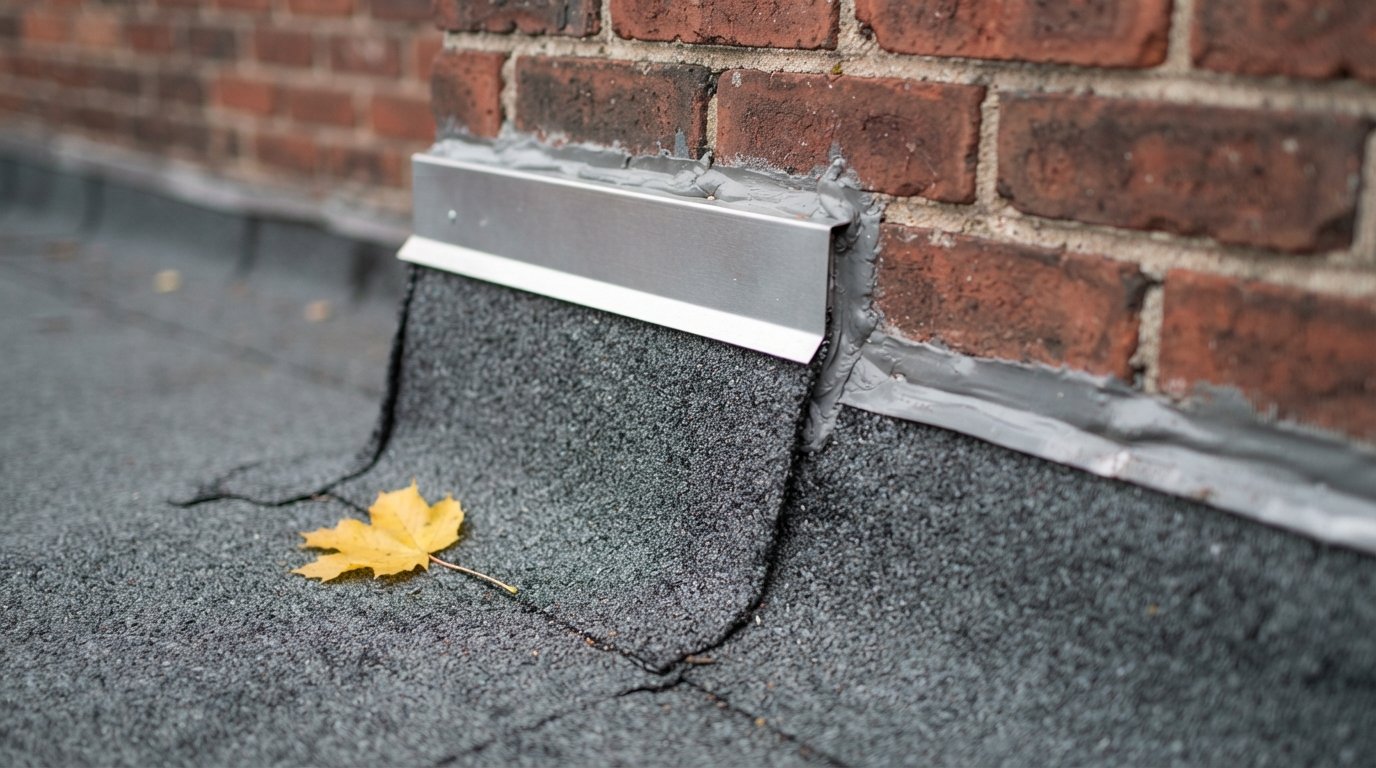
If a canopy holds water, correcting the slope with tapered insulation or framing changes during a re-roof is often the single most effective improvement. In autumn, check that leaves are not packing the gutter or scuppers, since a blocked outlet on a small canopy turns into ponding quickly.
Choosing A Membrane For A Small Area
Small roofs have a lot of detail per square foot: two ends, a wall junction, a front edge and often penetrations. The best membrane is the one that can be detailed cleanly at all of those points, by a crew that does it often.
| Membrane | Strengths on canopies | Considerations |
|---|---|---|
| Modified bitumen, self-adhered | No open flame, good at corners and edges, durable cap sheet | Needs dry substrate and suitable temperatures; primer and good rolling matter |
| Modified bitumen, torch-applied | Strong seams, long track record | Open flame near doors, signs and wood framing needs strict fire precautions; often avoided on canopies |
| TPO or PVC | Heat-welded seams, light colour, clean appearance | Requires careful detailing at small corners; prefabricated corners help |
| EPDM | Large sheets, few seams on small areas | Seams and flashings rely on tape and primer; watch edges and corners |
| Liquid-applied membrane | Excellent around complex penetrations and odd shapes | Thickness and surface preparation must follow manufacturer requirements |
On canopies over doors, signs and wood framing, we usually favour flame-free methods for safety. Each of these membranes is described in more depth on our flat roofing systems page.
Lighting, Signs And Other Penetrations
Canopies attract hardware. Over the years they collect light fixtures, sign brackets, channel letters, raceways, conduit, security cameras and support rods. Each one that passes through the membrane is a potential leak.
Best practices
- Keep penetrations out of the top surface where possible. Mount signs and lights to the fascia or soffit, and route wiring through the soffit or wall rather than through the canopy membrane.
- Flash what must go through. Rods, posts and conduit that must penetrate the membrane need proper flashings, such as pipe boots or prefabricated penetration flashings compatible with the membrane, not caulk alone.
- Coordinate with other trades. Sign installers and electricians often drill through canopies after the roofer leaves. Ask them to coordinate with the roofer so penetrations are flashed properly.
- Electrical work stays with licensed trades. Rewiring lights or signs should be done by a licensed electrical contractor, following the requirements the Electrical Safety Authority oversees.
Suspended steel canopies
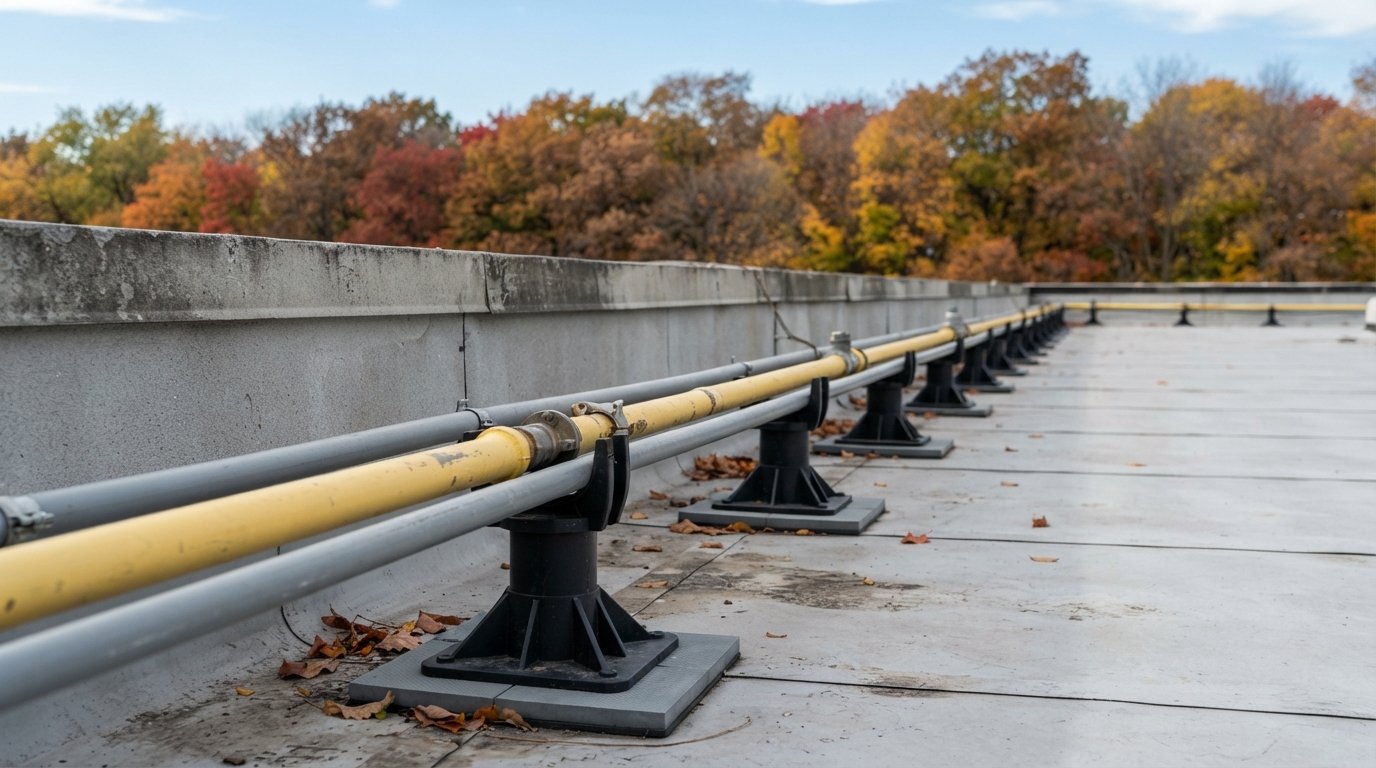
Many commercial canopies hang from steel rods anchored into the wall above. Where those rods pass through the canopy membrane, they need flashings that can handle slight movement. Rods anchored into the wall also create potential water paths into the masonry, so the wall anchors should be checked too.
How A Canopy Roof Leak Gets Traced
Because water travels, guessing at the source of a canopy roof leak wastes money. A methodical approach usually finds it in a single visit.
- Map the interior evidence. Note exactly where staining, drips or damp drywall appear, and whether they show during every rain or only in wind-driven storms. Wind-driven leaks often point to the wall above rather than the canopy itself.
- Inspect from above. Check the membrane, the wall junction, the ends, the front edge and every penetration. Look for open laps, failed sealant, short upturns and ponding marks.
- Open the soffit where needed. Removing a soffit panel or light fixture often shows wet framing, rust or staining that points straight to the entry point.
- Water test in stages. Where the source is still unclear, a controlled water test starts low, at the front edge and field, then moves up to the wall junction and finally to the wall above, with someone watching inside. Testing from the bottom up avoids confusing one source with another.
- Check the wall above. Open mortar joints, cracked sills, failed window perimeter sealant and missing through-wall flashings above the canopy can all send water down onto, or behind, a perfectly good canopy membrane.
That last step is worth stressing. It is not unusual for the canopy roof itself to be sound while the water is entering the wall one or two storeys up. Re-roofing the canopy in that situation would not stop the leak, which is why the diagnosis has to come before the quote.
Signs a canopy needs attention
- Staining or peeling paint at the door head or vestibule ceiling
- Rust streaks on soffit panels, lintels or support rods
- White mineral deposits on brick just below the canopy
- Soft or sagging soffit, or a front edge that dips
- Water spilling over the front edge in moderate rain
Repairing A Canopy Without Closing The Entrance
For a business, closing the front door is rarely an option. For an apartment building, it may be the only entrance. Most canopy repairs can be planned so the entrance stays usable.
- Plan access from above where possible. Work from the building roof, a window or a stable platform so the crew is not working from the sidewalk below.
- Protect people underneath. Use overhead protection or keep a protected path to the door, and keep tools and materials secured so nothing falls.
- Schedule around traffic. Early mornings, evenings and quieter days reduce disruption for businesses and residents.
- Use flame-free methods. Self-adhered membranes, heat-welded single plies and liquid-applied systems avoid open flame near doors and signs.
- Stage the work. On long storefront canopies, work in sections so only a portion is under repair at any time.
- Check rules for public space. If equipment or protection would occupy a public sidewalk, check with the municipality about any permits required.
If water is already coming through a ceiling or into a lobby, a quick temporary repair can buy time until a full repair is scheduled. Call for emergency flat roof repair if water is reaching a lobby floor or light fixture.
Typical Repair Scope And Costs
| Work | What is involved | Typical cost range (estimate only) |
|---|---|---|
| Reseal or replace penetrations | New flashings at brackets, rods or conduit | Often $300 to $900 per penetration, depending on type and access |
| Rebuild wall flashing | Remove old flashing, new membrane up the wall, new counterflashing | Commonly $800 to $3,000, depending on length and wall type |
| Re-membrane a small canopy | Remove old membrane, repair deck, new membrane, edges and wall flashing | Often $2,500 to $8,000 for a typical entrance canopy |
| Rebuild with slope correction and framing repair | Open canopy, repair framing, add slope, new membrane and drainage | Commonly $8,000 to $25,000 or more for larger storefront canopies |
Canopy size, height, access, wall type and membrane choice all move these figures, and hidden damage inside the canopy is the usual reason a final quote differs from a first rough number.
Canopy roofs on houses
The same principles apply to porch and entrance canopies on homes. Small residential canopies often have an undersized membrane turned up only a short distance on the wall, a front edge with no drip, and a gutter that clogs every autumn. If your front door frame or the ceiling inside the entry shows staining, the canopy is a likely suspect. Small house canopies are covered by our residential flat roofing service as well.
For general questions about leaks and repair visits, see our FAQ page.
Why does my canopy roof leak only during heavy rain?
Can a canopy be repaired without closing the entrance?
Do sign brackets cause leaks?
What membrane is best for a canopy roof?
How should a canopy drain?
When should a canopy roof be checked?
Get Your Canopy Roof Inspected Before Winter
A leaking canopy roof does more damage inside the wall than on the canopy itself. Flat Roofs Toronto can trace the source, repair wall flashings and penetrations, correct drainage, and plan the work so your entrance stays open.
Call us today at (647) 333-3528 or request a free estimate.
Canopy roof repairs for storefronts, apartment entrances and homes in Toronto and the GTA.