
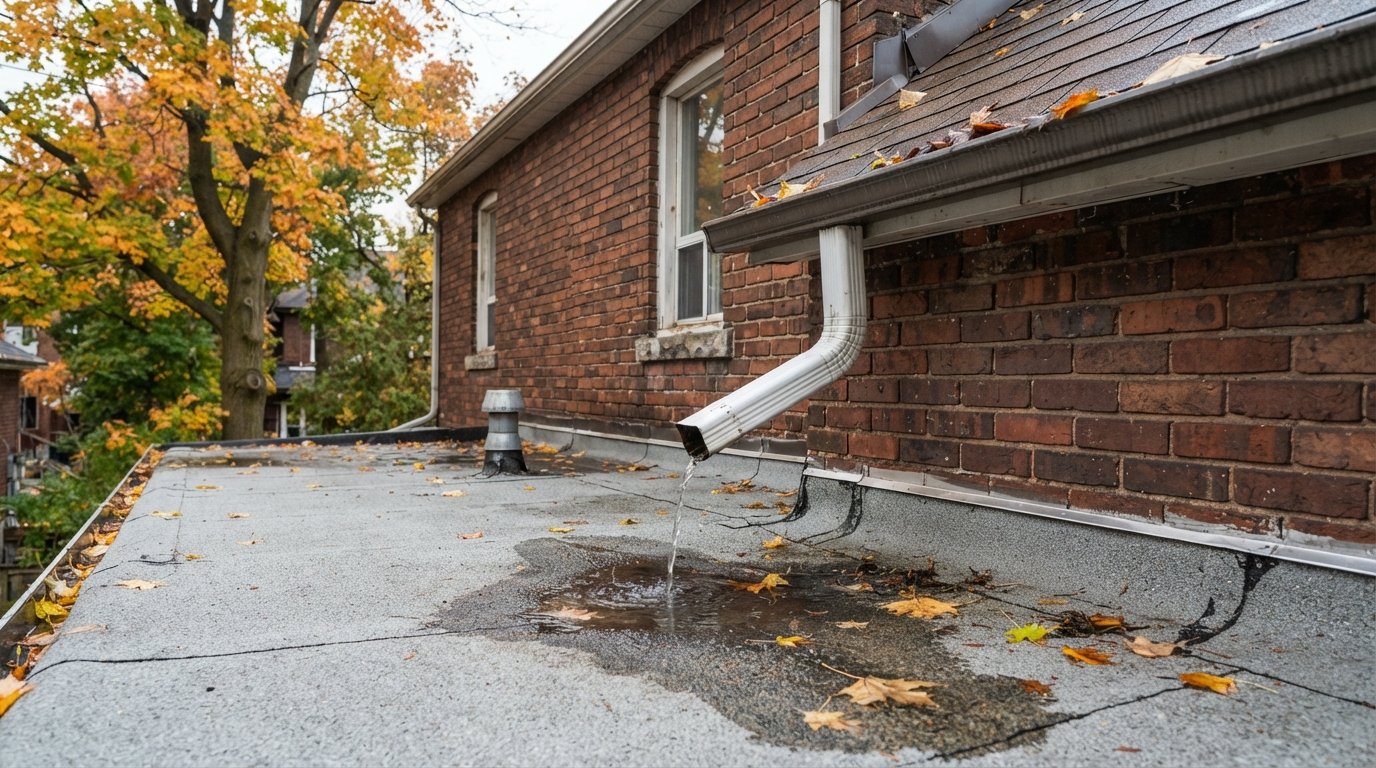
On a lot of Toronto row houses, semis and homes with a one-storey rear addition, the eavestrough on the upper sloped roof empties through a short downspout onto the flat roof below. An upper downspout on flat roof additions like these is so common that most owners never question it. But it puts every drop that falls on the upper roof onto one small patch of membrane, along with shingle granules, leaves and, later in the season, meltwater that refreezes. Over the years, that one spot often becomes the weakest part of the lower roof.
Here we look at what that concentrated flow does to different membranes, how splash pads and extensions help, when the downspout should be run to a drain or scupper or re-routed off the roof entirely, and how to prepare the outlet now for icy weather.
Why A Downspout On Flat Roof Areas Causes Trouble
The upper roof on a two-storey house can be larger than the lower flat roof it drains onto. In a heavy autumn storm, everything collected by that upper eavestrough leaves the downspout as a steady, fast stream aimed at one spot. Several things happen at once:
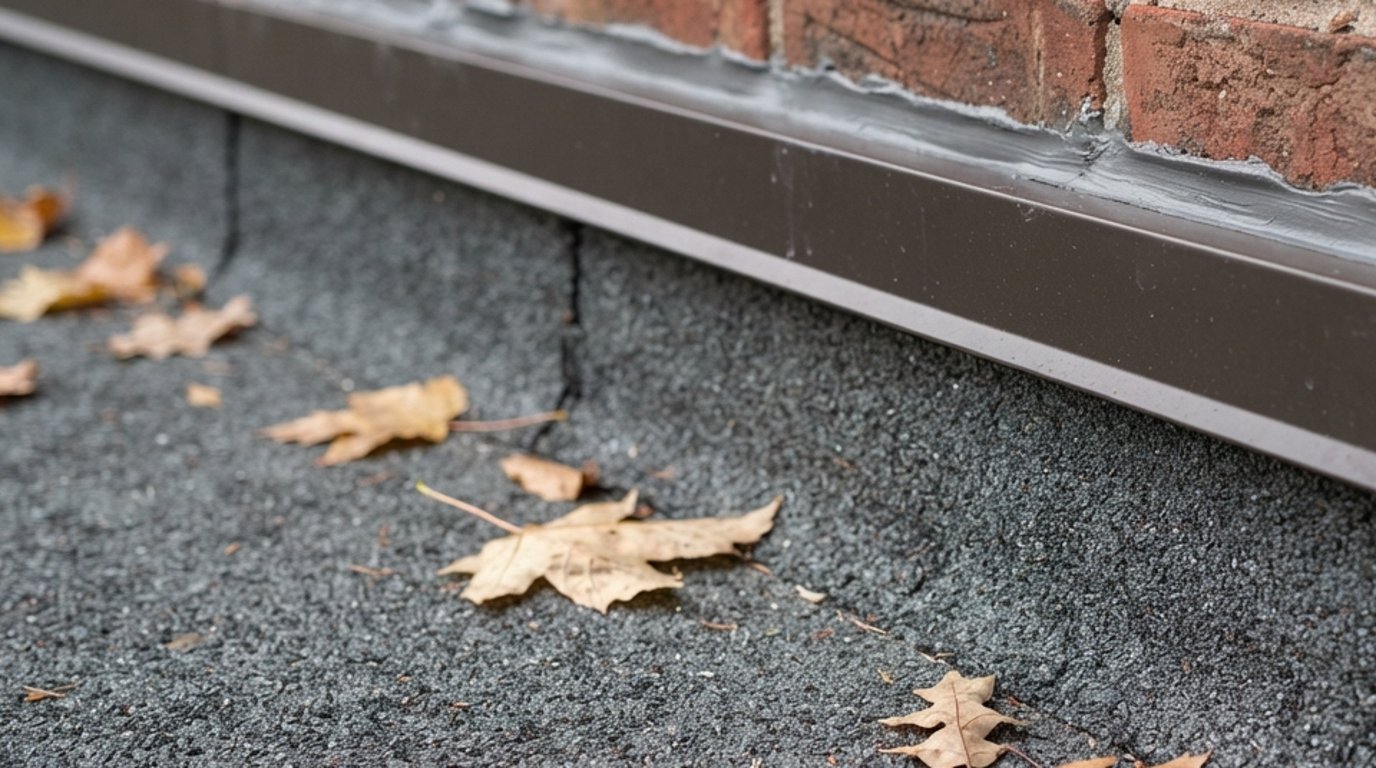
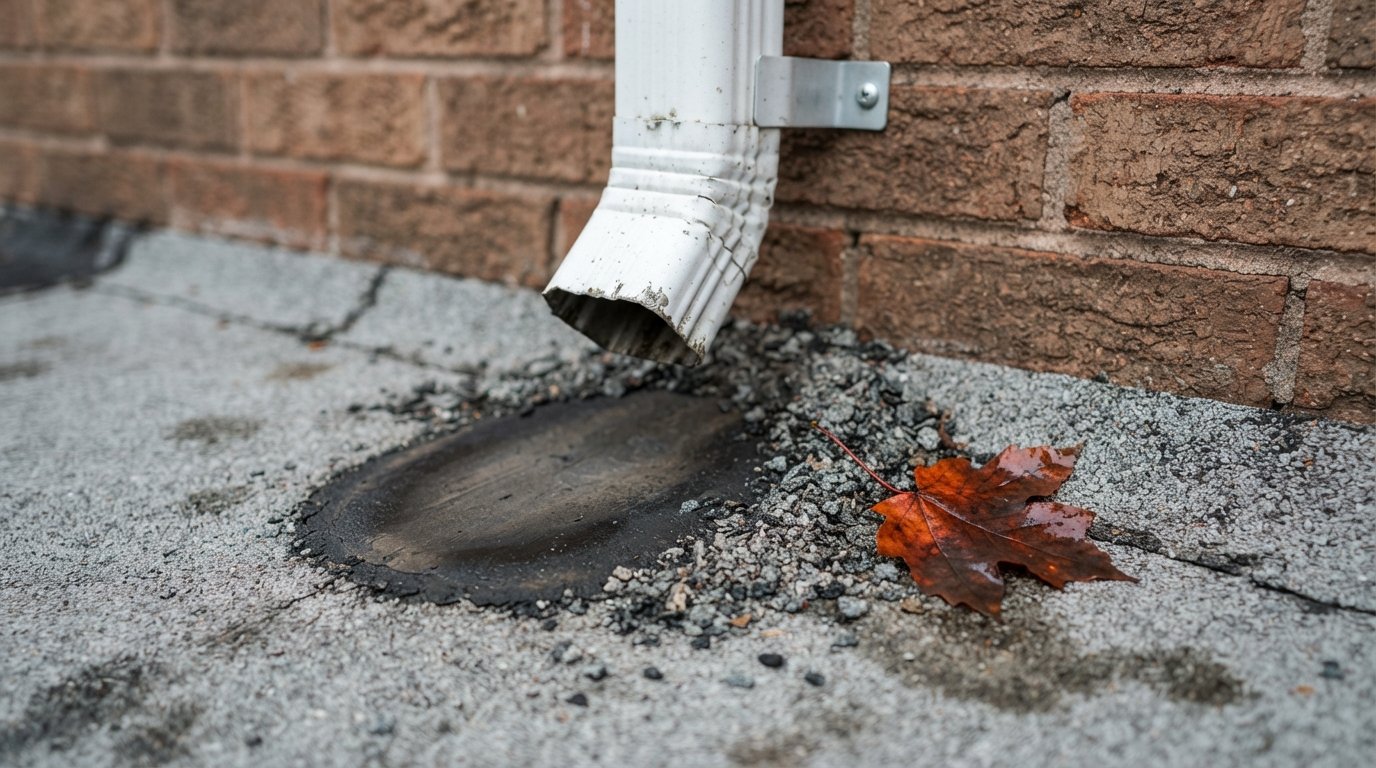
- Erosion. On gravel-surfaced built-up roofs, the stream washes the stone away and exposes the bitumen to sun and weather. On modified bitumen, the cap sheet granules wear off under the outlet, leaving a bald patch that ages quickly.
- Constant wetting. The membrane under the outlet is wet longer than the rest of the roof after every rain, and any weakness in a nearby seam or flashing gets tested first.
- Debris. Shingle granules, leaves and twigs from the upper roof are carried down and dumped at the outlet, and then washed toward the lower roof’s drain or scupper.
- Extra load on the lower drain. The drain or scupper on the lower roof now has to handle two roofs’ worth of water, and on many older houses it was not sized or placed with that in mind.
- Splash. When the outlet is close to the house wall, water splashes against siding, brick and the membrane upturn, wetting the wall tie-in during every storm.
The lower roof on most of these houses is a residential flat roof that was built or re-roofed separately from the main roof. Our residential flat roofing services cover exactly these additions and rear roofs, including the drainage details that tie them to the house.
How Different Membranes Hold Up Under The Stream
Not every roof wears the same way when a downspout on flat-roof sections empties onto it. Knowing what you have helps you decide how urgent the problem is.
| Roof type | What the stream does | Typical warning signs |
|---|---|---|
| Built-up roof with gravel | Washes gravel away, exposes bitumen to sunlight | Bare black patch below the outlet, gravel piled downhill |
| Modified bitumen with granules | Wears granules off the cap sheet | Smooth, shiny area under the outlet, granules collected at the drain |
| EPDM rubber | Little erosion, but debris and standing water collect at seams | Dirty ring near the outlet, lifted seam edges in the wet zone |
| TPO or PVC | Resists erosion, but grit can scuff the surface and water sits at laps | Scuffed surface, debris build-up, ponding near the outlet |
| Coated or older patched roof | Wears coating and loosens old patches | Peeling coating, cracked patches near the outlet |
Whatever the membrane, the patch of roof under each downspout on flat-roof sections should be part of every inspection. A bald or scuffed spot does not mean the roof is leaking yet, but it is the place a leak is most likely to start.
Splash Pads And Diverters: The Simplest Fix
When the downspout on flat-roof additions has to stay where it is, the minimum improvement is to protect the membrane at the point of impact and steer the water toward the drain.
- Sacrificial membrane layer. An extra strip or pad of membrane compatible with the roof, adhered or welded under the outlet, takes the wear instead of the main roof. It can be replaced when it wears without touching the roof below.
- Walkway pads. Manufacturer-approved walkway or protection pads work well as splash pads, provided they suit the membrane and are installed as the manufacturer specifies.
- Elbows and diverters. A short elbow at the bottom of the downspout turns the stream so it runs along the roof toward the drain instead of hitting the roof straight on or pointing at the wall.
Avoid loose concrete splash blocks sitting directly on the membrane. They shift, grind grit into the surface and can tear the roof when someone kicks or slides them. Anything placed on the roof should be compatible with the membrane and either adhered or set on a protection layer.
Splash pads are a good answer when the lower drain is close to the outlet and handles the combined flow comfortably. They do not solve debris, ice at the outlet or an overloaded drain.
Extending The Downspout To A Drain Or Scupper
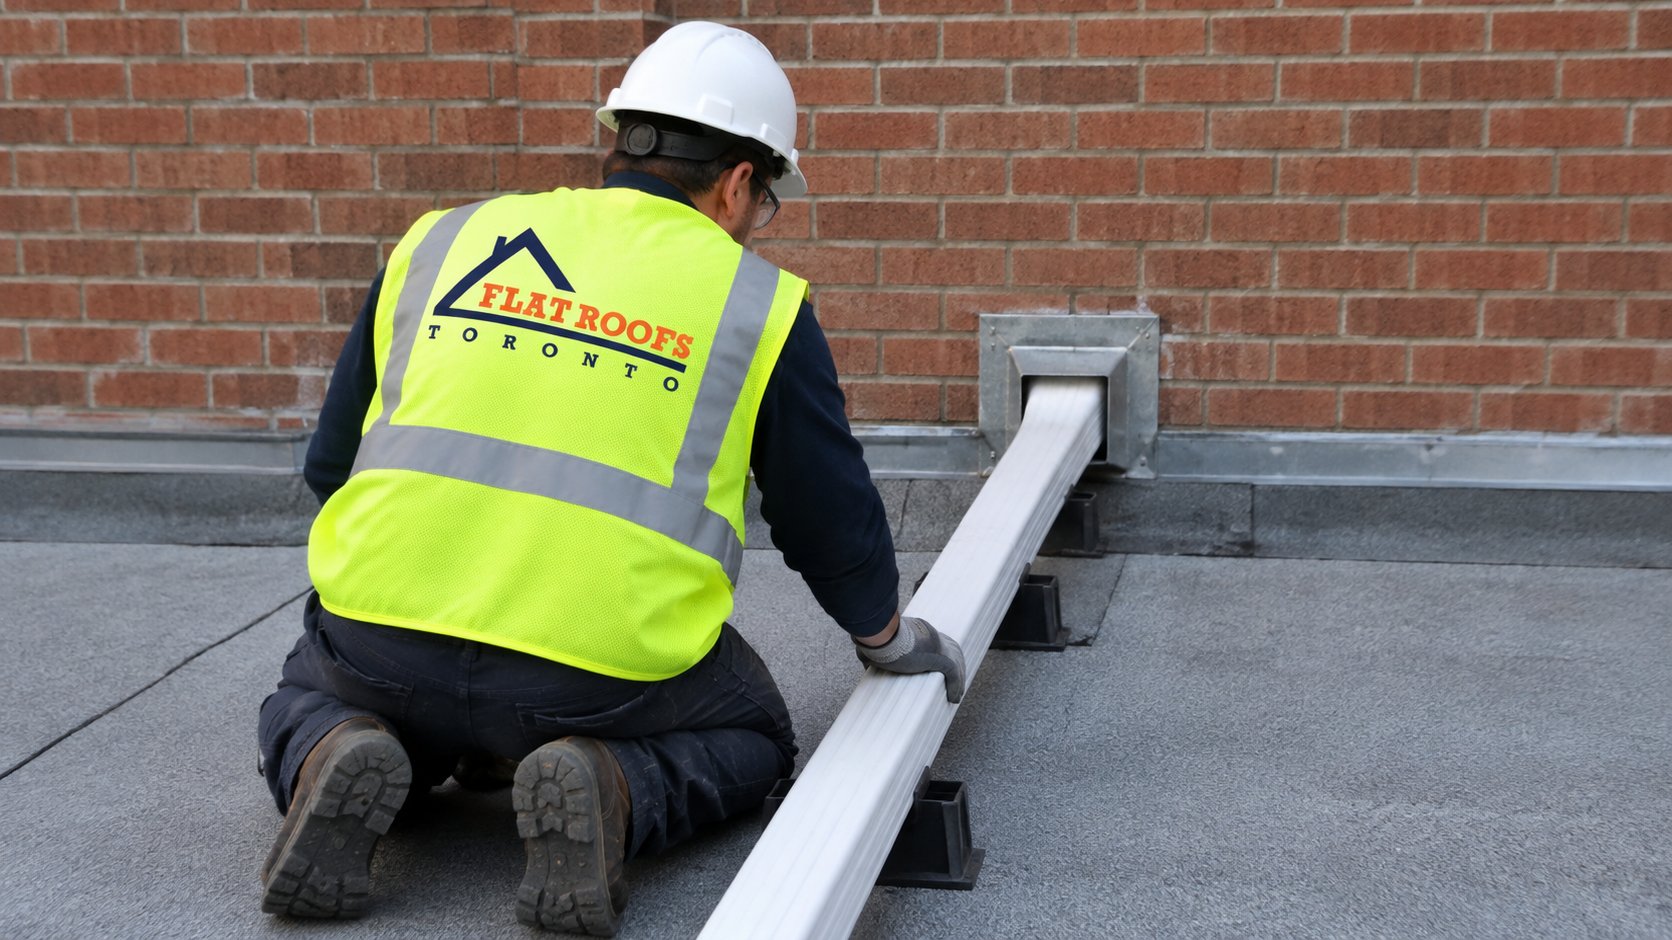
The next step up is to stop the water landing on the lower roof at all, by carrying it across the lower roof in a pipe and discharging it straight into the lower drain, a scupper or the lower roof’s eavestrough.
- Plan the route. The extension should be as short and direct as possible, with a steady fall toward the outlet, so it empties after each rain instead of holding water.
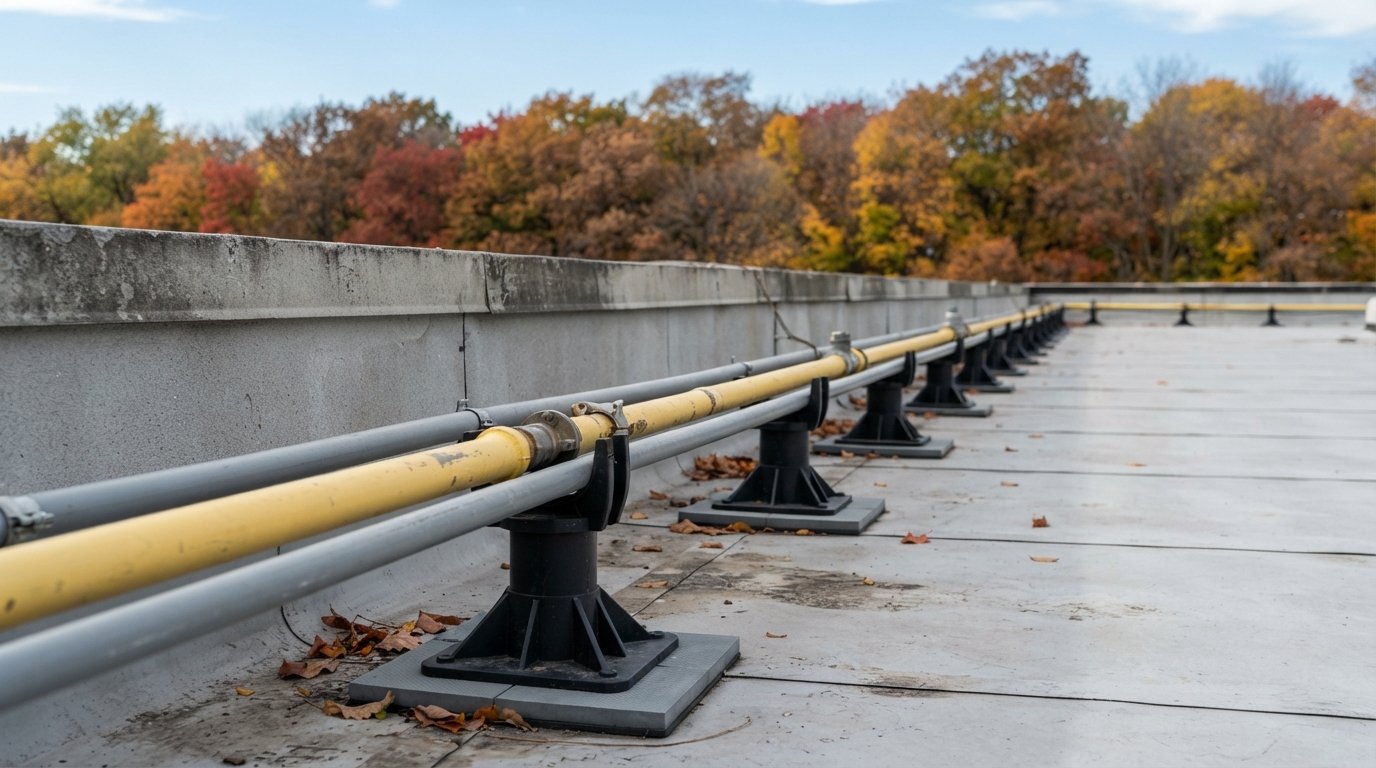
- Support it without penetrating the roof. Pipe supports or blocks set on protection pads hold the extension above the membrane. Screwing straps through the roof to hold a pipe creates new holes in exactly the area you are trying to protect.
- Connect it properly. At a scupper, the extension can discharge into a conductor head or directly through the scupper opening. At an internal drain, it should sit over the strainer, not inside it, so the strainer can still be removed and cleaned.
- Secure it against wind. A loose extension on a flat roof can move in a storm and scrape the membrane. Supports should be heavy enough or tied together so the run stays put.
An extended downspout on flat roof additions still has trade-offs. The pipe collects leaves and can clog at elbows, it can freeze if it holds water, and it gets stepped on by anyone working on the roof. It is still a large improvement over a stream hitting the membrane, and on many houses it is the only practical option.
Ice At The Outlet Later In The Season
The problem that catches most owners with a downspout on flat-roof additions by surprise arrives after the leaves are down. On sunny winter days, snow on the upper roof melts, runs into the eavestrough and down the downspout, then lands on a lower roof that is still below freezing. It refreezes at the outlet. Night after night, a mound of ice builds up under the downspout, and once it blocks the end of the pipe, water backs up into the downspout and eavestrough above, which can split the pipe or overflow onto the wall.
Ice also blocks the lower roof’s drain or scupper. When the next thaw arrives, water ponds behind the ice, finds the nearest weak lap or flashing and gets into the building. The roof did not fail on that day; the drainage did.
Ways to reduce the risk, best done now while the weather is mild:
- Clear leaves from the upper eavestrough, the downspout and the lower drain before freezing nights settle in.
- Make sure any extension slopes steadily and has no low spots that hold water.
- Check that the lower drain or scupper is clear and has a strainer or guard that sheds debris.
- Where icing is a repeated problem, discuss self-regulating heat cable in the downspout and outlet. It should be a product rated for that use and installed by a licensed electrical contractor, and it treats a symptom rather than the drainage layout.
When To Re-Route The Downspout Off The Roof
Where the house allows it, the cleanest answer is to keep the upper roof’s water off the lower roof completely. That usually means moving the upper downspout so it runs down a side wall of the addition to the ground, or into the lower eavestrough at the edge instead of the middle of the roof.
| Option | Best when | Advantages | Limitations |
|---|---|---|---|
| Splash pad and elbow | Drain is close and copes with the flow | Simple, low cost, easy to maintain | Does not fix debris, ice or overloaded drains |
| Extension to drain or scupper | Downspout must stay, outlet is a reasonable distance away | Water never hits the membrane | Needs supports, can clog or freeze, vulnerable to foot traffic |
| Discharge into lower eavestrough at the roof edge | Lower roof has an edge eavestrough nearby | Short run, keeps water off most of the roof | Lower eavestrough and downspout must handle the combined flow |
| Re-route down the wall to ground | A side wall or corner gives a clear path to grade | Removes the load from the lower roof entirely | Needs a suitable wall route and safe discharge at grade |
If the downspout goes to the ground, it should discharge onto a splash pad or extension that carries water away from the foundation and off walkways, where it will not freeze into a slip hazard. Toronto requires most downspouts to be disconnected from the sewer, with some exemptions, so check the City’s current rules before you tie anything into a pipe below grade.
Good moments to re-route a downspout on flat-roof additions include when the lower roof is being replaced, when the upper eavestroughs are being renewed, or when ice and leaks at the outlet have become a yearly pattern. If you are replacing the lower roof anyway, see our flat roof replacement page for how drainage is planned into a new roof.
Row Houses, Shared Roofs And A Neighbour’s Downspout
On attached row houses and semis, drainage does not always respect property lines. It is common to find an upper downspout from one house landing on the lower roof of the house next door, or two lower roofs that drain across each other toward one shared scupper. When that is the case, the owner whose roof takes the water often bears the wear without any say over the source.
A few practical points help:
- Talk before you change anything. Moving a neighbour’s downspout, or blocking water that has always crossed the party line, can simply shift the problem onto their roof or wall. A shared plan works better than two separate fixes.
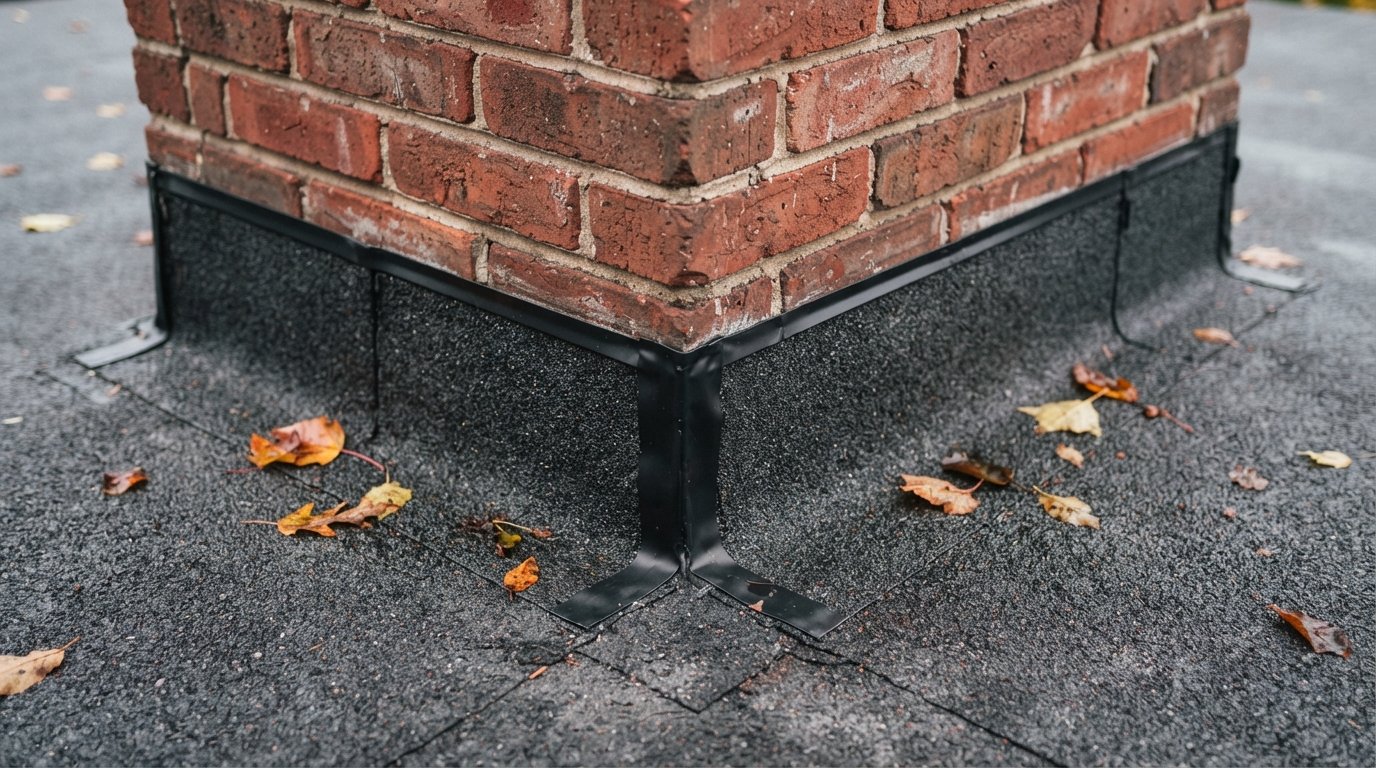
- Check the party wall flashing. Where two lower roofs meet at a parapet or curb, that joint is often where the combined flow causes leaks. It should be flashed so water cannot run between the two roofs.
- Coordinate re-roofing where possible. When one house replaces its lower roof, the neighbour’s adjoining roof edge and any shared drain are worth looking at in the same visit, so the new and old roofs tie together properly.
- Keep records. Photos of where each downspout lands and how water moves after a storm help everyone see the same problem.
A roofer can assess both roofs in one visit if both owners agree, and seeing each downspout on flat-roof sections along the row at the same time often turns a recurring disagreement into one straightforward drainage plan.
What The Work Typically Costs
Most fixes for an upper downspout on flat-roof additions are modest jobs. Price depends on access, how far the water has to travel, the roof membrane, and whether eavestrough work or a wall route is involved. Use the ranges below as rough budgeting figures for typical GTA homes.
| Work | What is involved | Typical estimate range (CAD) |
|---|---|---|
| Splash pad and elbow | Compatible pad adhered or welded, elbow fitted | Often $200 to $600 |
| Repair of eroded area | New cap or patch where the stream wore the roof | Often $400 to $1,200 |
| Extension to drain or scupper | Pipe, supports on protection pads, connection | Often $350 to $1,000 |
| Re-route down the wall | New downspout path, brackets, ground discharge | Often $400 to $1,200, more for long or high runs |
| Reinforced impact zone during re-roofing | Extra ply or pad built into the new roof | Often a small add-on to the re-roof, commonly $150 to $500 |
What a maintenance visit usually includes is covered in our frequently asked questions.
Is it normal for an upper downspout to drain onto my flat roof?
Can I put a concrete splash block on my flat roof?
Why does ice build up under my downspout in winter?
Should I extend the downspout across the roof?
Can the downspout be moved so it goes to the ground?
When is the best time to fix downspout drainage?
Sort Out That Downspout On Flat Roof Additions Before Freeze-Up
A downspout aimed at your lower roof is easy to ignore until the bald patch leaks or the outlet freezes solid. Flat Roofs Toronto inspects lower roofs, repairs eroded membrane, installs splash pads and extensions, and plans re-routes so the upper roof’s water stops wearing out the roof below.
Call us today at (647) 333-3528 or request a free estimate.
Sorting out lower-roof drainage on row houses, semis and additions in Toronto and the GTA.