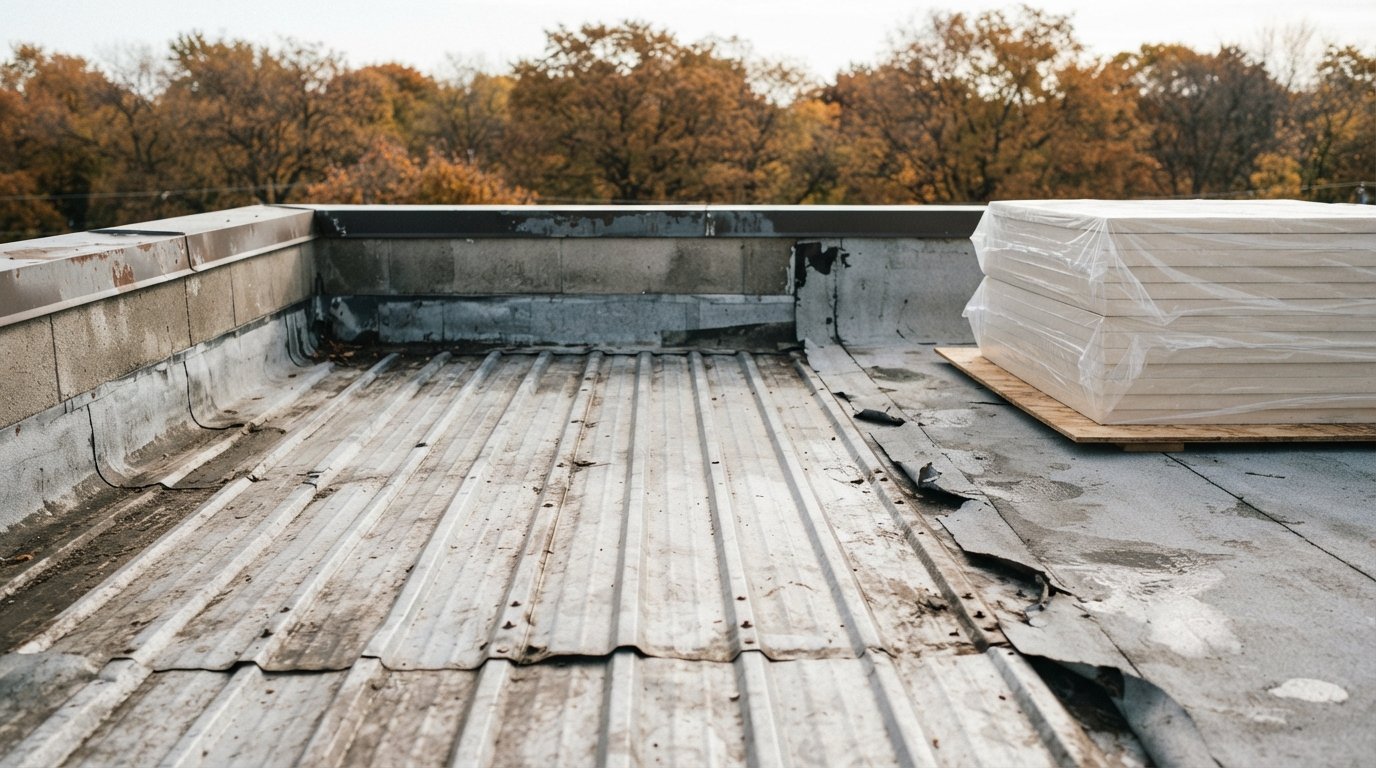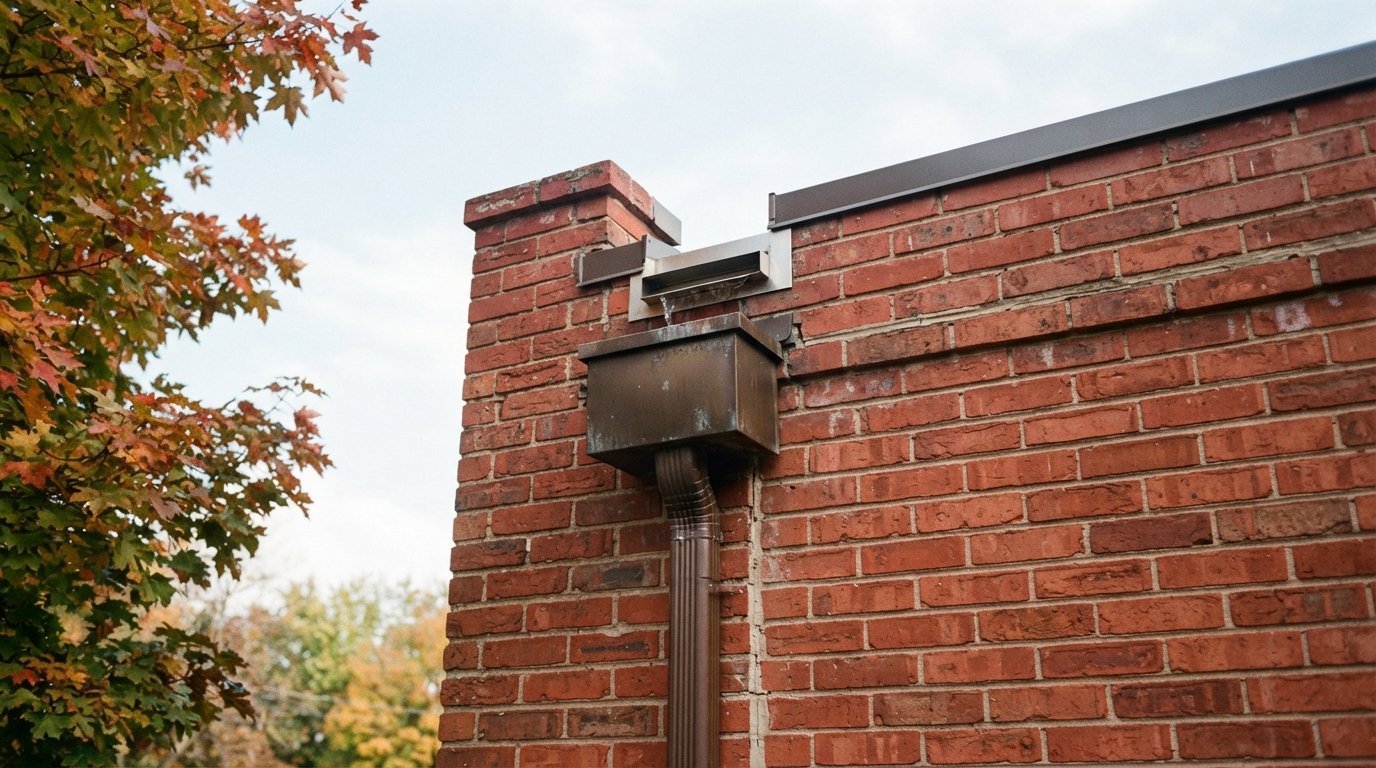

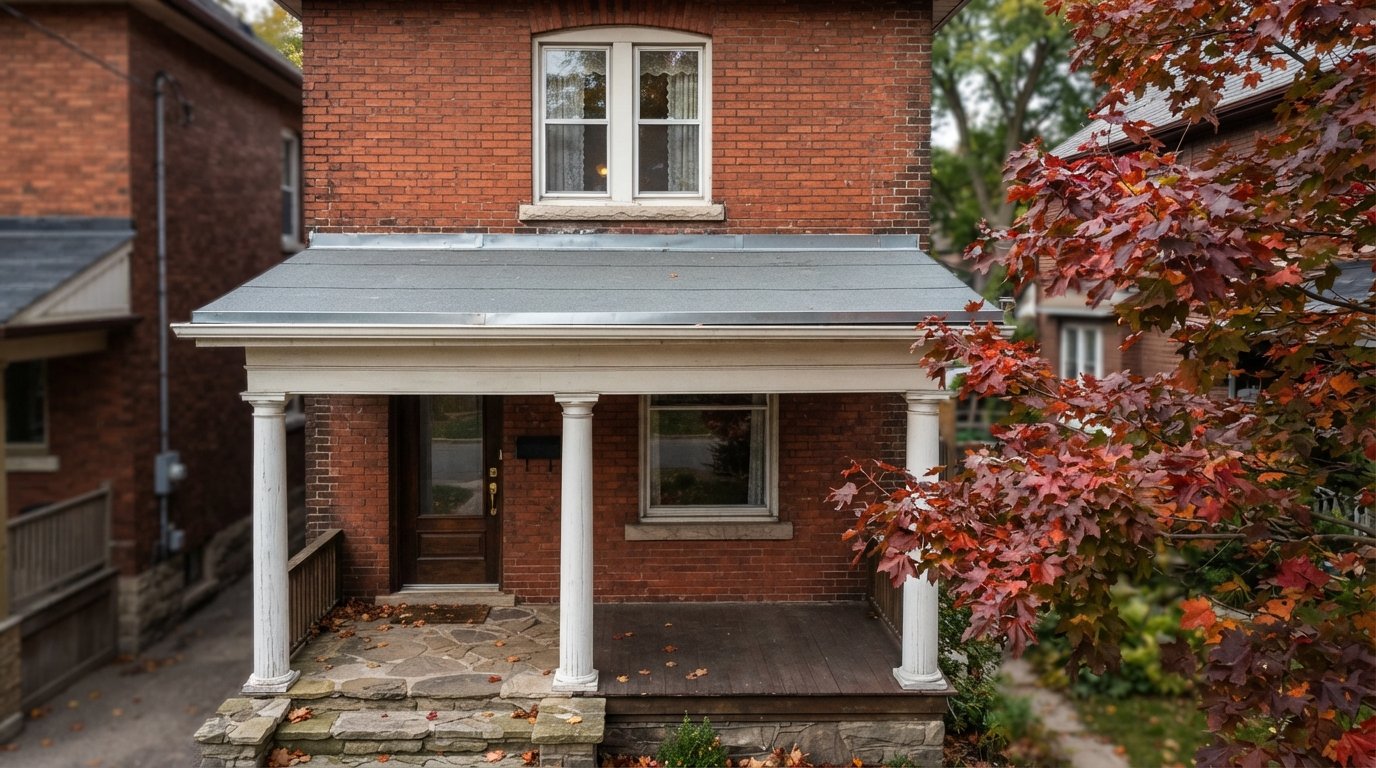
The porch roof is often the first roof a visitor walks under and the last one an owner thinks about. On Toronto’s older semis and detached homes, front porches usually carry a low-slope roof supported by a wooden beam and a pair of columns, with a painted beadboard ceiling underneath. Because the slope is too shallow for shingles, it needs a proper membrane, and because it meets the house wall right under a window, the tie-in at that wall decides whether it stays dry.
This guide is about porch roofs specifically: which membranes suit them, how they should meet siding or brick, why drip edges and slope matter, how to spot rot in beams and columns, what to do about ceilings and light fixtures, and how a porch roof can be replaced without touching the main roof.
What Makes A Porch Roof Different From The Main Roof
A porch roof is small, but it has more problem areas per square metre than almost any other roof on the house:
- Low slope. Many fall only slightly toward the street. That is fine for a membrane, but asphalt shingles are not designed for very shallow slopes. Manufacturers and the building code set minimum slopes for shingles, and below those a membrane is the right choice.
- A wall connection. The back edge runs the full width of the house wall, often just under a window sill, which limits how high flashing can go.
- Exposed structure. The beam, columns and ceiling are open to weather and splash in a way the main roof framing never is.
- Foot traffic. Many owners and contractors step out of a second-floor window onto it for painting, window cleaning or eavestrough work. Unless it was built as a walkout deck with guards, it is not designed for that.
If your porch roof is part of a wider plan for the house, our residential flat roofing services cover porches, rear additions and garages as well as main roofs, so the details can be matched across the house.
Choosing A Membrane For A Flat Porch Roof
The right material depends on slope, how visible the roof is from the street and upper windows, and how close combustible wood is to the work.
| Option | Best suited to | Advantages | Things to watch |
|---|---|---|---|
| Two-ply modified bitumen, self-adhered base | Most low-slope porches | Tough, familiar to repair, no open flame on the base ply near wood siding | Cap sheet colour matters if visible from upper windows |
| Two-ply modified bitumen, torch-applied | Porches with masonry walls and clear access | Strong laps when done well | Open flame near wood framing, soffits and ceiling cavities needs strict fire precautions or should be avoided |
| EPDM rubber | Simple rectangular roofs with few penetrations | Can often be done as one sheet, no flame | Edges and wall terminations need careful detailing; less forgiving of foot traffic |
| Standing seam metal | Porches with enough slope for the panel system | Traditional look on heritage-style houses, long life | Each panel system has its own minimum slope; check manufacturer requirements |
| Asphalt shingles | Only porches with adequate slope | Matches the main roof | Not suitable on very low slopes, where water backs up under the tabs |
On wood-framed porches tight against siding, many roofers prefer a self-adhered base sheet with a cap sheet, because the porch ceiling cavity is exactly where hidden smouldering can start. Ask your contractor which method they plan and how they protect the structure if any torching is involved.
Tying A Porch Roof Into Siding Or Brick
Most porch roof leaks are not in the middle of the roof. They are at the back, where the roof meets the house. Water runs down the wall above, reaches the roof surface and looks for a way behind the flashing.
Under siding
On houses with wood, vinyl or fibre cement siding, the bottom courses of siding along the porch line should be removed so the membrane can turn up the wall and lap behind the weather barrier. The siding then goes back over the membrane, with a small gap above the roof surface so it does not wick water. Membrane that simply butts against the siding, with a bead of caulking along the joint, depends entirely on that caulking, and caulking exposed to sun and frost does not last long.
On brick
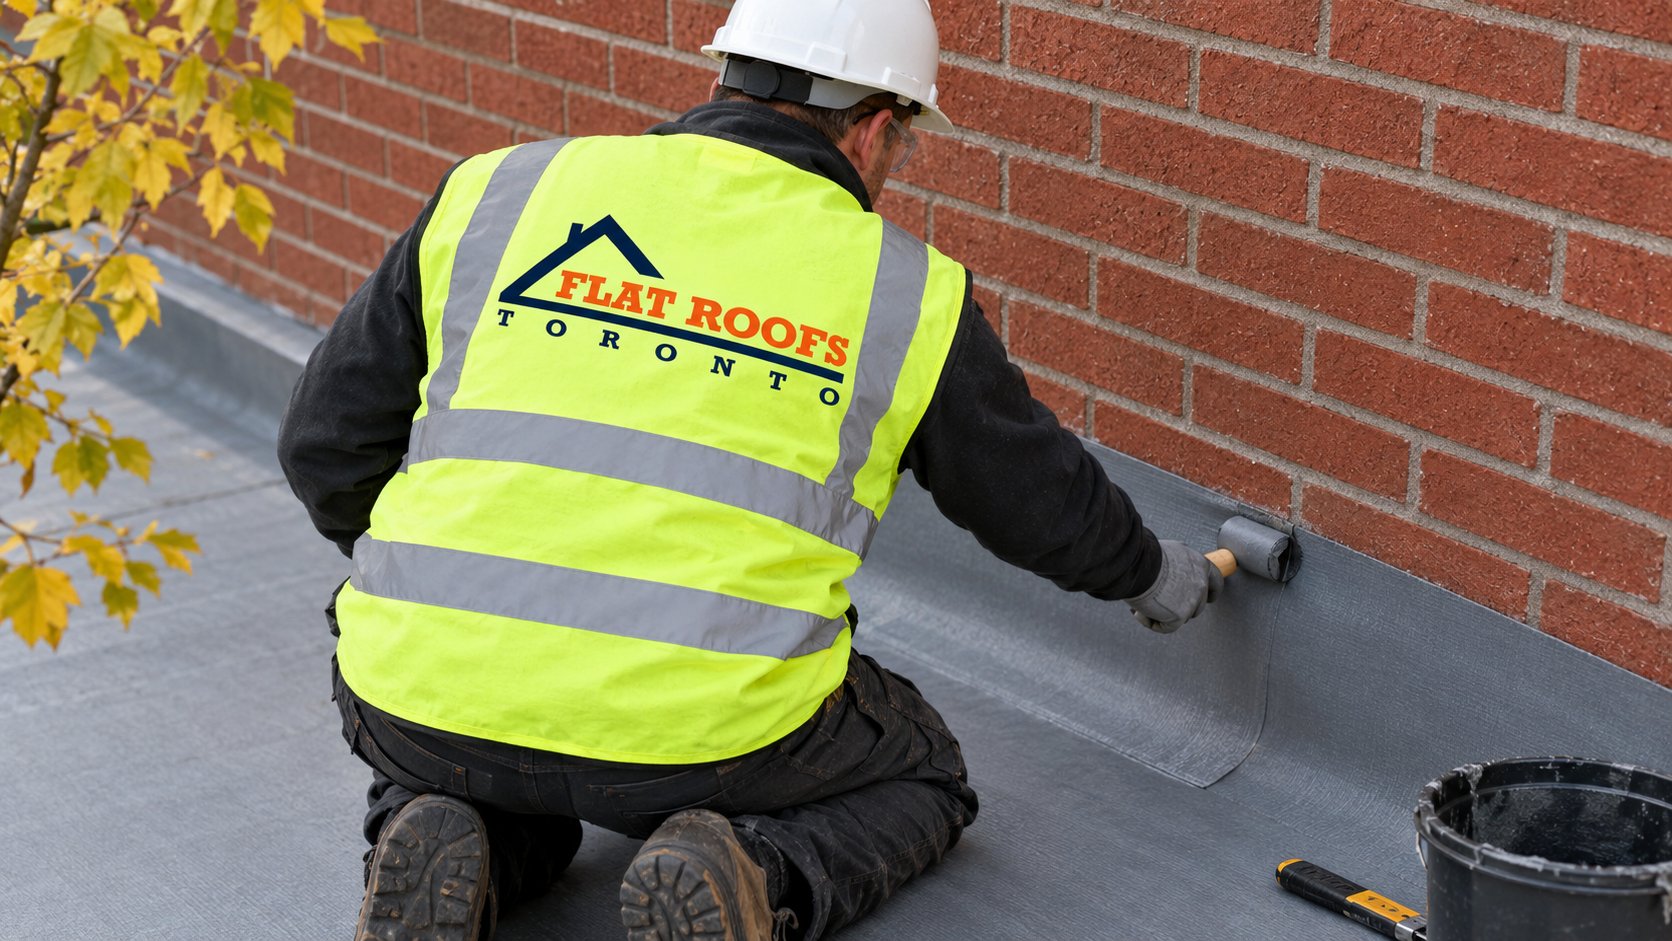
Against brick, the membrane turns up the wall and is covered by metal counterflashing. The best detail cuts a reglet, a narrow slot in a mortar joint, so the counterflashing tucks into the wall and sheds water over the membrane. A surface-mounted termination bar with sealant is a common alternative, but it needs the sealant renewed over time. Smearing roof cement up the face of the brick is not a tie-in.
Below windows
Many Toronto porches sit so close to the upstairs window sill that there is little room for a proper upturn. In those cases the sill flashing, the window’s own seal and the membrane upturn have to be detailed together, and sometimes the roof surface has to be lowered slightly or the slope adjusted at the back edge to gain height.
Slope, Drip Edges And Where The Water Lands
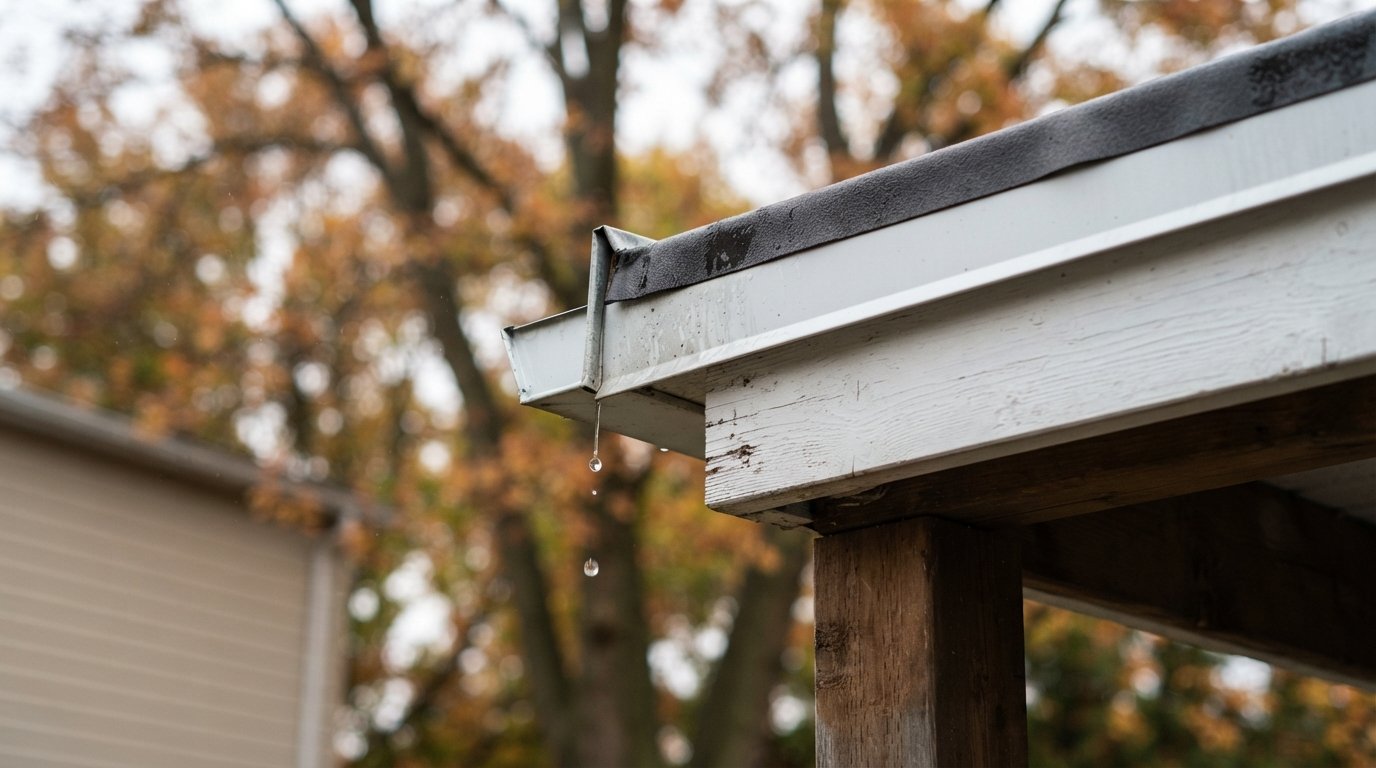
A flat porch roof that holds water for days will age quickly. Even a small fall toward the front edge helps, and where the existing framing is level, tapered insulation or sloped sleepers can create it during replacement. At the front, a metal drip edge should project past the fascia and beam so water drops clear instead of running back along the underside of the edge.
That last detail is the one that protects the beam. When water tracks back under a short drip edge, it soaks the top of the fascia and the beam behind it, which is exactly where porch rot starts. A front eavestrough with a downspout that discharges away from the steps keeps water off the stairs, which matters later in the season when water on concrete steps freezes overnight.
Also look up. If a downspout from the main roof empties onto the porch, the concentrated stream wears the membrane and overloads the front edge. Extending that downspout down to the porch eavestrough or across to the ground is a simple improvement.
Rotted Beams And Columns Under A Porch Roof
Because porch framing is exposed, it is often the first part of the house to show water damage. Signs to look for:
- A front edge that sags in the middle, visible from the sidewalk as a dip in the fascia line
- Paint that bubbles or peels at the bottom of columns or along the underside of the beam
- Wood at the column base that dents easily under a fingernail or screwdriver tip
- Columns sitting directly on concrete with no base or spacer, so end grain draws in water
- Gaps opening between the porch ceiling and the house wall
| Symptom | Likely source | What is usually needed |
|---|---|---|
| Sagging front edge | Beam rot or undersized beam | Temporary shoring, beam replacement, sometimes engineered lumber |
| Soft column base | End grain wicking from concrete, splash from steps | New column or base section with a raised standoff |
| Stain on ceiling near the wall | Failed wall tie-in or window sill flashing | Rework membrane upturn and counterflashing |
| Stain at the front of the ceiling | Short drip edge, open fascia joint, eavestrough overflow | New drip edge, fascia repair, eavestrough correction |
| Water at a light fixture | Leak travelling along framing to the lowest opening | Find the roof leak first, then repair ceiling and fixture |
Structural porch repairs are carpentry as much as roofing. Replacing a beam or columns may need a building permit, and houses in a heritage conservation district or with heritage designation may have rules about changing what the porch looks like. Check with the City before work starts. The roofing should be scheduled with the carpentry so the new membrane goes onto sound framing, not over a beam that will be replaced next year.
Porch Ceilings, Pot Lights And Other Penetrations
Porch ceilings hide the problem until it is advanced. A beadboard or plywood ceiling covers the underside of the roof deck, and the space between is often unvented. Water that gets in through the roof or wall tie-in spreads along the framing and stays there, and the first visible sign may be a stain at a pot light or a drip from a fixture.
- Water at a light fixture is an electrical issue. Turn that circuit off at the panel and leave the fixture alone until it has dried and been checked. Electrical work should be done by a licensed electrical contractor, who can tell you about any ESA requirements.
- Recessed lights cut large holes in the ceiling and can let warm, humid air from below condense under a cold deck. Surface-mounted fixtures rated for damp locations avoid that.
- Roof penetrations should be minimal. Satellite dish mounts, old antenna brackets and decorative finials screwed through the membrane are frequent leak points.
During replacement, it is worth opening at least part of the ceiling to inspect the deck and framing. Damaged ceiling boards can be replaced at the same time, and wiring can be checked while it is exposed.
Replacing A Porch Roof Without Disturbing The Main Roof
A porch roof can almost always be replaced as a separate job. A typical sequence looks like this:
- Protect the steps, landscaping and front door, and set up access from the ground rather than across the main roof.
- Remove the old roofing down to the deck, plus the bottom siding courses or old counterflashing at the wall.
- Inspect and replace rotten deck boards; address beam and column repairs before any roofing goes down.
- Install drip edge, base sheet and cap sheet (or the chosen system), turning the membrane up the wall.
- Install counterflashing or reinstate siding over the upturn, then reinstall or replace the eavestrough.
Where the main roof’s eave overhangs the porch, the crew works under it rather than lifting it. If the main roof is near the end of its life, it can make sense to plan both together, but that is a choice, not a requirement. For a full replacement of a larger flat roof elsewhere on the house, see our flat roof replacement page, and browse our projects for examples of smaller roofs.
Porch Roof Costs And The Questions That Sharpen A Quote
Price depends on porch size, how much rot is found once the old roofing is off, whether carpentry or a permit is needed, and how the wall tie-in has to be rebuilt. The figures below are rough GTA ranges for budgeting, and individual homes can land outside them in either direction.
| Item | What it usually covers | Typical estimate range (CAD) |
|---|---|---|
| Membrane re-roof of a small porch | Tear-off, minor deck repair, drip edge, two-ply membrane, wall upturn | Often $2,000 to $5,500 |
| Wall tie-in rework only | Remove siding courses or old counterflashing, new upturn and counterflashing | Often $600 to $1,800 |
| Column replacement | Shoring, new column or base section, standoff, paint-ready finish | Commonly $700 to $2,000 per column |
| Beam replacement | Shoring, remove fascia and ceiling edge, new beam, refinish | Often $2,500 to $7,000 or more, depending on span and permit needs |
| Porch ceiling replacement | Remove damaged boards, inspect framing, new beadboard or soffit panels | Often $800 to $2,500 |
Before you accept a quote, ask:
- Will you remove the bottom siding courses or cut a reglet, or are you relying on sealant at the wall?
- Is the base sheet self-adhered or torched, and how will you protect the ceiling cavity and siding?
- How far will the drip edge project past the fascia, and is a new eavestrough included?
- What happens to the price if the deck boards or beam turn out to be rotten?
- Will you photograph the deck and framing once the old roofing is off?
A contractor who answers those clearly, and itemises roofing and carpentry separately, is giving you a quote you can compare fairly.
Can I put shingles on my porch roof?
Why does my porch ceiling leak near the house wall?
How long does it take to replace a porch roof?
Is it safe to walk on a flat porch roof?
Does porch work need City approval?
Will replacing the porch roof affect my main roof?
Get Your Porch Roof Checked Before The Weather Turns
Autumn rain is when a weak wall tie-in or a rotting beam end shows itself, and it is still a workable season for roofing and carpentry. Flat Roofs Toronto inspects and replaces porch roofs, reworks wall flashing at brick and siding, and coordinates beam, column and ceiling repairs so everything is done in the right order.
Call us today at (647) 333-3528 or request a free estimate.
Proudly serving homeowners in Toronto and across the GTA.