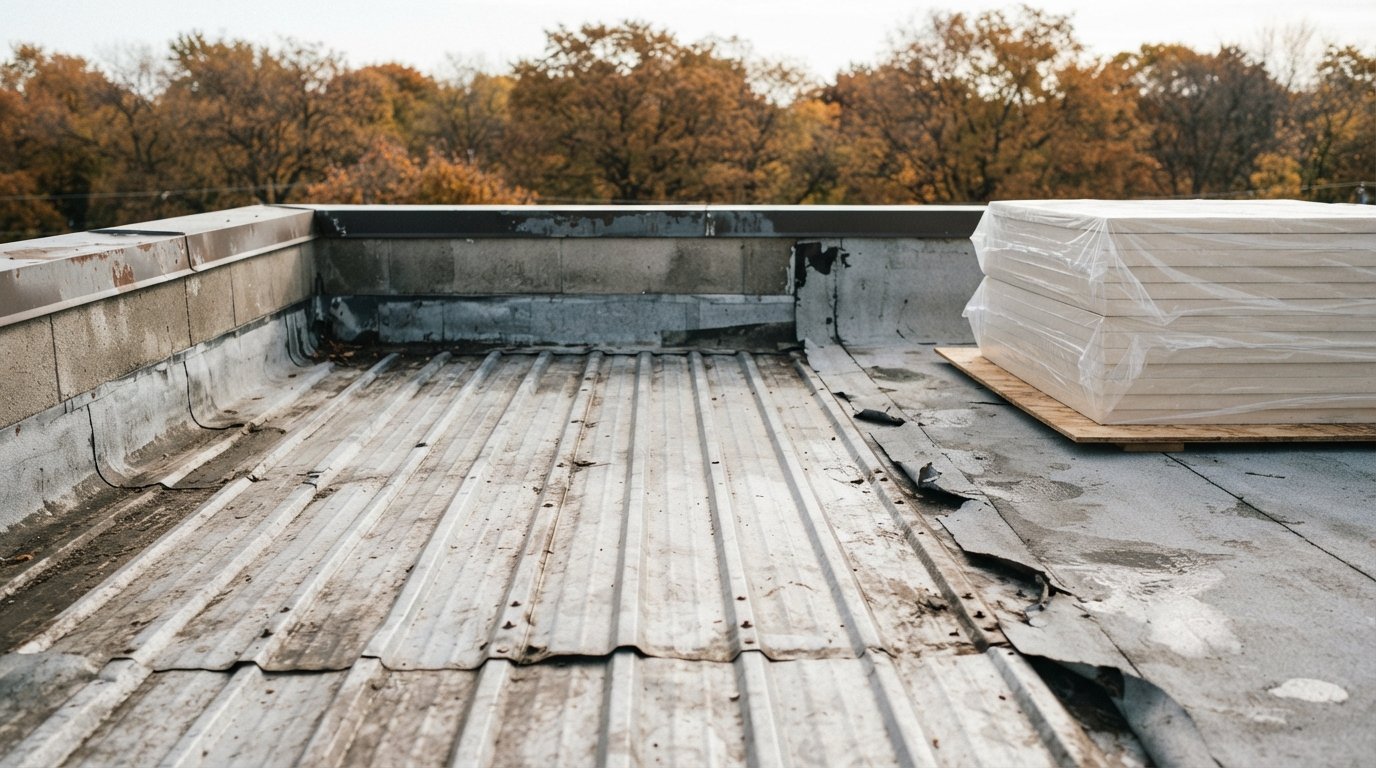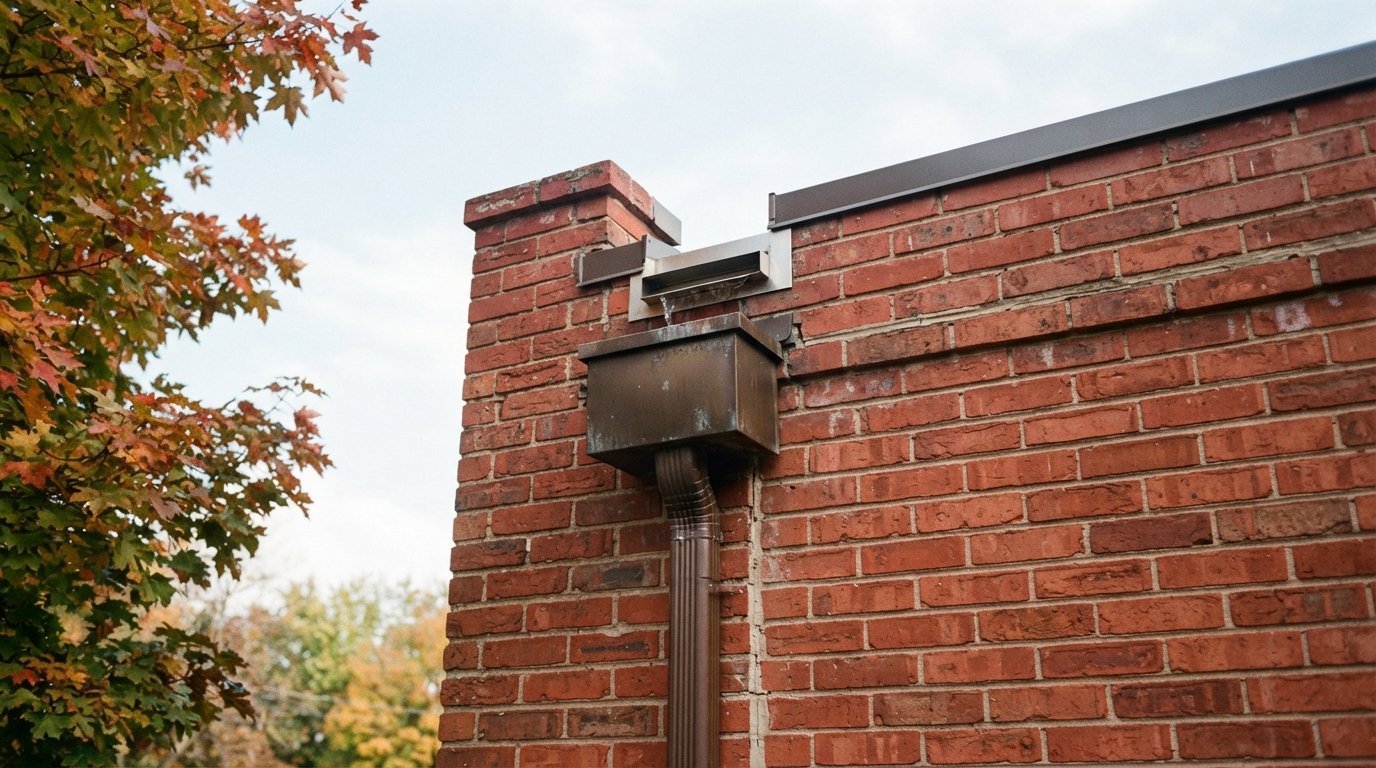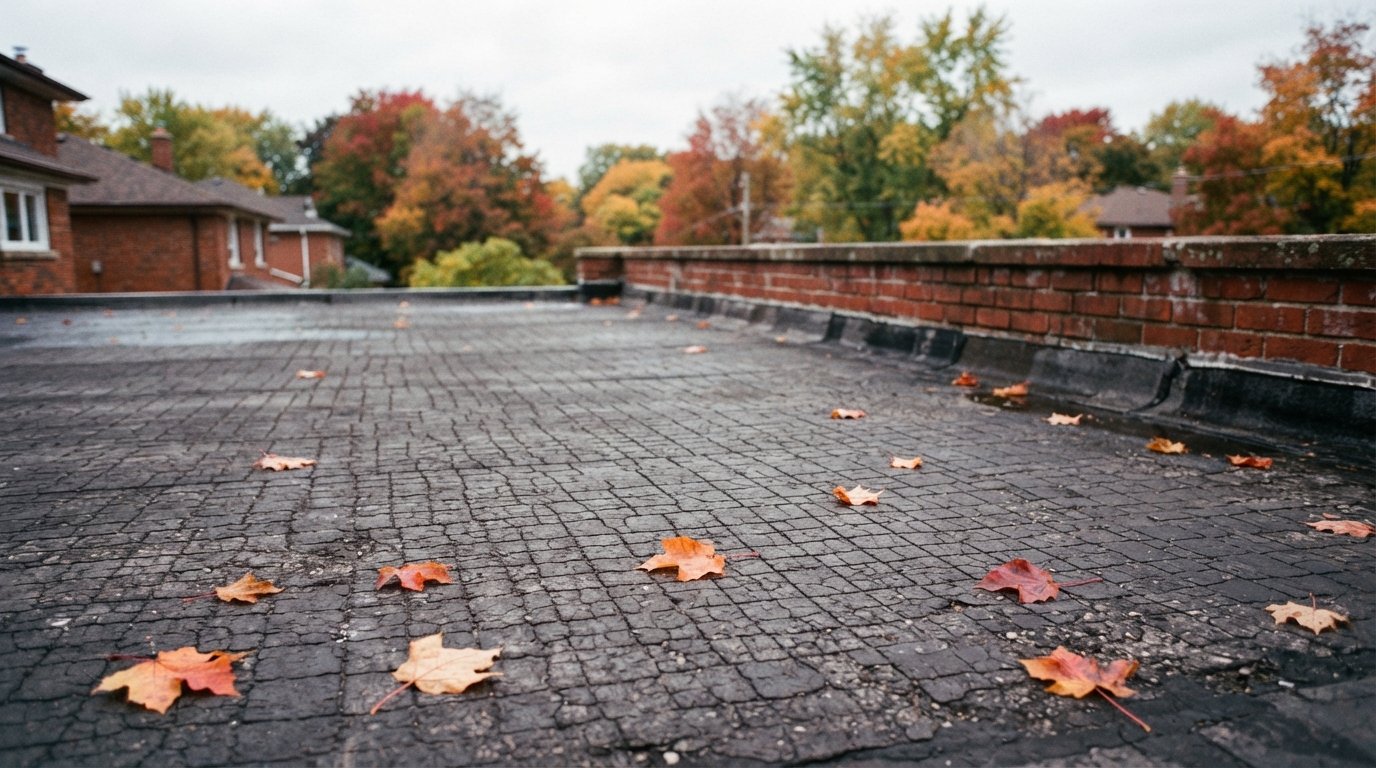

If you own a row house or a freehold townhouse in the GTA, there is a good chance your flat roof does not really end at your property line. On many older blocks, one continuous membrane runs across three, five or eight units, broken only by low party walls or by nothing at all. That makes a townhouse roof a shared system in practice, even when each owner is legally responsible only for the part over their own unit. When one owner replaces their section and the neighbours do not, the joint between new and old roofing becomes the most important detail on the whole block.
This guide explains how a professional handles that joint, how party wall flashing works, how to coordinate with neighbours without souring the relationship, and how things differ when your townhouse is part of a condominium corporation that controls the roof.
How a Shared Townhouse Roof Is Usually Built
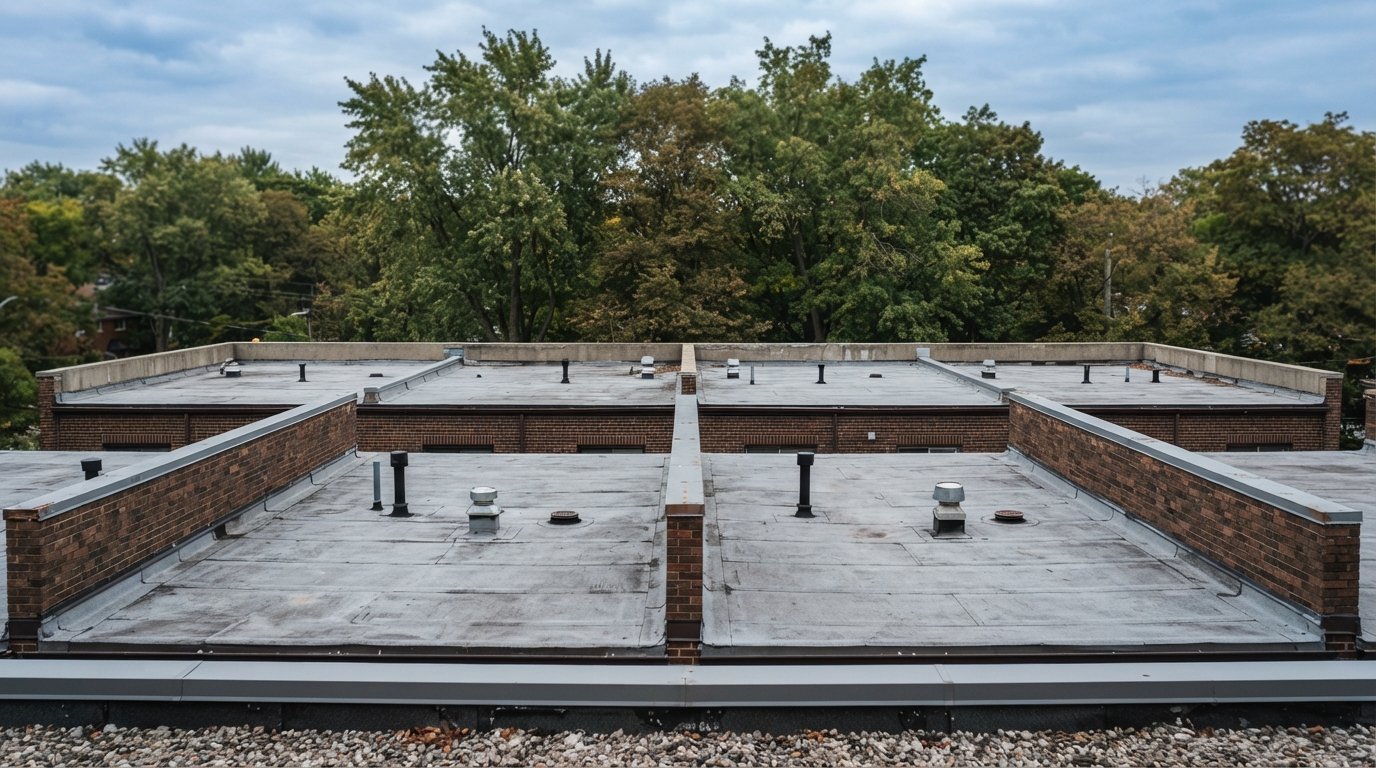
Row houses and townhouses were built as one project, so their roofs were built as one roof. The deck, insulation and membrane usually run continuously from one end wall to the other. Where the units meet, you typically find one of three arrangements:
- A raised party wall. The masonry wall between units extends above the roof surface as a short parapet, often capped with metal or stone. Each unit’s roof turns up and is flashed against it.
- A flush party wall. The wall stops at the underside of the roof deck, and the membrane runs straight over it with no visible break. From the roof, you may not be able to tell where one unit ends.
- A divider curb or cant strip. Some blocks have a low wooden curb or a line of flashing marking the boundary, added during a previous re-roof by one owner.
Drainage is often shared too. A single drain or scupper may serve two or three units, with water from one roof crossing another to reach it. Before any work begins on a townhouse roof, it is worth mapping where the water actually goes, because changing the height or slope of one section can send a neighbour’s water somewhere it has never gone before.
Our residential flat roofing crews start every row house job by walking the whole block roof with the neighbours’ permission, not just the client’s section, to see the drainage pattern, the existing membrane types and the condition of each party wall.
Tying a New Membrane Into a Neighbour’s Old Roof
When one owner replaces their roof and the next-door owner does not, the new and old roofs have to meet in a way that keeps water out of both houses. This is called a tie-in, and it is where most shared roof leaks start. A good tie-in has three goals: it must be watertight, it must not damage or void anything on the neighbour’s side, and it should let the neighbour replace their own section later without tearing up yours.
Common tie-in approaches
| Approach | How it works | Best suited to | Watch for |
|---|---|---|---|
| Lap tie-in onto the old membrane | Old roof is cleaned and primed for a strip past the line, new membrane laps onto it | Compatible bitumen roofs with no party wall above the deck | Needs neighbour’s permission to work on their side; old membrane must be sound |
| Raised divider curb at the line | A wood curb is built at the property line, each roof turns up and is capped with metal | Flush party walls where the owners want a clear separation | Curb must not block drainage; both sides need proper flashing |
| Flashing to an existing parapet | New membrane turns up the party wall, with counter flashing or cap metal above | Blocks where party walls already rise above the roof | Condition of the masonry and cap; neighbour’s side of the wall still needs its own flashing |
| Transition strip between different systems | A compatible transition material joins two membranes that cannot bond directly | New single-ply next to old bitumen or vice versa | Must follow both manufacturers’ details |
| Replace both sections together | Both owners re-roof at once and the line becomes an ordinary seam | Neighbours whose roofs are similar in age and condition | Cost sharing and scheduling agreement in writing |
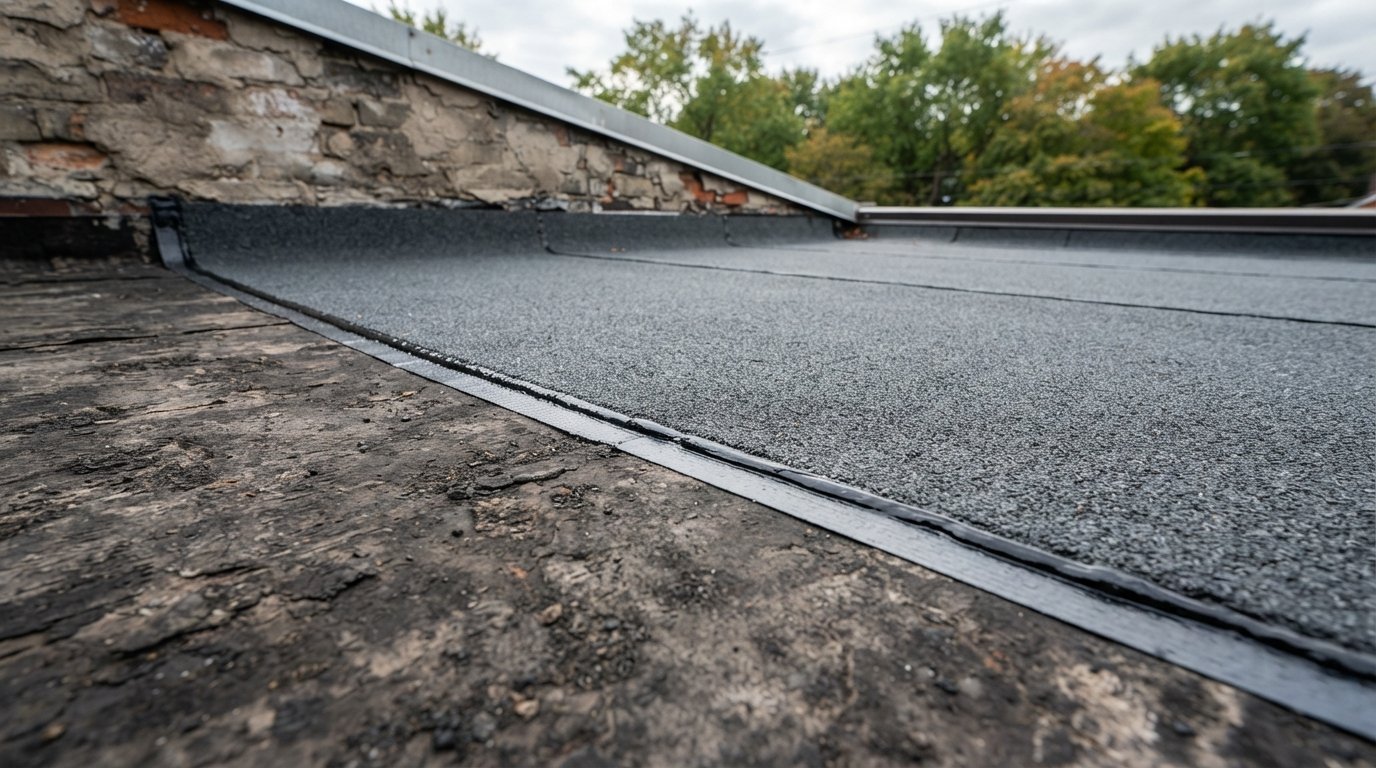
The lap tie-in is the most common on older bitumen roofs because it is simple and, done well, very durable. The contractor cuts back any loose or blistered material on the neighbour’s side, cleans and primes a strip, and laps the new membrane over it by a generous margin. That work happens on the neighbour’s roof, so you need their permission before anyone steps across the line.
A divider curb is often the better choice when the neighbour’s roof is in poor condition. It creates a clear break, so a future leak on their side is less likely to travel under your new roof. The trade-off is drainage: a curb acts like a small dam, so it only works where each side has its own drain or scupper, or where a proper cricket and outlet are added.
Membrane compatibility
Not every roofing material bonds to every other one. Modified bitumen bonds well to older asphalt built-up roofs once the surface is cleaned and primed. Single-ply membranes such as TPO and EPDM do not bond directly to asphalt and need specific transition details. The manufacturer of the new membrane publishes approved details for these joints, and a careful contractor follows them, because a tie-in done outside those details can create trouble with the manufacturer’s warranty terms. Ask for the relevant detail sheet if you are unsure.
| New membrane | Existing neighbour roof | Typical joint |
|---|---|---|
| Modified bitumen | Older asphalt built-up roof | Clean, prime and lap directly, or use a divider curb if the old roof is weak |
| Modified bitumen | Older modified bitumen | Direct lap onto a cleaned, primed and sound surface |
| TPO or PVC | Asphalt or modified bitumen | Separation or transition detail from the manufacturer, often with a curb or termination bar |
| EPDM | Asphalt or modified bitumen | Manufacturer transition detail; the rubber is not simply lapped onto bitumen |
| Any membrane | Neighbour roof with blisters, wet insulation or open seams | Divider curb so a failing roof next door does not feed water under the new one |
Party Wall Flashing Done Properly
Party walls are both a waterproofing detail and a fire separation. The wall between two townhouses is there partly to slow a fire moving from one home to the next, and anything done to it during roofing has to respect that.
On a raised party wall, proper flashing usually includes:
- A cant or angle transition at the base so the membrane does not have to make a sharp 90-degree bend.
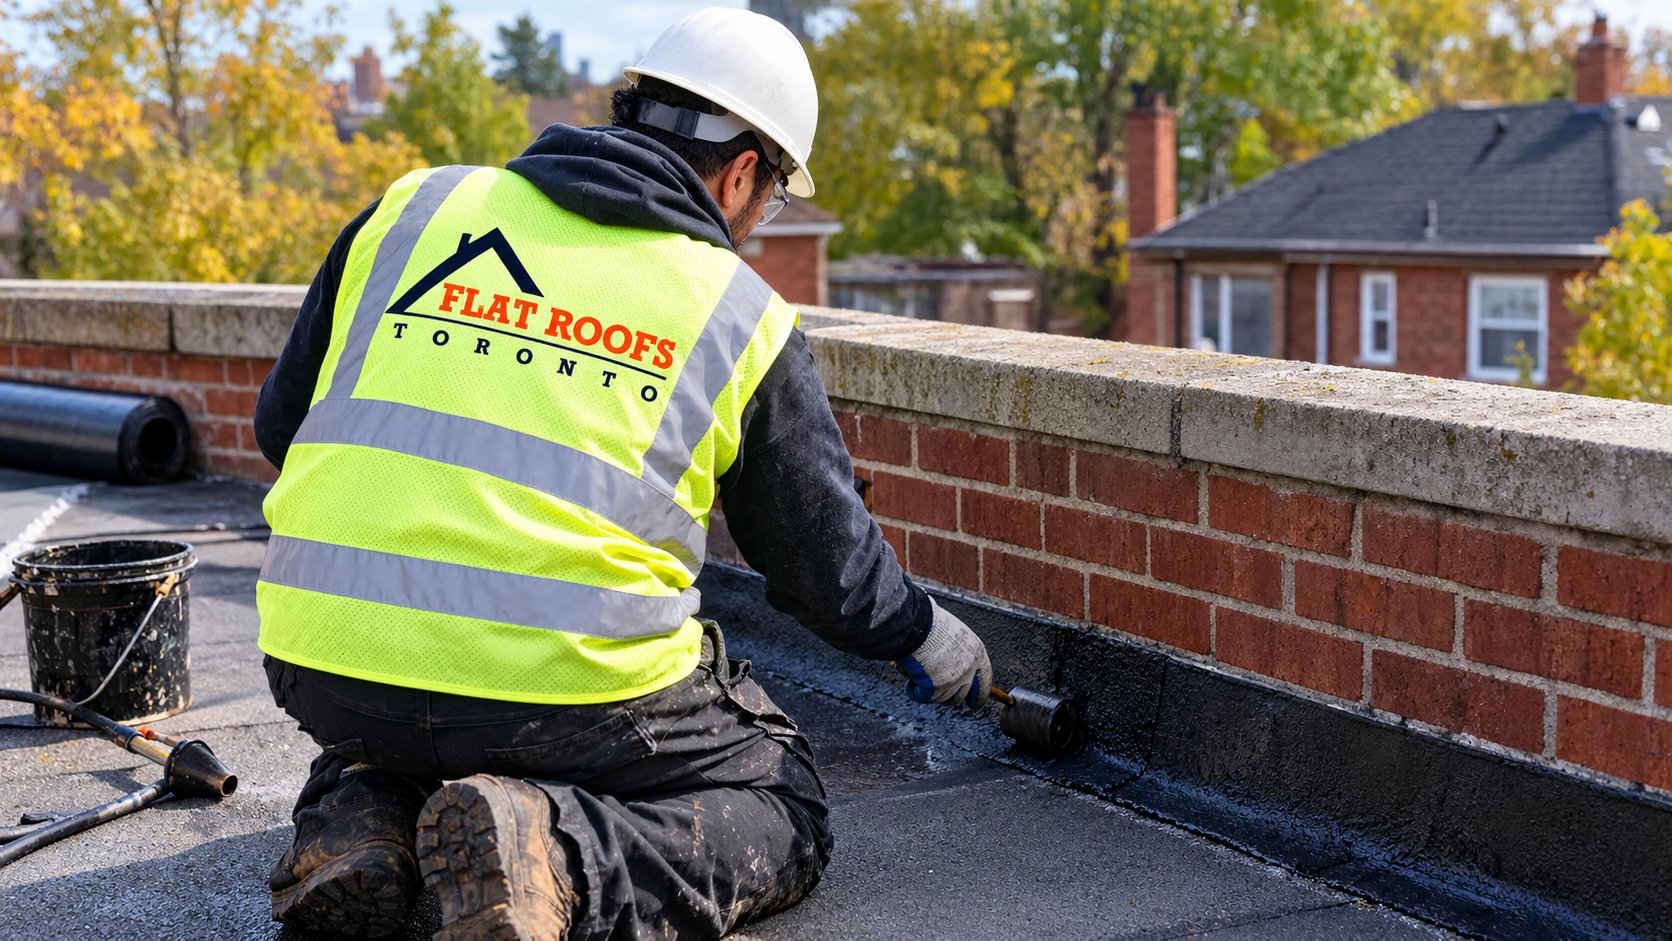
- Base flashing membrane turned up the wall to a height that stays above ponding water and snow, fully adhered to a primed surface.
- A cap or counter flashing over the top of the base flashing, either set into a mortar joint (a reglet) or covering the wall top as a metal cap.
- Sealed laps at every seam and at the ends where the party wall meets the front and rear walls.
The wall cap is shared. If the metal cap is loose or the masonry below it is cracked, water can enter the wall and show up in either unit. It makes sense for both owners to agree on who repairs the cap and to split the cost, even when only one side is being re-roofed.
Torch-applied membranes also call for extra care near shared walls. Wood blocking, old felts and debris can sit hidden inside the wall cavity or at the roof edge. Contractors who torch should follow strict fire-watch practices and use self-adhered or cold-applied materials where the risk of hidden combustibles is high. Ask your contractor how they handle this at the party line.
Coordinating With Neighbours on a Townhouse Roof
The technical side of a shared townhouse roof is manageable. The people side is where projects stall. A little preparation makes a big difference.
Talk before you get quotes
Let the adjoining owners know you are planning roof work and ask whether they have had leaks, when their roof was last done, and whether they would consider replacing at the same time. Neighbours who re-roof together usually save on mobilization, disposal and setup, and they end up with one continuous new roof instead of two old-to-new joints.
Get permission in writing
If the tie-in requires work on the neighbour’s side, get a short written agreement. It does not need to be a legal document; an email or signed note is often enough. It should cover:
- How far onto their roof the crew will work and what will be done there.
- Whether any of their materials will be removed or cut back.
- Access for the crew and materials, including whether anyone will cross their roof to reach yours.
- Who pays for shared items such as the party wall cap or a shared drain.
- Photos of their side taken before work starts, so there is no dispute about existing condition.
Share the drainage decisions
If your new roof changes the height at the line, adds insulation or moves a drain, explain it to the neighbours and show it on a simple sketch. Adding insulation on top of the deck on your side, for example, raises your roof surface, which can create a step at the property line and a place for water to pond on their side.
If the neighbour says no
Sometimes the adjoining owner will not allow any work on their side. In that case, the contractor has to finish your roof entirely within your own property, usually with a divider curb or a termination against the party wall, and seal the edge in a way that does not rely on their membrane. It is a less elegant detail, but a competent roofer can still make it watertight.
Condo Townhouses: When the Corporation Decides
Many townhouse complexes in Ontario are condominiums rather than freehold. In most of them, the roof is a common element or an exclusive-use common element, and the condominium corporation is responsible for repairing and replacing it. The details depend on the declaration and by-laws for your specific corporation, so check those documents or ask your property manager.
| Question | Freehold row house | Condo townhouse |
|---|---|---|
| Who decides when the roof is replaced? | Each owner for their own section | Usually the board, guided by the reserve fund study |
| Who hires the contractor? | The owner | The corporation or its property manager |
| Who pays? | The owner, with shared items negotiated with neighbours | Usually the reserve fund, sometimes a special assessment |
| Can I fix a leak myself? | Yes, through your own roofer | Report it to management first; unauthorized work may not be allowed |
| How are tie-ins handled? | Negotiated between neighbours | Usually avoided, since the whole block or phase is done together |
If you live in a condo townhouse and your roof leaks, report it to management in writing, with photos and dates. Do not hire your own roofer to work on a common element without approval; you could end up paying for work the corporation would have covered, or for repairs to damage your roofer caused. If the board is weighing repair versus replacement, owners can ask to see the roof condition reports that inform those decisions.
Common Problems on Shared Row House Roofs
Certain problems come up again and again on shared roofs. Knowing them helps you ask better questions when a contractor is on site.
- Leaks right at the property line. Usually a tie-in that was lapped onto loose or dirty old membrane, or a lap that runs against the flow of water.
- Water from next door. A neighbour’s failed roof can let water travel under the membrane or through the insulation into your ceiling, especially where the party wall is flush.
- Ponding at a new step. One side was re-roofed with added insulation and now sits higher, creating a dam.
- Cracked party wall caps. Water enters the top of the masonry and shows up in both units as stains along the shared wall.
- Blocked shared drains. One owner keeps their section clear, the next does not, and debris collects at the drain that serves both.
Early autumn is a good time to look at these issues. Leaves are starting to fall, heavier rain is on the way, and repairs done now have time to settle in before freeze and thaw cycles begin.
What It Costs to Re-Roof One Unit of a Townhouse
Costs vary widely with size, access, the number of old layers and the tie-in details. As a broad estimate only, a single unit of a typical row house with a small flat roof might fall somewhere in the range of $8,000 to $20,000 or more for a full replacement. Tie-ins, party wall caps and drain work add to that. Getting a quote that covers two or more adjoining units at once is often more economical per unit, because setup and disposal are shared.
Ask any contractor to itemize the tie-in, the party wall flashing and any work on the neighbour’s side separately, so all owners can see exactly what they are paying for. You can see examples of completed work on our flat roofing projects page, and if you are weighing a full replacement, our flat roof replacement page explains the process step by step.
Questions to Ask Your Contractor About a Townhouse Roof
- Where exactly does my section end, and how will you mark the line?
- What tie-in method do you recommend, and why that one for this roof?
- Will any work happen on my neighbour’s side, and have you seen their roof?
- Is the new membrane compatible with the neighbour’s existing material?
- How will the party wall be flashed and capped?
- Will my new roof change where water drains, on my side or theirs?
- How do you handle fire safety near shared walls if you are using torch-applied materials?
Can I replace my section of a shared townhouse roof without my neighbours?
Who pays for the party wall cap?
My neighbour’s townhouse roof is leaking into my house. What can I do?
Is it cheaper to re-roof with the neighbours?
Can I hire my own roofer for a condo townhouse roof?
Can different roofing materials be joined at the property line?
Plan Your Townhouse Roof Replacement This Autumn
A shared roof is only as good as the joints between owners. Flat Roofs Toronto inspects the whole block, explains the tie-in and party wall options in plain language, and can quote one unit or several together so neighbours can compare costs before committing.
Call us today at (647) 333-3528 or request a free estimate.
Serving row house and townhouse owners across Toronto and the GTA.