
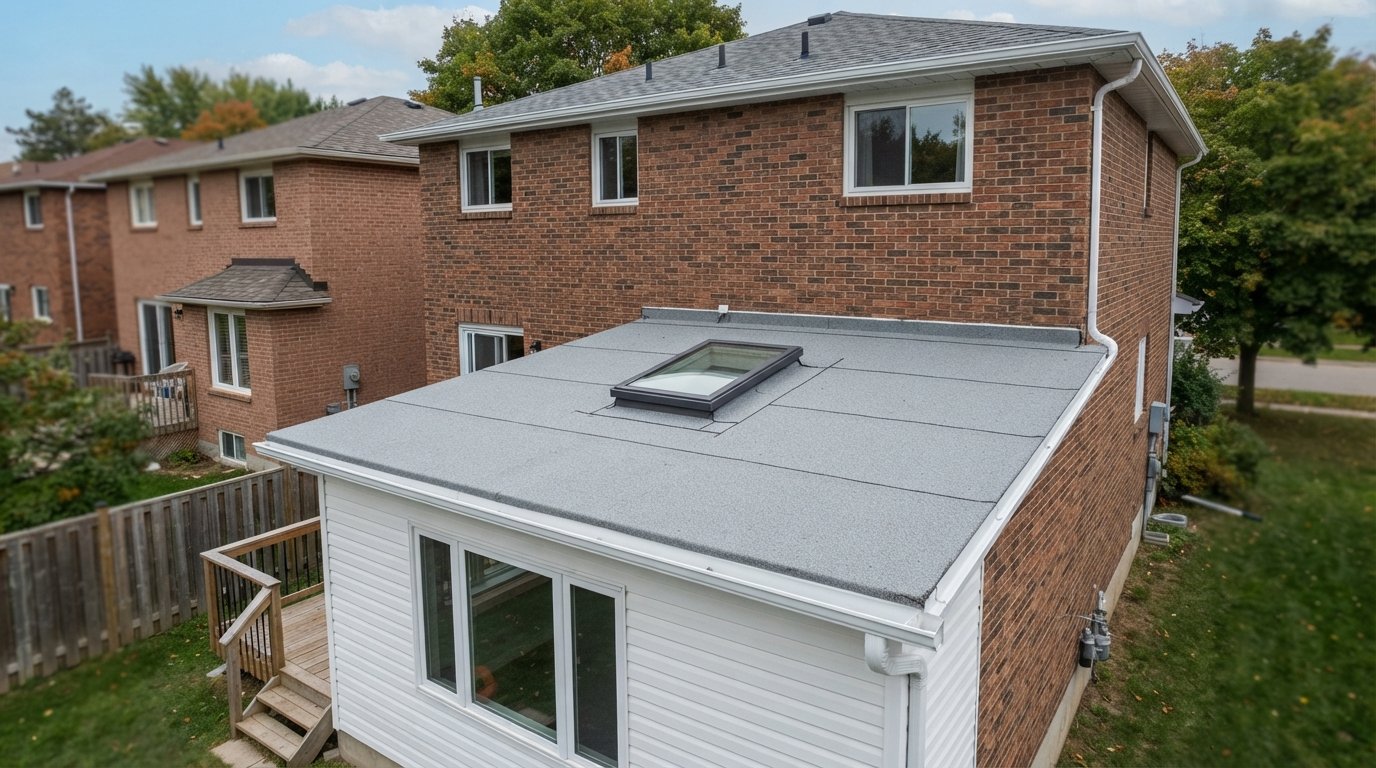
Across the GTA, thousands of semis and detached houses have a single-storey addition at the back: a kitchen bump-out, a sunroom, a mudroom or a family room. A flat roof extension like this is usually small, often under a few hundred square feet, and it sits right below the bedroom windows where nobody looks at it. When it leaks, the water lands in the most-used room in the house.
After years of opening these roofs, we find the same handful of weak points again and again. This guide walks through them: the junction with the main house wall, low parapets shared with a neighbour, drainage to the eavestrough, skylights, and how a small extension roof can usually be replaced properly in a single day.
Why A Flat Roof Extension Leaks More Than You Would Expect
A rear addition roof is a small, simple rectangle. It should be the easiest roof on the house. In practice it often leaks first, for reasons that have little to do with the membrane itself:
- It is built against an existing wall. The back edge meets brick, stucco or siding that was never designed to have a roof tied into it.
- It collects water from above. The main roof’s downspout often empties straight onto it, and rain running down the tall back wall lands on it.
- It was often added by a general contractor. Many additions were framed and roofed as part of a renovation, with roofing treated as a last-day task.
- It shares a line with the neighbour. On semis, the extension may run along the property line with a low party wall parapet or a roof that continues onto the neighbour’s side.
- It has holes. Skylights, kitchen exhaust vents and plumbing stacks all pass through a small area.
The good news is that a small roof is also a manageable roof. Once the weak points are known, a flat roof extension can be rebuilt to be more reliable than it ever was. If yours is past repair, our flat roof replacement service for rear additions and houses covers the full process.
Leak Point One: The Wall Junction
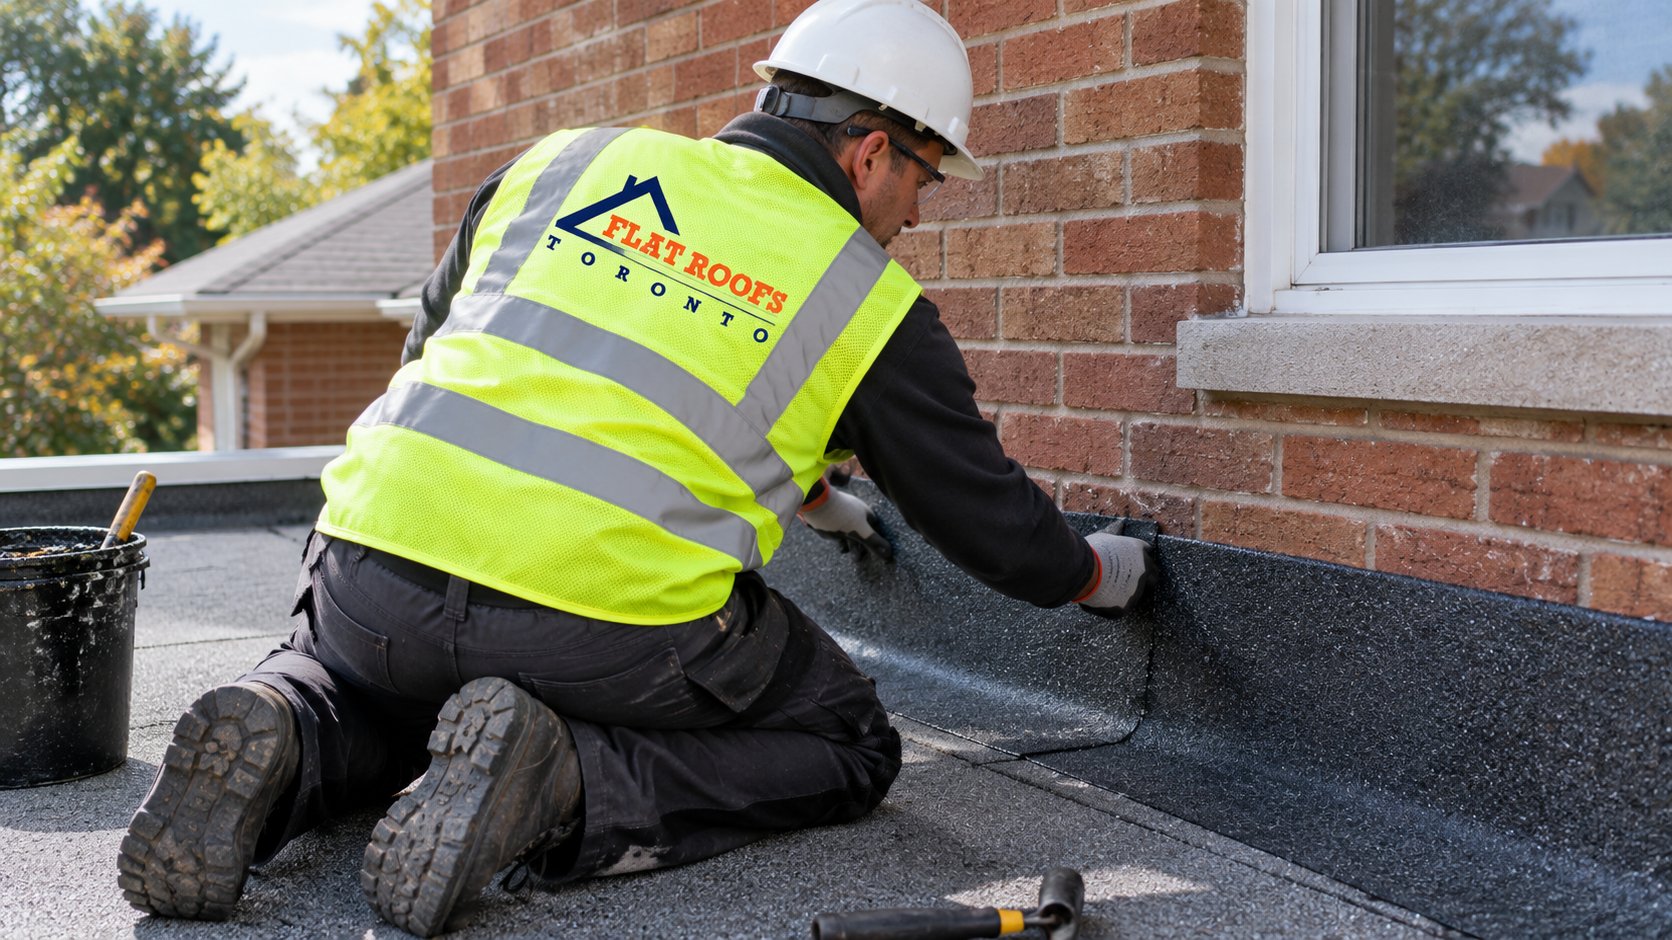
Where the flat roof extension meets the back wall of the main house is, by a wide margin, the most common leak location we find on rear additions. Water running down the tall wall hits this junction on every rainfall, and in the colder months snow piles against it and melts slowly.
What should be there
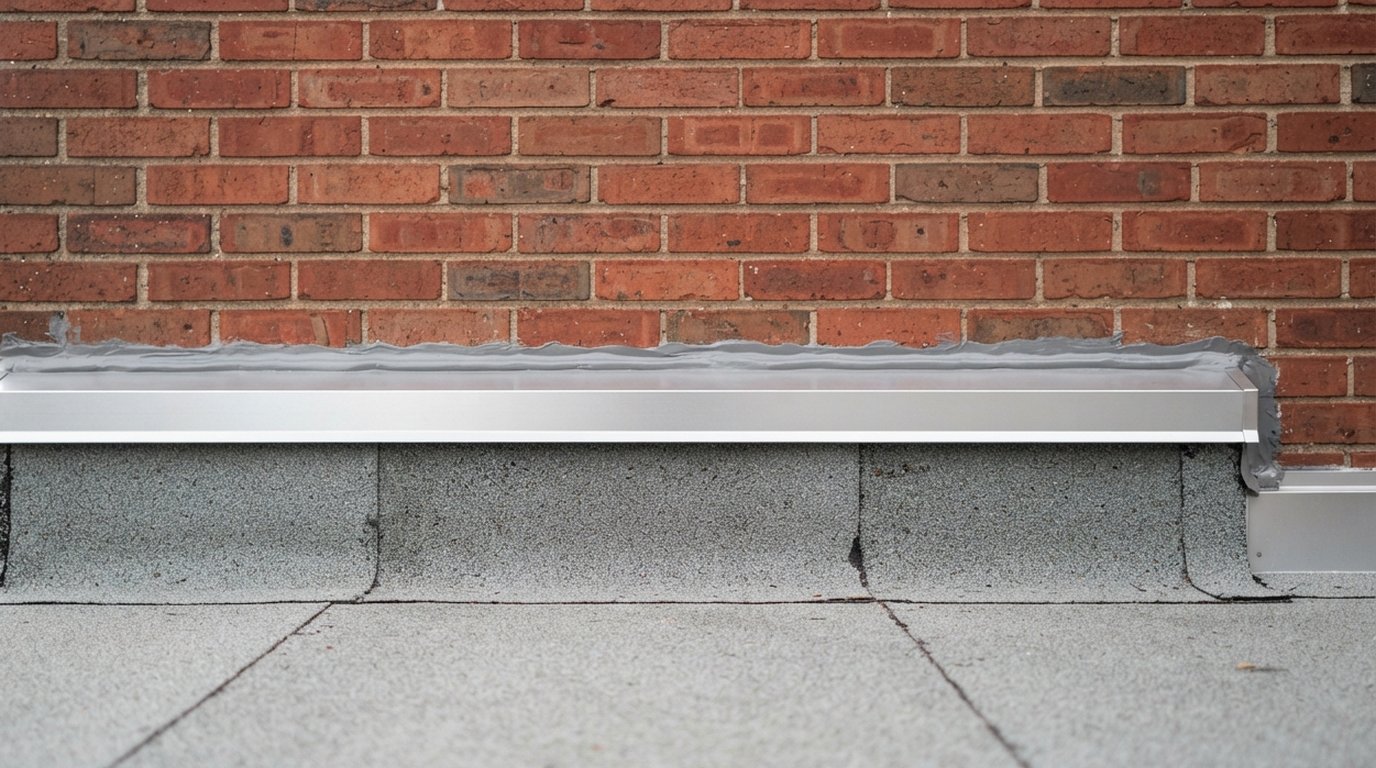
- Base flashing: the roof membrane turned up the wall, typically to a height the manufacturer’s detail specifies (often around 8 inches above the finished roof), bonded to the wall or to a wood backer.
- Counterflashing: a metal flashing covering the top of the base flashing. On brick, it is let into a cut mortar joint and the joint is repointed. On siding or stucco, it sits behind the wall’s weather barrier so the barrier laps over it.
- A cant or backer: on some membranes, a cant strip at the corner so the membrane is not bridged across a sharp angle.
What we often find
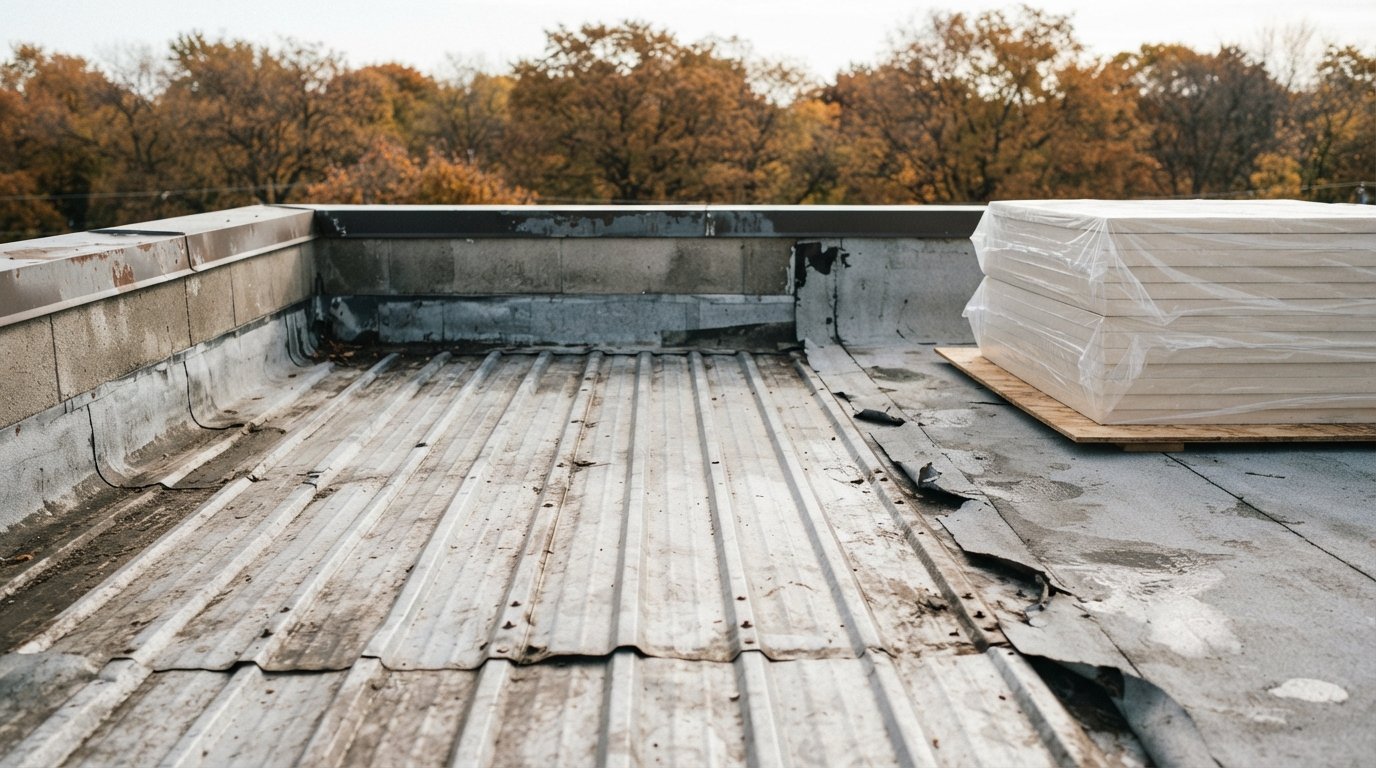
Membrane turned up only an inch or two, a line of roofing cement or caulk along the top, no counterflashing at all, or counterflashing surface-nailed to brick with sealant that has long since cracked. Where the main house has been re-clad in siding, the new wrap is sometimes tucked behind the old flashing so water runs down the wrap and straight behind the roof. Any of these will leak, and the water often shows up along the ceiling line where the addition meets the original house.
Leak Point Two: Low Parapets And The Party Wall
On semis and many row houses, the extension sits right on the property line. Sometimes there is a short parapet wall between your addition and your neighbour’s. Sometimes both additions share one roof with no wall between them at all.
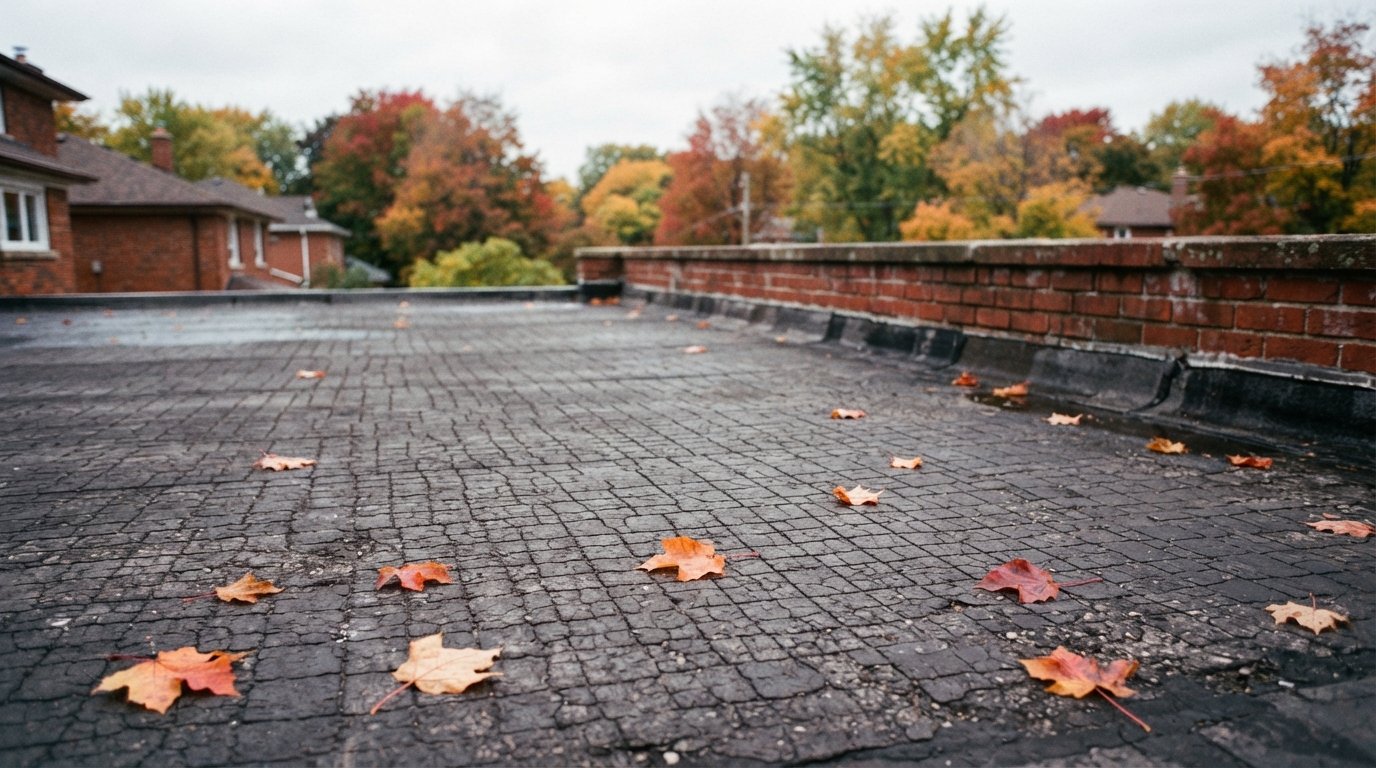
Low parapets are hard to flash well. There may be only a few inches of wall above the roof, not enough to carry the base flashing up and cover it properly, and the top of the parapet is often capped with brick or old metal that lets water into the wall. Common fixes include wrapping the membrane fully over the parapet and capping it with new metal coping, or raising the parapet slightly when the roof is replaced.
Where roofs are shared, the membrane has to tie into the neighbour’s roof at the property line. That tie-in should be done with compatible materials and lapped so water flows away from the seam. Replacing your half and leaving an open joint against an old roof next door is a very common source of recurring leaks. Talking to your neighbour before the work starts is worth the effort: sometimes both halves are replaced together, which gives the best result, and at a minimum the neighbour should know that the roofer will be working along the line.
Leak Point Three: Drainage To The Eavestrough
Most rear additions drain off one open edge into an eavestrough. For that to work, the roof needs slope toward that edge, and the edge metal and trough have to be set so water ends up inside the trough rather than behind it.
| Drainage problem | What it causes | Typical fix |
|---|---|---|
| No slope, or slope toward the house | Ponding against the wall junction; water sits on the weakest detail | Rebuild slope with tapered insulation or firring during replacement |
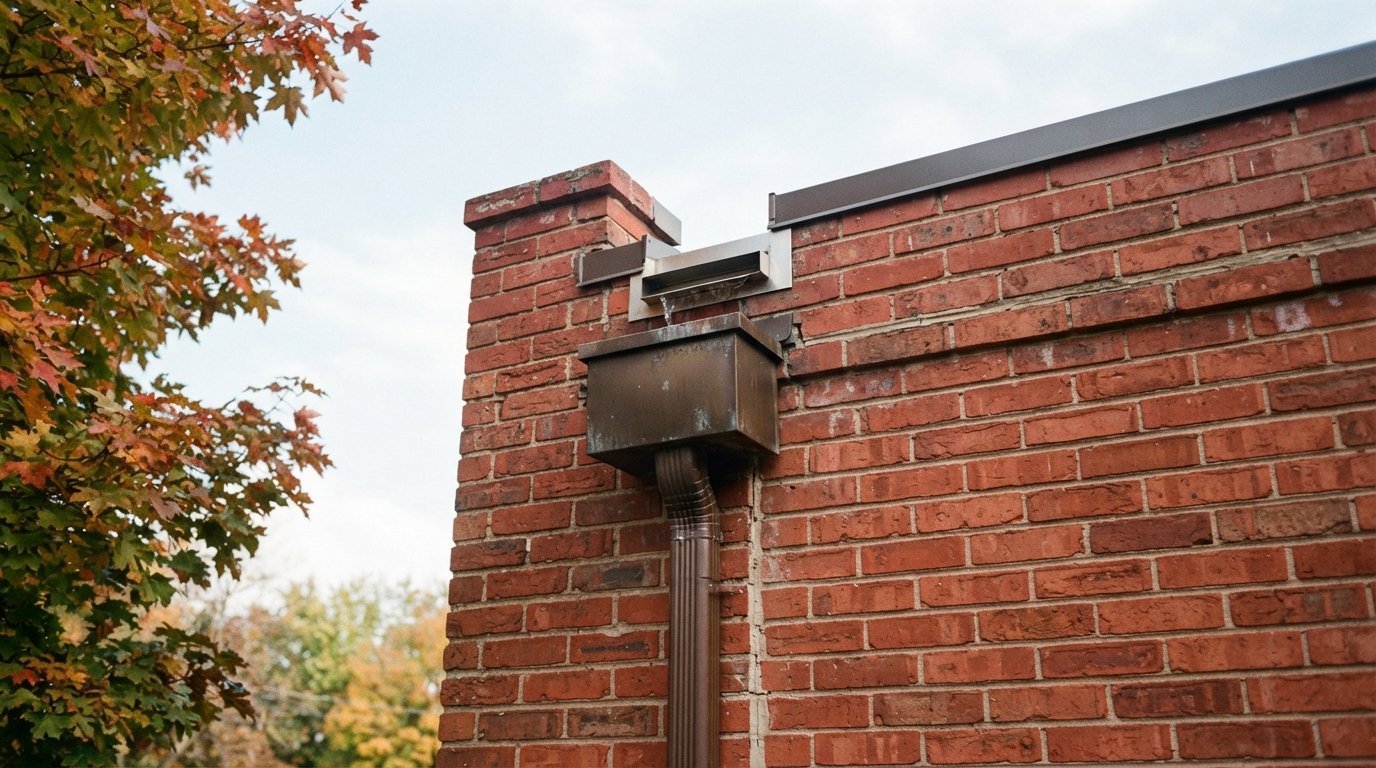
| Main roof downspout emptying onto the extension | Concentrated flow scours the surface and overloads the edge | Extend the downspout across the roof to the lower trough, or reroute it down the wall |
| Drip edge set behind the eavestrough | Water runs behind the trough and down the fascia and wall | Reset drip edge so it projects into the trough; stripped into the membrane |
| Undersized or clogged eavestrough | Overflow onto the patio, wall and basement window below | Clean before the colder months; upsize or add a downspout where needed |
| Scupper through a low parapet with no proper sleeve | Water leaks around the opening into the wall | Install a flashed metal scupper sleeve and a leader to a downspout |
Early autumn is the right time to check this. Leaves from backyard trees pile up in the trough and along the low edge of the roof, and a blocked trough in late autumn turns into standing water and ice against the edge metal once temperatures drop.
Leak Point Four: Skylights In The Extension
Skylights are popular on kitchen and sunroom additions because the room is often deep and dark. They are also a frequent leak and condensation source. The issues we see most:
- Low curbs: skylights set on curbs barely above the roof surface, so the membrane cannot be carried up high enough.
- Curbs sealed, not flashed: the membrane stops at the base of the curb and caulk fills the gap.
- Old domed units: acrylic domes that have crazed, cracked or lost their seals.
- Condensation: warm, humid kitchen air meeting a cold, poorly insulated curb and single-glazed dome, dripping in the colder months and looking like a leak.
If a skylight is more than a few years older than the roof around it, replacing it at the same time as the roof is usually the smart choice, because the curb flashing ties directly into the new membrane. Our pages on residential flat roof skylights explain curb heights, glazing options and how we flash them.
Hidden Problem: Condensation Under The Extension Roof
Not every drip from a flat roof extension is a leak. Kitchens produce a lot of moisture from cooking and dishwashing, and many older additions were built as cold roofs with thin batts between the joists, little or no ventilation, and a ceiling full of pot lights. In the colder months, warm, humid air escapes through those fixtures into the joist space and condenses on the underside of the cold deck. The result looks like a roof leak, appears on cold, dry days, and slowly rots the sheathing from below.
When a flat roof extension is replaced, this is the moment to fix it. Moving the insulation above the deck as a warm roof, with a vapour retarder on the deck and tapered boards on top, keeps the deck warm and builds in slope at the same time. The trade-off is height at the wall and edges, which must be planned around the windows above and the eavestrough line. A kitchen exhaust fan that actually vents outdoors, rather than into the ceiling, also makes a real difference.
Where Rear Additions Leak: Quick Reference
| Where you see water inside | Most likely source | What to look at on the roof |
|---|---|---|
| Along the ceiling line where the addition meets the old house | Wall junction | Base flashing height, counterflashing, caulk in place of metal |
| Side wall shared with the neighbour | Parapet or roof tie-in at the property line | Parapet cap, membrane wrap, seam with the neighbour’s roof |
| At the outer wall or above the patio door | Roof edge and eavestrough | Drip edge position, clogged or undersized trough |
| Around the skylight | Skylight curb or unit | Curb height, flashing, dome or glass seals, condensation |
| Middle of the ceiling | Field of the roof | Ponding, blisters, punctures, a failed vent or stack flashing |
Replacing A Flat Roof Extension In One Day
A typical flat roof extension is small enough that a crew can remove the old roof and install a complete new one in a single working day, provided the weather cooperates and the materials and crew are prepared. That matters, because nobody wants a kitchen open to the sky overnight.
| Time of day (typical) | Work | What makes it go smoothly |
|---|---|---|
| Early morning | Set up protection, remove old membrane, flashings and wet insulation down to the deck | A clear forecast for the whole day; access through the yard or side path agreed beforehand |
| Mid-morning | Inspect and replace any rotted decking; clear old fasteners | Plywood on site in advance, so deck repairs do not stall the day |
| Late morning | Install vapour retarder, tapered insulation and cover board | Taper layout planned ahead to slope toward the eavestrough edge |
| Afternoon | Install membrane, base flashing at the wall and parapet, skylight curb and vent flashings | Skylight and new curb ready if replacing; counterflashing cut and bent in advance |
| Late afternoon | Edge metal, counterflashing into the wall, reconnect eavestrough, clean up | Downspout reroute decided in advance; magnet sweep of the yard for nails |
Larger additions, heavy deck rot, parapet rebuilding or structural changes can stretch the job to two days or more. In that case, a good crew only opens as much roof as it can close up the same day and protects the rest before leaving.
Costs vary with size, access, the membrane system, insulation, deck repairs and whether skylights are replaced. As a rough estimate, replacing a typical small rear addition roof often falls somewhere in the range of $4,000 to $10,000, and larger or more complex roofs can cost more. Only an inspection and written quote will give you a real figure. You can see examples of small residential roofs we have completed on our projects page.
Questions To Ask Before You Hire
A clear quote for a flat roof extension should answer each of these without hesitation.
- How will the membrane tie into the main house wall, and will you install new counterflashing into the brick or behind the siding?
- What will you do at the neighbour’s side, and do you need access or permission?
- How will you create slope toward the eavestrough, and where will the main roof’s downspout go?
- Will the skylight be reflashed or replaced, and what curb height will it have?
- Can the job be completed in one day, and what is the plan if it cannot?
- How will rotted decking be found and priced?
Why does my flat roof extension leak where it meets the house?
Can a rear addition roof be replaced in one day?
Do I need my neighbour’s permission to redo my extension roof?
Should I replace the skylight when I replace the roof?
Why is water pooling on my addition roof?
Is it a problem if the main roof downspout drains onto the extension?
Book A Flat Roof Extension Inspection
A small rear roof can cause big interior damage if its weak points are left alone. Flat Roofs Toronto inspects the wall junction, parapet, drainage and skylights together, and can usually replace a rear addition roof in a single day. Early autumn is an ideal time to get it done before the colder months.
Call us today at (647) 333-3528 or request a free estimate.
Serving homeowners with rear additions across Toronto and the GTA.