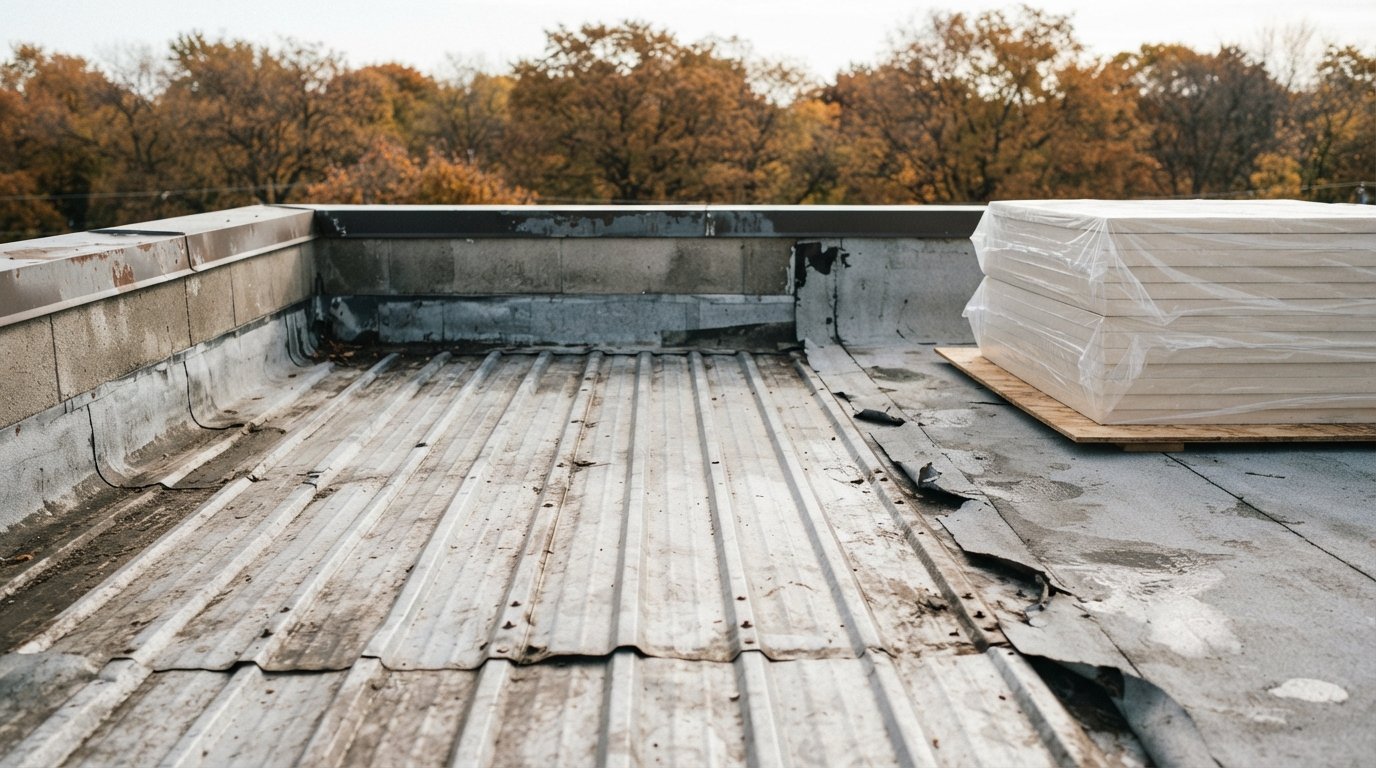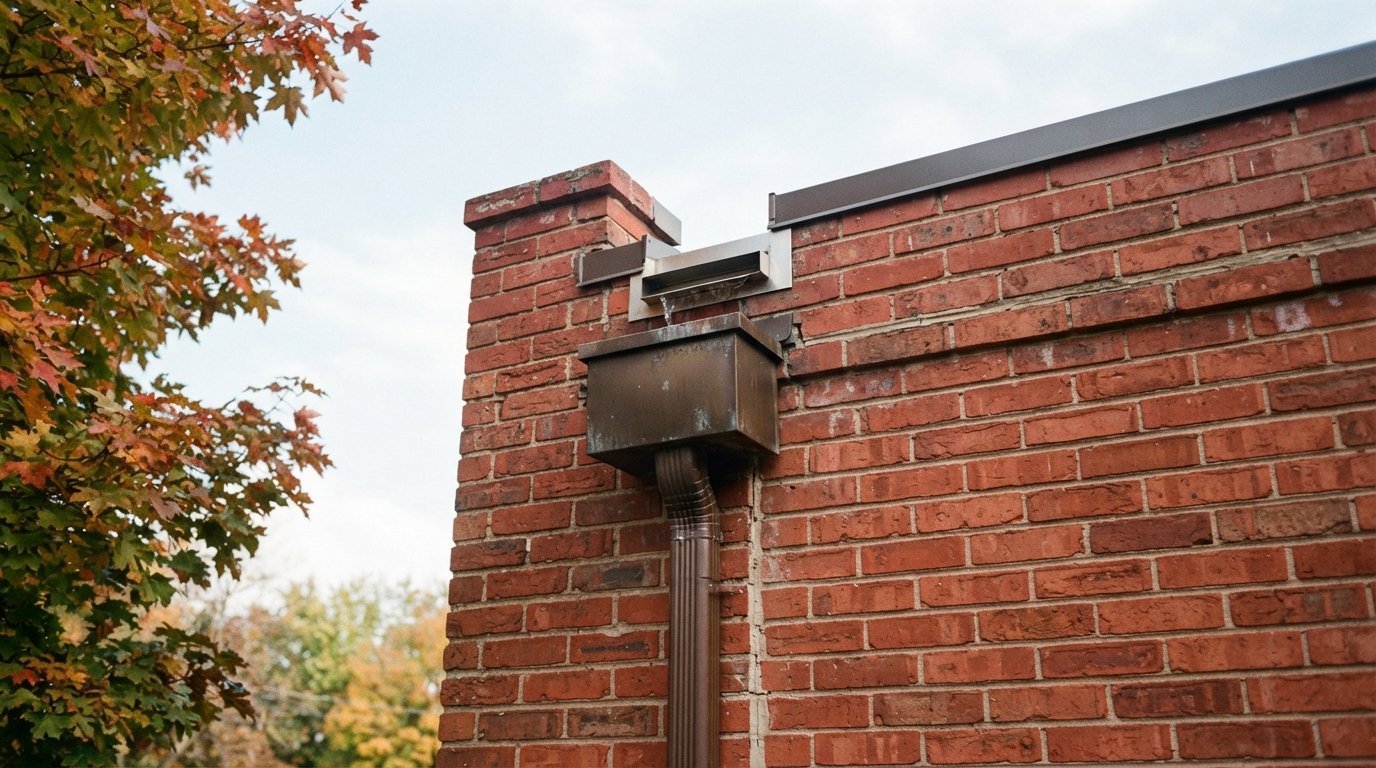

The small roof over a bay or bow window is easy to forget. It is often only a few feet deep, sometimes barely visible from the street, and it rarely comes up when people think about their roof. Yet a bay window roof causes a surprising share of the leak calls we get from older Toronto-area houses, and the damage it causes is often far larger than the roof itself: soaked window heads, rotted framing, stained plaster and swollen sills in the room below.
This guide explains how these small roofs are built, why they leak out of proportion to their size, the choice between metal and membrane, how wall flashing and drip edges should be done, and why the best time to replace one is often when the window underneath is being replaced.
What A Bay Window Roof Is Made Of
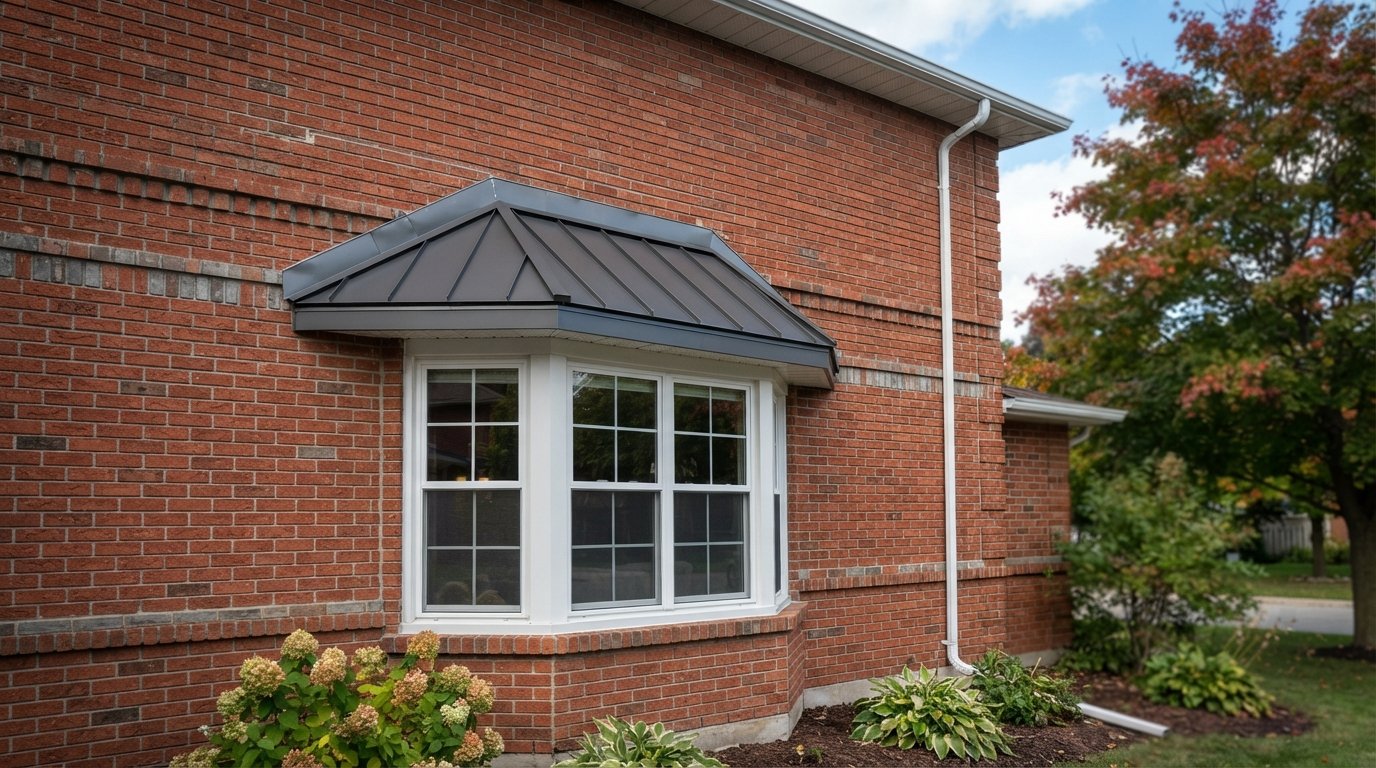
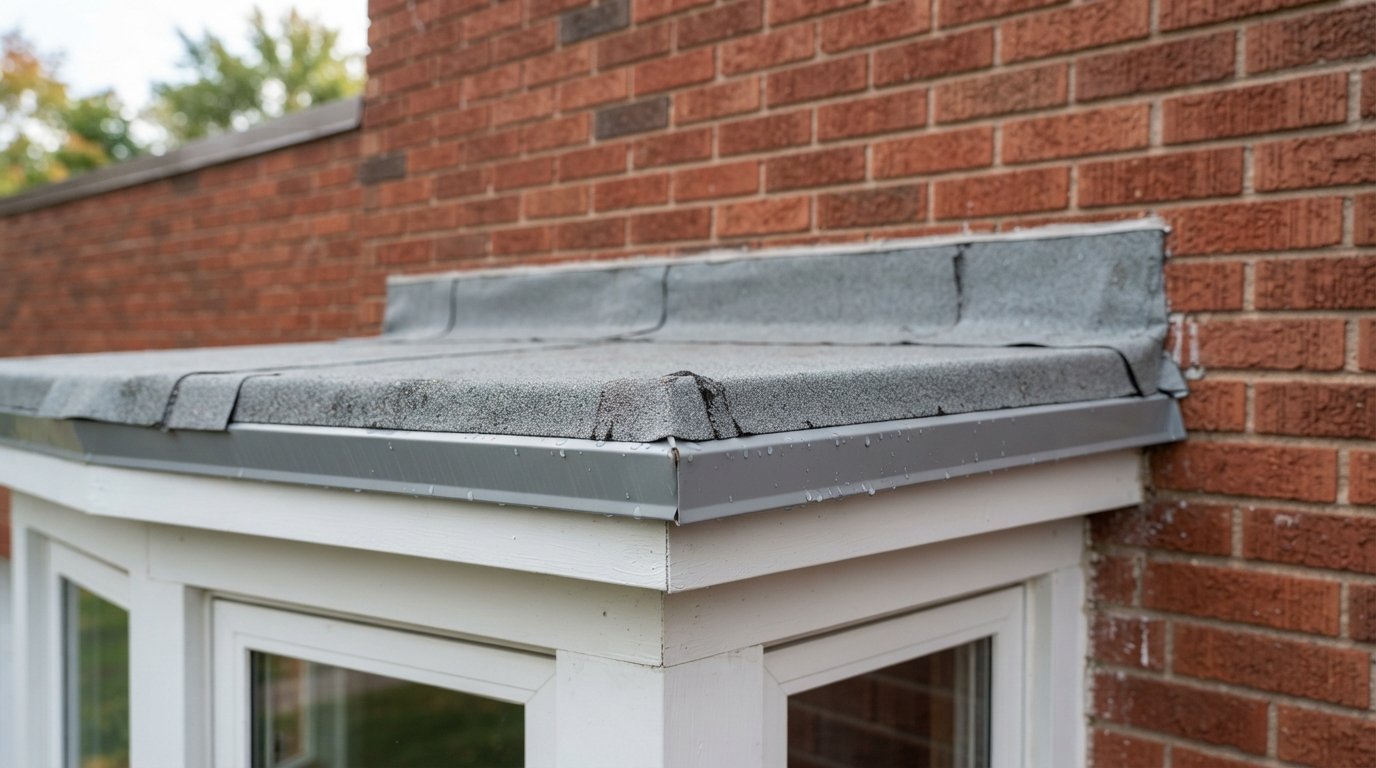
A bay window projects out from the wall, and its top needs a roof. On older brick houses that roof is usually either a small low-slope or nearly flat roof, or a small hipped roof with three faces that meet the wall. Bow windows, which curve rather than angle, often have a segmented or curved roof that is even more awkward to cover.
Underneath the covering there is typically a small framed structure: a few short rafters or joists spanning from the wall to the front of the bay, sheathing on top, and sometimes a little insulation, sometimes none. The whole assembly is tied back to the house wall, and that junction is where most problems start.
Like any low-slope roof, a flat or nearly flat bay window roof needs a true waterproof covering rather than shingles. Our overview of residential flat roofing for houses, additions and small roofs explains the membranes we use on low-slope surfaces of every size.
Why Small Roofs Cause Outsized Leaks
There are a few reasons a bay window roof leaks more often and does more damage than its size would suggest.
- It sits against a wall. The entire back edge is a wall junction, and every wall junction is a potential leak point. On a small roof, that junction is a large share of the whole roof.
- It catches water from above. Rain running down the house wall, water dripping from a failed eavestrough above, and in the colder months meltwater from the main roof all land on the bay roof.
- Water runs straight into the window. A leak at the wall junction often travels down into the window head, then into the frame and sill. It looks like a window leak and is often treated as one.
- It gets small-job treatment. Because it is tiny, it is often covered with leftover material, sealed with caulking at the wall, and not given proper edge metal.
- It is hard to see. From inside, you cannot see it; from the ground, you often cannot see the top. Problems go unnoticed until the interior shows damage.
Metal Or Membrane For A Bay Window Roof
The two main choices for a bay window roof are metal and a low-slope membrane. Both can work well; the right choice depends on the roof shape, slope, the look of the house, and budget.
| Option | Best suited to | Strengths | Watch-outs |
|---|---|---|---|
| Copper (flat-lock soldered or standing seam) | Heritage and character houses; curved and hipped bay roofs | Very long life when well made; forms to curves; classic look that weathers to a patina | Highest cost; needs a skilled sheet metal installer; runoff can stain stone or brick below |
| Prefinished steel or aluminum standing seam | Hipped or sloped bay roofs with enough pitch for the panel | Clean look, many colours, sheds snow and water quickly | Minimum slope depends on panel and seam; small, fiddly sections raise labour cost |
| Two-ply SBS modified bitumen | Flat or very low-slope bay roofs | Tough, fully waterproof at very low slope, easy to flash into walls, repairable | Granulated look is plain; torching near window frames and wood trim needs care or self-adhered products |
| EPDM or other single-ply | Flat bay roofs with simple shapes | One sheet can cover the whole roof without seams | Edges and wall transitions rely on adhesives and compatible accessories |
| Asphalt shingles | Only bay roofs with enough pitch | Can match the main roof | Unsuitable on very low slopes; small shingled facets leak at hips and wall junctions |
On many brick houses, metal is the traditional look and the one that suits a hipped bay roof. On flat bay roofs, especially at the back of a house or on a second storey where appearance matters less, a membrane is often the more practical and reliable choice. Whichever you choose, the wall flashing and edge details matter far more than the covering itself.
Wall Flashing And Counterflashing: The Critical Detail
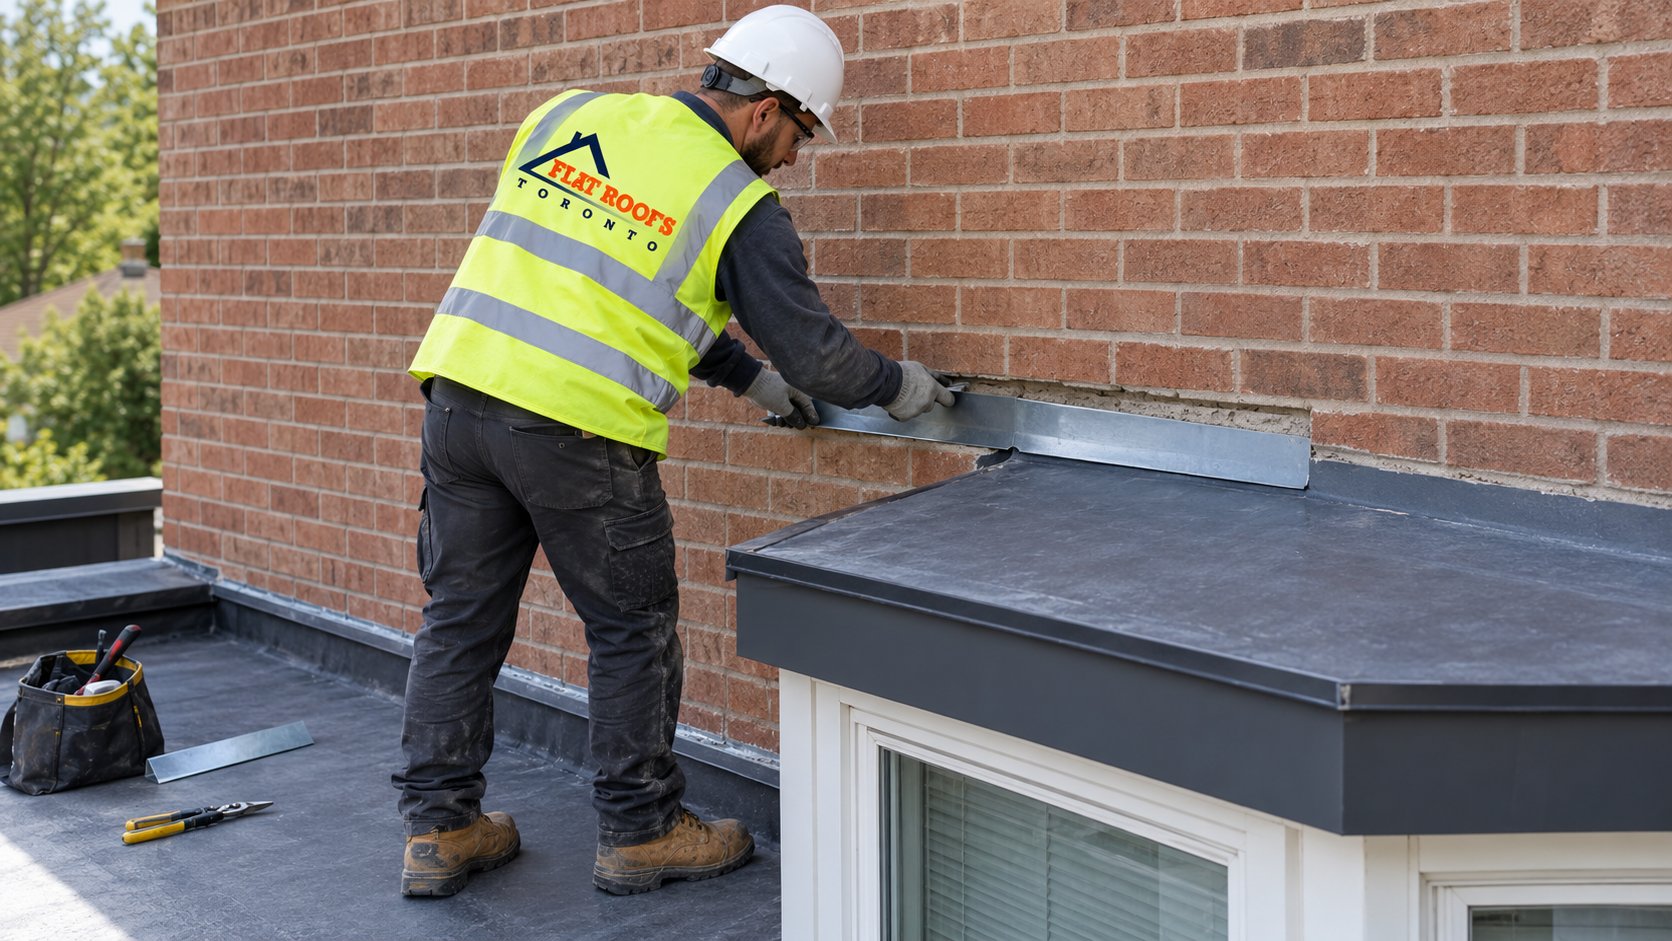
At the back of the bay roof, the covering meets the house wall. The principle is the same as on any low roof: the covering turns up the wall as base flashing, and a separate counterflashing covers its top edge so water running down the wall lands on the outside. The full step-by-step version of that detail is covered in our guide to rear extension roofs; what is specific to a bay is below.
- The wall junction is short but exposed. A bay is only a few feet wide, so the whole back edge sits under the wall above, and any water running down that wall lands on it. There is little room for error and no spare roof area to absorb a bad detail.
- The side returns count too. On an angled bay, the roof meets the wall along the back and the covering also has to turn at each angled corner. Corners are where flashing pieces overlap most awkwardly, and where small gaps open first.
- Brick usually means a reglet. On brick or stone the counterflashing is normally let into a cut mortar joint; on siding or stucco it is lapped under the wall’s weather barrier or stucco stop.
- The window head is right below. Whatever happens at this junction ends up at the top of the window frame, which is why a failed detail here so often gets blamed on the window.
The shortcut we see most often is caulking along the top of the roof covering where it meets the wall, with no counterflashing at all. Caulk shrinks, cracks and separates within a few seasons, and water runs straight in behind the base flashing. Surface-mounted counterflashing sealed with a bead of sealant instead of being let into the wall fails in the same way.
Drip Edges And The Front Of The Roof
The front edge of a bay window roof sits directly above the window head. Water leaving the roof must drip clear of the fascia and the top of the window, not run back along the underside of the edge and into the frame.
A good edge detail has:
- Drip edge metal with a proper kick at the bottom, fastened to the deck and stripped into the membrane or integrated with the metal roof pans.
- Enough projection that water drips beyond the face of the trim and window below.
- A small eavestrough where the roof is large enough or where runoff would splash onto a walkway or basement window below.
- Window head flashing above the window unit itself, so any water that gets past the edge or down the face is directed outward, not into the frame.
On hipped bay roofs, the hips need their own careful detailing, whether that is a soldered or folded seam on metal or reinforced laps on membrane. Hips are where two slopes meet and where small covering pieces are most likely to separate.
Signs Your Bay Window Roof Is Leaking
Because the roof is hidden, the first signs usually appear inside or on the window itself.
| Symptom | Where to look | Likely cause |
|---|---|---|
| Stain on the ceiling inside the bay | Wall junction and roof surface | Failed base flashing, caulk in place of counterflashing, holes in covering |
| Water at the top of the window frame | Front edge and window head | Drip edge missing or reversed; no head flashing over the window |
| Swollen or rotted sill or seat board | Whole assembly | Long-term leak running down inside the bay walls |
| Peeling paint or bubbling plaster on the bay walls | Corners of the bay and wall junction | Water entering at hips or at the ends of the wall flashing |
| Staining on brick or siding below the bay | Front edge and eavestrough | Water running back along the edge or overflowing a clogged trough |
| Cold drafts or frost inside the bay | Roof cavity | Little or no insulation and poor air sealing in the bay roof |
If water is actively coming in, a temporary repair can protect the room until the roof is properly rebuilt. Our emergency flat roof repair service handles urgent leaks on small roofs as well as large ones.
Replacing A Bay Window Roof Alongside Window Work
If you are replacing the bay or bow window itself, that is the ideal time to rebuild the roof above it. The window head, the roof edge and the wall flashing all overlap, and doing them together lets each layer be installed in the correct order.
A typical coordinated sequence looks like this:
| Step | Trade | What happens | Why the order matters |
|---|---|---|---|
| 1. Strip the roof | Roofer | Old covering and flashings removed to the sheathing; framing at the wall checked for rot | Shows how far water has travelled before the window comes out |
| 2. Remove the window | Window installer | Old unit out; head, jambs and sill framing inspected | Hidden rot in the head is common under a leaking bay roof |
| 3. Repair framing and insulate | Carpenter or roofer | Rotted members replaced; insulation added to the bay roof cavity where access allows | The cavity is only open once, so this is the moment to fill it |
| 4. Install the window | Window installer | New unit set with head flashing sealed to the wall’s weather barrier | Head flashing must be in place before the roof edge laps over it |
| 5. New roof covering | Roofer | Base flashing turned up the wall; drip edge installed at the front, lapped over the window head flashing | Upper layers must shed onto lower ones, never behind them |
| 6. Counterflashing and wall finish | Roofer or mason | Counterflashing let into brick or tucked behind siding; joint repointed | Closes the top of the system last, covering everything below |
When the roofer and window installer work separately and in the wrong order, the roof edge often ends up tucked behind the window trim, or the head flashing sits under the drip edge, directing water into the frame. Ask both trades how their work connects, or hire one contractor who coordinates both.
If the window is not being replaced, the roof can still be rebuilt on its own. The job is small but detailed, and it usually includes new counterflashing into the wall. As a rough estimate, rebuilding a typical small bay window roof with membrane often falls in the range of about $1,000 to $3,500, while custom copper work can cost considerably more. Actual costs depend on access, the roof shape, the wall type, any rot found and the covering chosen.
Insulation And Condensation In A Bay Roof
Many bay roofs on older houses have little or no insulation, and because the bay projects out from the heated house it loses heat on three sides and above. In the colder months that can mean frost on the window, condensation on the bay ceiling and a cold spot in an otherwise comfortable room.
When the roof is opened for replacement, the cavity can be filled with insulation suited to the small space, often rigid board or spray foam, with the ceiling air sealed. If you are also addressing insulation elsewhere in the house, our insulation services can look at the bay as part of the same visit. Because the cavity is so shallow, insulation here is a comfort and condensation fix rather than a major energy saving, and it should be planned together with the roof covering.
Why does my bay window leak at the top?
Is copper or membrane better for a bay window roof?
Can I just re-caulk where the roof meets the wall?
Should I replace the bay window roof when I replace the window?
Why is my bay window area so cold?
How often should a bay roof be checked?
Get Your Bay Window Roof Inspected
A small roof over a bay window can quietly damage the window, walls and room below. Flat Roofs Toronto inspects and rebuilds bay and bow window roofs in metal or membrane, with proper wall flashing, counterflashing and drip edges, and can coordinate with your window work so the details overlap correctly.
Call us today at (647) 333-3528 or request a free estimate.
Serving homeowners across Toronto and the GTA.