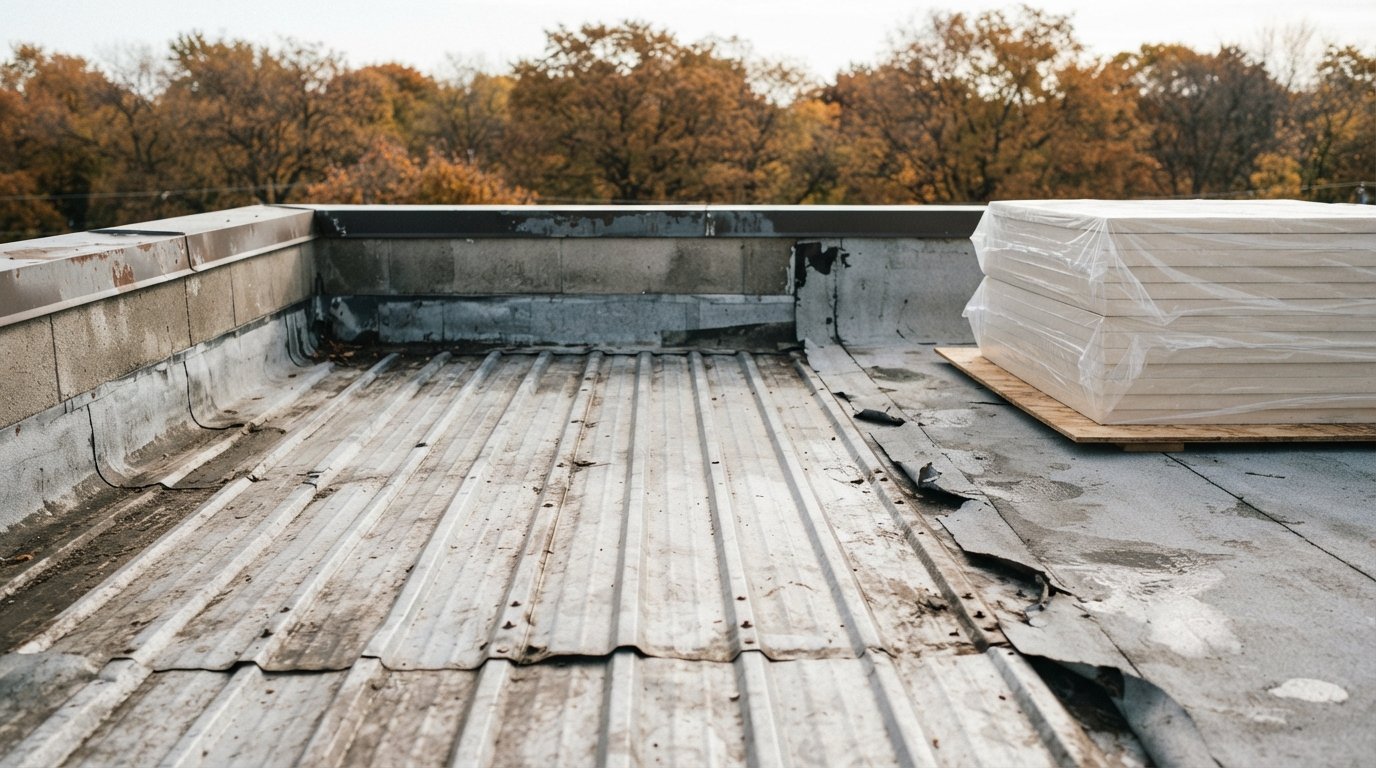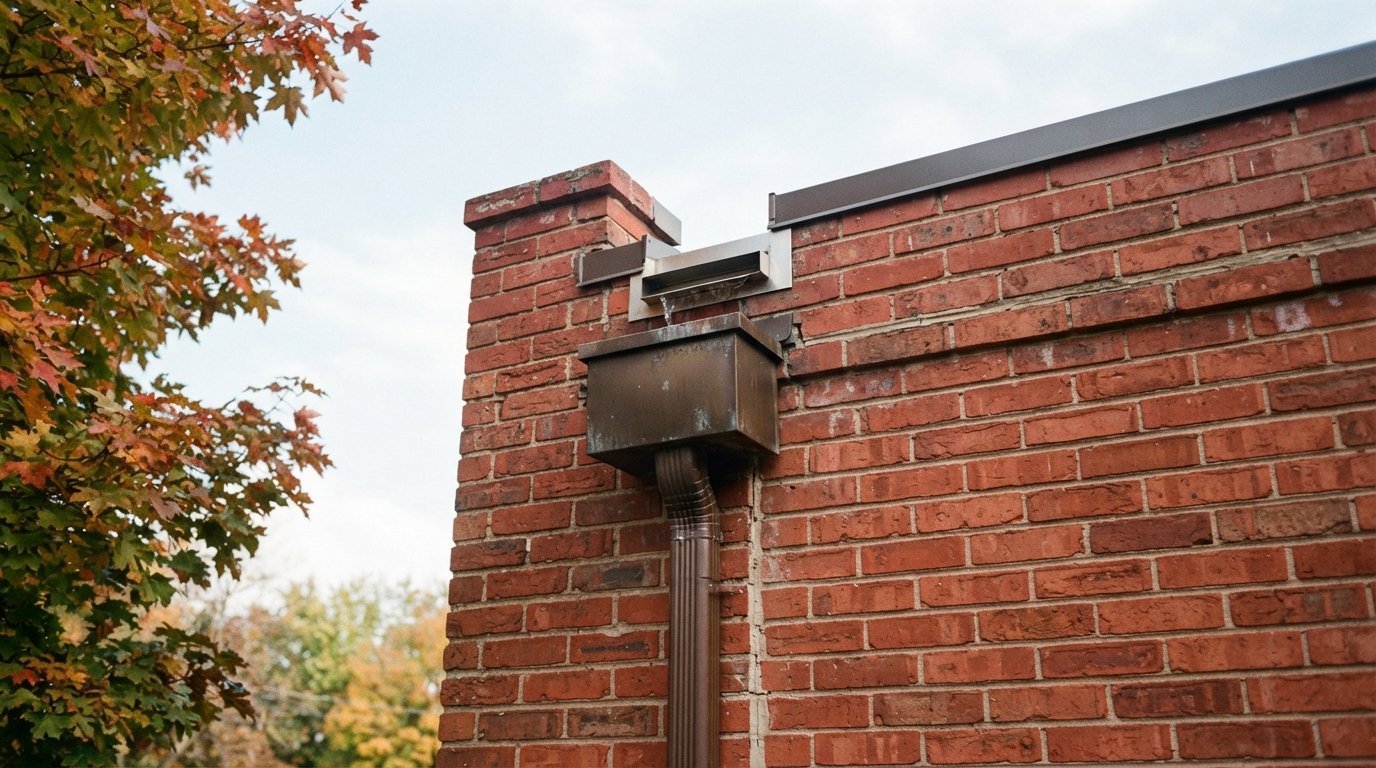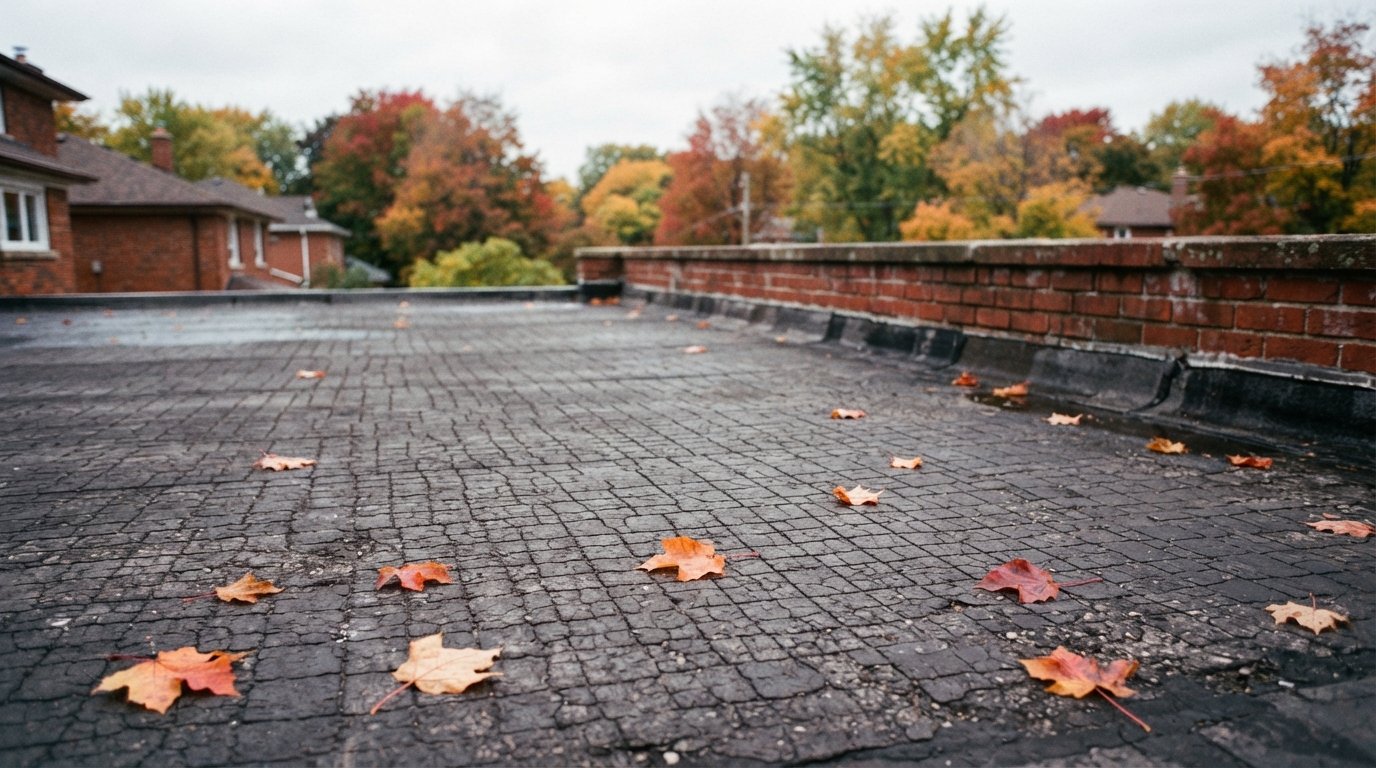

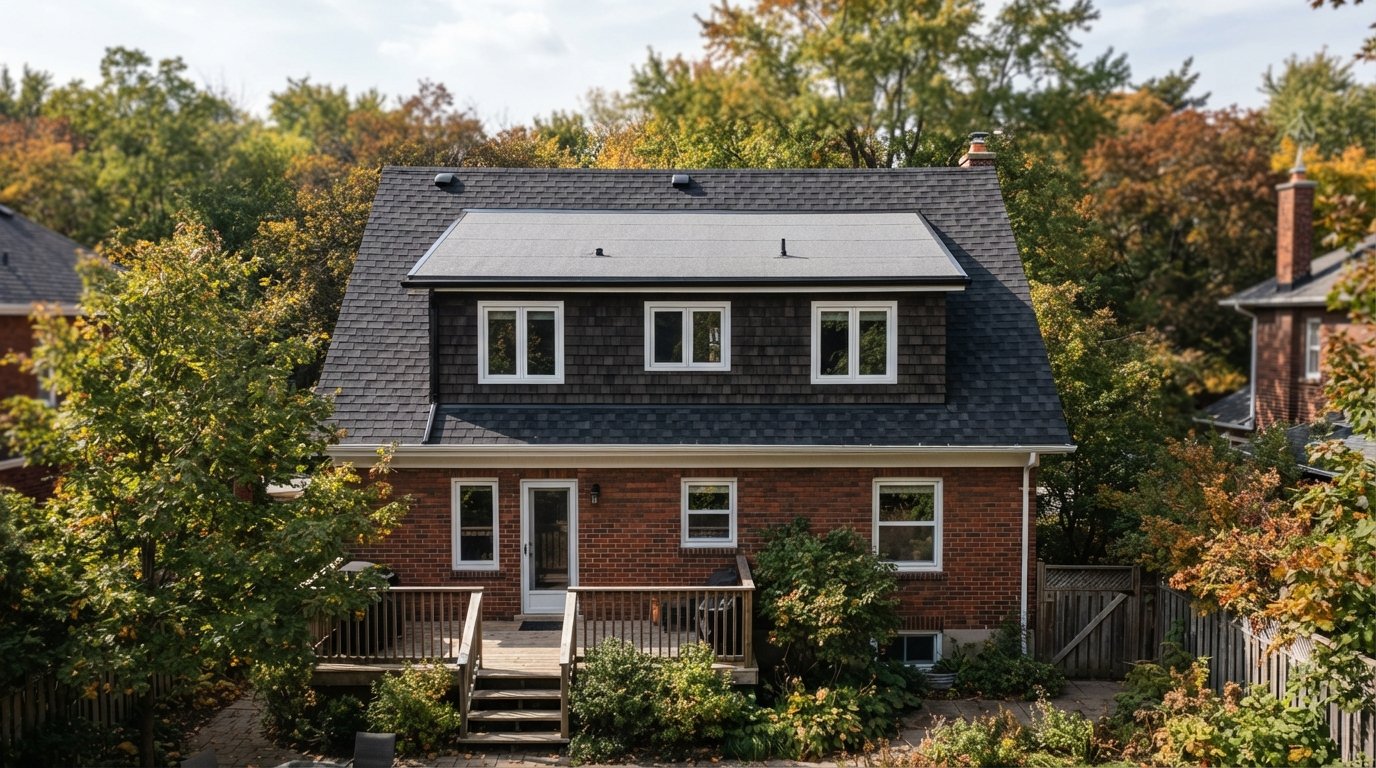
Walk through almost any older neighbourhood around Toronto and you will see storey-and-a-half houses with a long box or shed dormer punched out of the back slope, added to turn a cramped attic into bedrooms. Most of those additions have a flat roof dormer on top: a low-slope roof, often only a few inches of pitch, tied into the steep shingled roof around it. It is a practical way to gain headroom, and it is also one of the most leak-prone details on the house.
The problems are rarely in the middle of the dormer roof. They are at the transitions: where the low-slope membrane meets the shingles above, where the dormer’s cheek walls meet the main roof, and where the dormer edge drains onto the roof below. This guide explains how those junctions should be built, what fails, and how to insulate a dormer that has almost no room for insulation.
How A Flat Roof Dormer Is Put Together
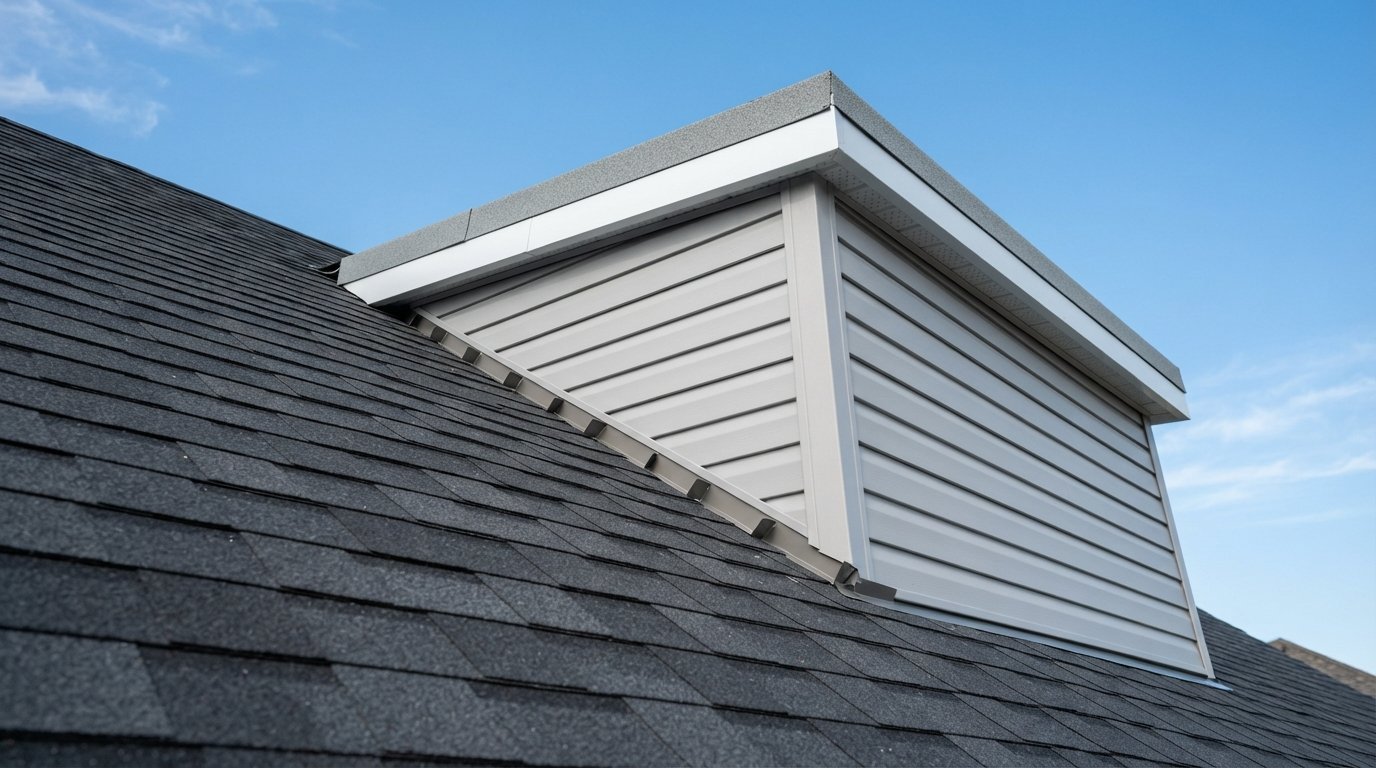
A shed dormer is framed by cutting out part of the main roof and building new walls and a new, lower-pitched roof. The front wall of the dormer usually sits back from the eave or in line with the exterior wall below. The two triangular or rectangular side walls are called cheek walls. The dormer roof slopes gently from the top, where it meets the main roof, down to the front edge.
A box dormer is similar but with a roof that is nearly flat from front to back. Both are common in 1.5-storey houses built through the middle of the last century and in later renovations, and both put a low-slope roof inside a steep roof.
Because a flat roof dormer usually has a pitch too shallow for shingles, it needs a true low-slope membrane. Asphalt shingle manufacturers generally do not allow their products below a minimum slope, and they require extra underlayment on low slopes, so check the manufacturer’s current instructions. On the dormers we see around the GTA, the pitch is often well under what shingles tolerate, which is why the dormer gets a membrane even though the rest of the roof is shingled. Our page on residential flat roofing for houses and additions explains the membranes we use on low-slope roofs like these.
Picking A Membrane For A Dormer Roof
Dormer roofs are small, but they are awkward: narrow, sometimes hard to reach, often adjacent to shingles, siding and windows. The membrane choice has to suit those conditions.
| Roof covering | Suitable for dormer pitch? | Pros on a dormer | Cons on a dormer |
|---|---|---|---|
| Two-ply SBS modified bitumen | Yes, very low to moderate slopes | Tough, well suited to flashing transitions, repairable, granulated cap blends with shingles | Torching near wood cheek walls and siding requires care; self-adhered versions avoid open flame |
| EPDM rubber | Yes | Large sheets can cover a small dormer with few or no seams | Tie-in under shingles needs careful detailing; seams and edges rely on adhesives and tapes |
| TPO or PVC | Yes | Welded seams, light colour | Transitions to shingles and siding need compatible accessories; less common on small houses |
| Standing seam metal | Depends on panel; some allow low slopes | Long life, good looks, sheds snow | Higher cost; minimum slope and seam type must match the manufacturer’s rules |
| Asphalt shingles | Only at or above the manufacturer’s minimum slope | Matches the main roof | On a shallow dormer, water backs up under the tabs and leaks |
For most flat roof dormer replacements in Toronto-area homes, two-ply modified bitumen is the practical default. It handles the flashing transitions well and it is easy for another roofer to repair years later. Self-adhered base sheets are often chosen near wood cheek walls to reduce torch work.
The Top Junction: Tying The Dormer Into The Main Roof
At the back of the dormer, its low-slope roof meets the steep main roof, usually a few feet below the ridge. Water running down the main roof lands on the dormer at this line. If the membrane stops at the transition and the shingles simply sit on top of it, water blowing up under the shingles, or backing up behind ice in the colder months, runs straight into the dormer.
A proper tie-in follows the basic rule of all roofing: every upper layer laps over every lower layer.
- The dormer membrane is carried up the main roof slope, well above the transition line, onto the main roof deck.
- A self-adhered underlayment (often called ice and water shield) runs over or integrates with that upturn and extends up the main roof, so any water that gets under the shingles still lands on a waterproof layer.
- The main roof shingles lap down over the upturned membrane, with the lowest course finished cleanly so water sheds onto the dormer surface.
- Any exposed nails in that zone are kept above the membrane’s upturn and sealed.
This junction is one reason a dormer roof replacement often involves removing and relaying several courses of shingles on the main roof above. Quotes that keep the job entirely on the dormer surface may leave the old, failed transition in place.
The ice and water shield above the transition matters more than it may seem. On a dormer, snow sliding and melting down the steep main roof lands in one place, at that line, so that is where backed-up meltwater and refreezing put the most stress on the tie-in. Water that gets past the shingles has nowhere to go but onto the dormer membrane, which is why the upturn is carried well up the slope.
Cheek Wall Flashing: The Side Leaks
The sides of a shed dormer are where the main roof meets vertical walls. Water runs down the main roof beside the cheek walls, and that wall to roof junction is flashed like any sidewall on a shingled roof.
What good side flashing looks like
- Step flashing: an individual L-shaped metal piece with each course of shingles, one leg on the roof under the shingle, one leg up the wall.
- Weather barrier over the step flashing: the cheek wall’s house wrap or membrane laps down over the vertical legs so water on the wall stays outside the flashing.
- Siding with clearance: siding stops a small gap above the shingles so it does not wick water or trap debris.
- Kick-out flashing at the bottom: where the cheek wall ends at the eave, a kick-out diverter pushes water into the eavestrough instead of down the wall.
Where the dormer’s own roof meets the top of the cheek walls, the membrane turns down over the wall edge and finishes on a metal edge or a rake trim, so water from the dormer roof never runs into the wall framing.
The most common failure we find is a continuous strip of metal or a bead of sealant used in place of step flashing, or siding that was replaced and the new wrap tucked behind the old flashing instead of over it. Either way, water runs behind the flashing and into the wall, and the first sign is often a stain on a bedroom ceiling near a corner.
The Front Edge: Drip Metal And Where The Water Lands
The front edge of a flat roof dormer is where all the water from that roof leaves. It needs:
- Drip edge metal fastened to the deck, stripped into the membrane, and projecting far enough that water drips clear of the fascia and front wall.
- A plan for where the water goes. Either a short eavestrough and downspout along the dormer front, or a clear route onto the main roof below.
On many shed dormers, the front wall sits back from the main eave, so the dormer drains onto a strip of shingled roof below. That strip gets far more water than it was designed for and wears out faster. A dormer eavestrough with a downspout that discharges into the lower eavestrough, with a splash block or diverter where it lands on shingles, protects that lower roof. Where the dormer wall is flush with the house wall, the dormer often drains straight into the main eavestrough, and the drip edge and trough have to be sized and positioned so water cannot run behind them.
Where Flat Roof Dormers Leak
| Leak location inside | Probable source outside | Typical cause |
|---|---|---|
| Ceiling near the back wall of the dormer room | Top junction with main roof | Membrane not carried up under shingles; ice backup behind shingles in colder months |
| Ceiling or wall at the side corners | Cheek wall flashing | Missing step flashing, sealant in place of metal, wrap lapped the wrong way |
| Top of front windows | Front edge or window head flashing | Water running behind drip edge or missing head flashing over windows |
| Mid-ceiling stain | Field of the dormer roof | Ponding in a sag, blister or puncture, or condensation from below |
| Lower floor ceiling below the dormer front | Shingled roof below the dormer | Concentrated runoff wearing out shingles and flashing below |
Condensation deserves special mention. Dormer ceilings are often built with little insulation and poor air sealing. In the colder months, warm, humid air from the bedroom leaks into the cold roof cavity and condenses on the underside of the deck. It can drip back down and look like a leak, or quietly rot the sheathing. If stains appear on cold, dry days rather than in rain, suspect this first.
Insulating A Flat Roof Dormer With Very Little Space
Dormer roofs are commonly framed with shallow rafters, which leaves little depth for insulation and even less for the ventilation space a vented cold roof needs. Add pot lights and a bathroom fan, and it is easy to end up with a room that is hot in summer, cold in the colder months and prone to condensation.
| Approach | How it works | Good fit when | Trade-offs |
|---|---|---|---|
| Vented cold roof with batts | Insulation between rafters with a clear vent space above, vents at front and back | Rafters are deep enough and vent paths can be kept open | Often not enough depth; vent paths are hard to create at the top junction |
| Closed-cell spray foam in the rafters | Foam applied to the underside of the deck, filling part of the cavity, no vent space | Ceiling is open and height cannot be raised | Needs a qualified installer and correct thickness; must suit the roof assembly |
| Rigid insulation above the deck (warm roof) | Boards laid on the deck under the new membrane | Doing a full dormer roof replacement and the added height can be flashed | Raises the roof edge; transitions to shingles and cheek walls must be adjusted |
| Hybrid: some above, some below | A layer of rigid board above the deck plus insulation in the rafters | Some height is available but not enough for full warm roof | Ratio must keep the deck warm enough to avoid condensation; should be designed, not guessed |
Air sealing the ceiling below, around pot lights, fans and top plates, matters as much as the insulation itself. What is specific to a dormer is that the cavity is bounded by the cheek walls and the steep main roof, so a warm-roof upgrade also raises the roof edge and changes the heights at the top junction and the side flashings. Plan the insulation and the flashing heights together, and confirm the building code requirements that apply to your project with the municipality when a permit is involved. Our insulation services can handle the interior side while the ceiling is open.
Replacing A Flat Roof Dormer Roof: What To Expect
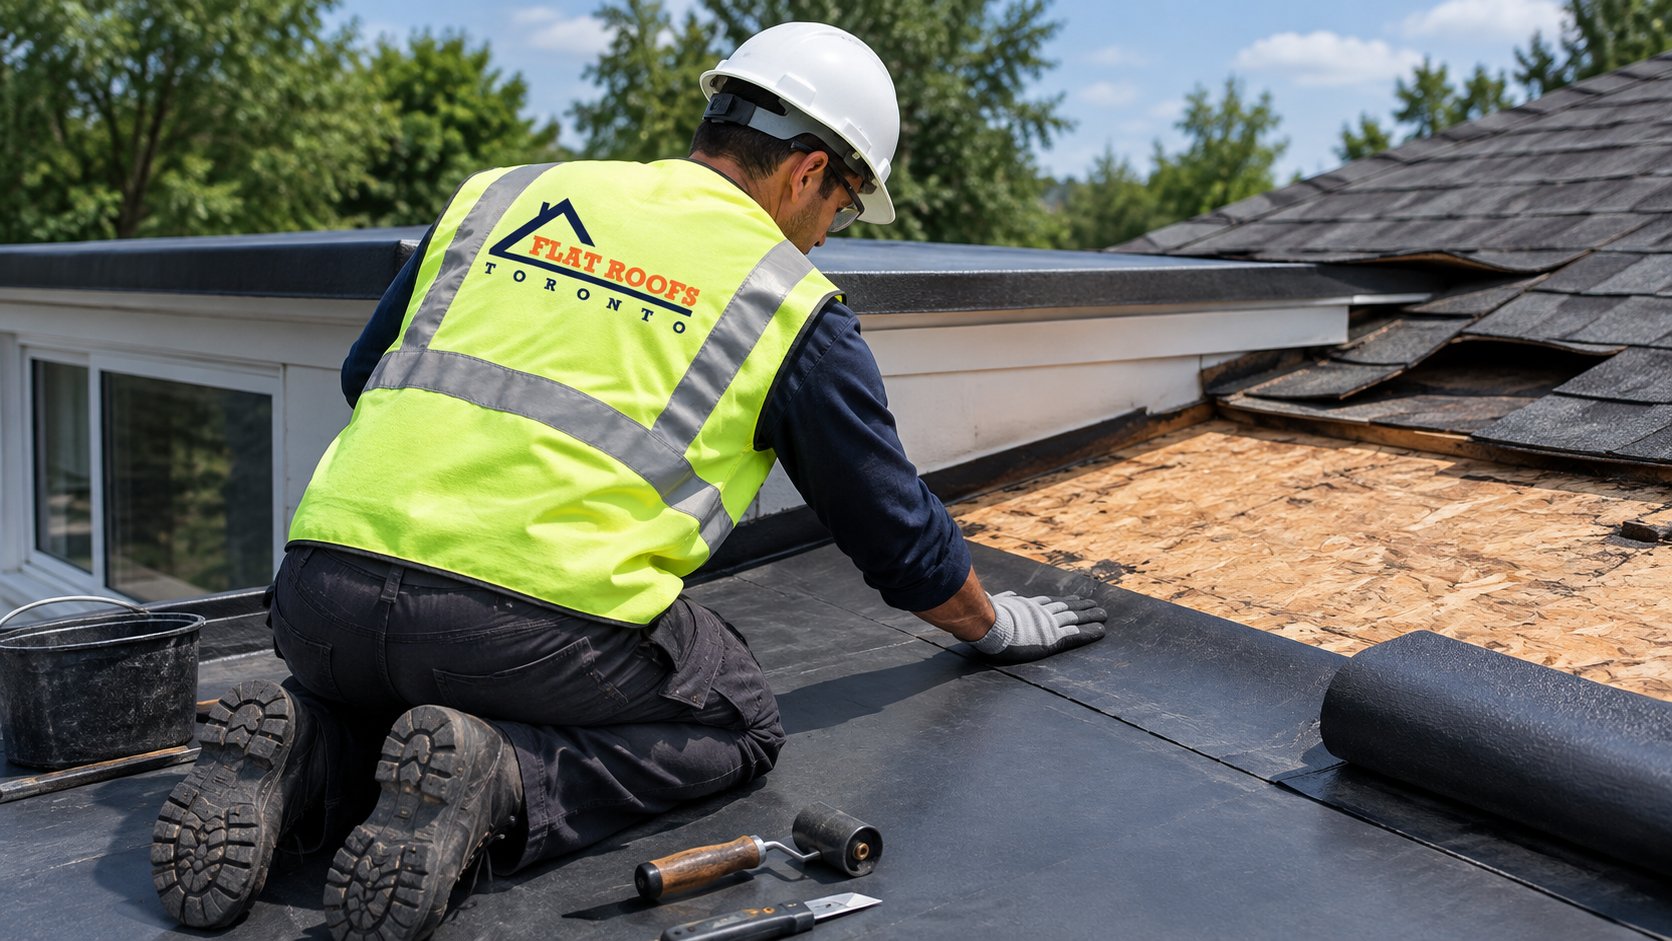
A typical dormer roof replacement includes removing the old membrane and edge metal, lifting the shingles along the top junction and the step flashing courses at the cheek walls, repairing any rotted sheathing, installing the new membrane and flashings, and relaying the shingles. Because dormers are small, much of the job is detail work at transitions rather than open field roofing.
Costs vary with size, access, the membrane chosen and how much of the main roof has to be opened. A small dormer roof replacement often falls in the range of a few thousand dollars, rising if rot, insulation upgrades or cheek wall siding repairs are needed. Treat any figure as an estimate until the roof has been inspected.
If the main shingled roof is also near the end of its life, doing both at once is often worth considering, because the transitions can be rebuilt in the right order with no old material left in the laps. Our flat roof replacement page explains how we plan a full replacement.
Can I put shingles on my dormer roof?
Why does my dormer leak only at the corners?
What is the best membrane for a flat roof dormer?
Why is my dormer bedroom so cold?
Do I need to remove shingles to fix the dormer?
Is early autumn a good time to repair a dormer?
Fix Your Flat Roof Dormer Before The Colder Months
A leaking dormer usually has a clear cause at one of its junctions. Flat Roofs Toronto inspects the top tie-in, the cheek walls and the front edge together, and rebuilds them in the right order so the whole dormer sheds water as one system.
Call us today at (647) 333-3528 or request a free estimate.
Serving storey-and-a-half and older homes across Toronto and the GTA.