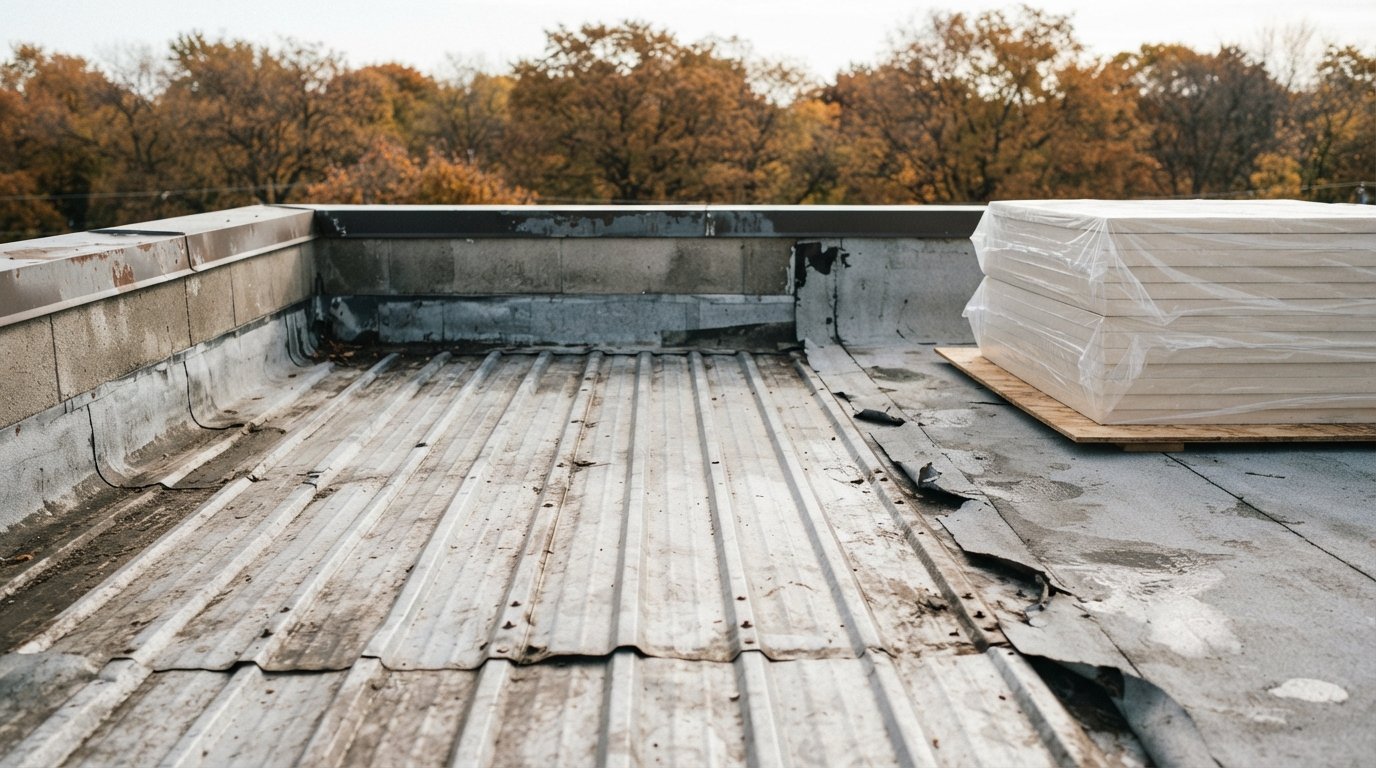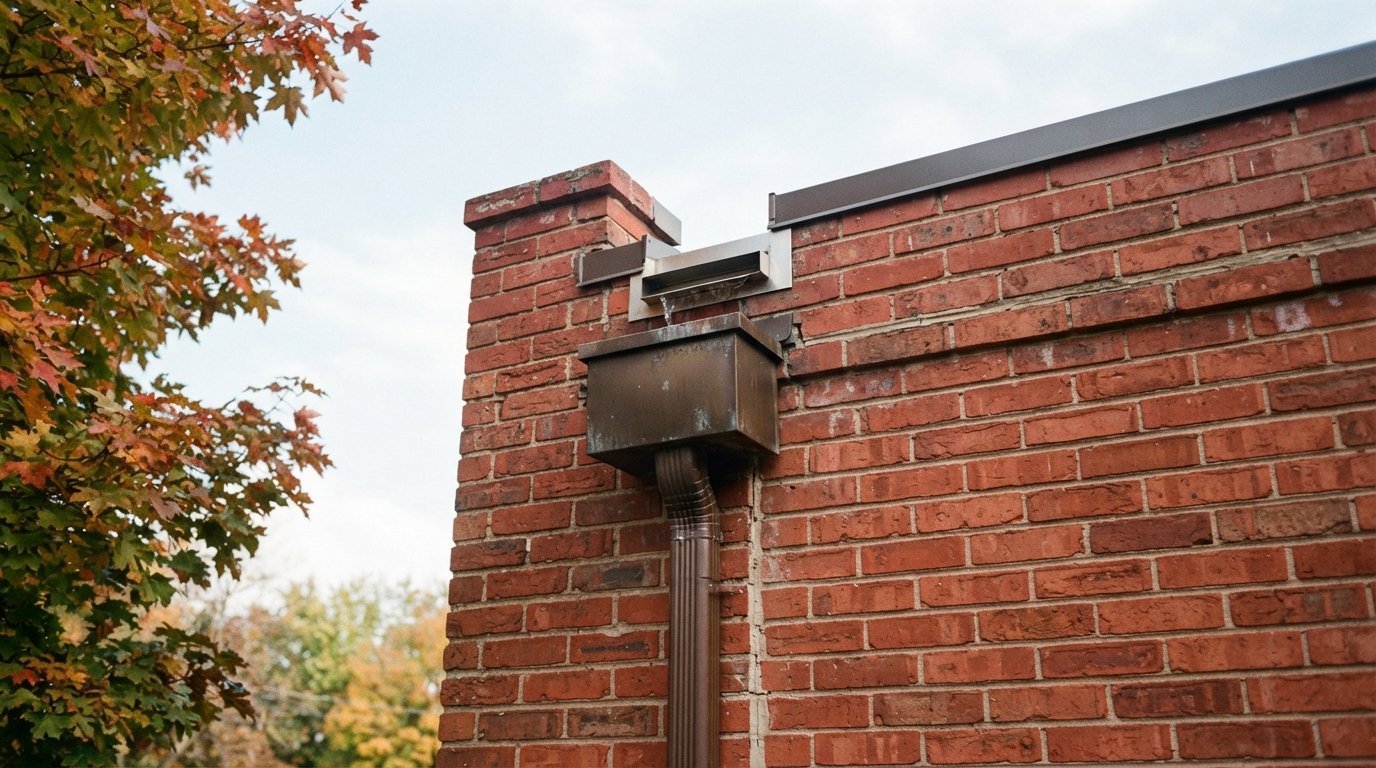

A roof hatch looks like a simple metal box with a lid, but on a flat roof it is one of the hardest-working openings in the building. It is how you, your roofer and your HVAC technician get up to the roof, and it is also a large hole in the membrane, a cold spot in the ceiling and a fall hazard at the top of a ladder. When a roof hatch is sized wrong, flashed poorly or left uninsulated, it becomes a leak, a condensation problem and a safety issue all at once.
This guide covers how hatches are sized, how the curb should be tied into the roof membrane, what an insulated lid actually does, the safety equipment worth adding, and the particular issues we see on low-rise residential buildings such as townhouses, triplexes and small mixed-use properties around the GTA.
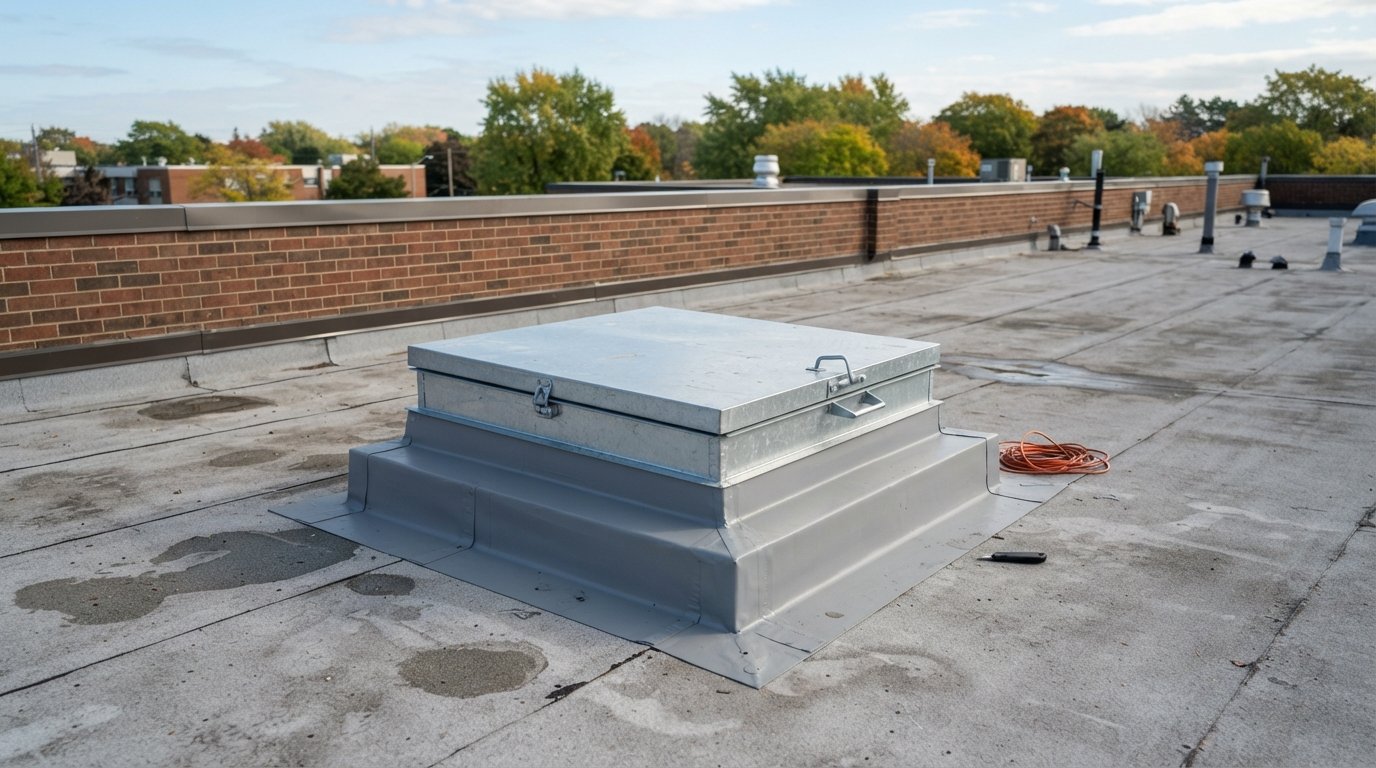
What A Roof Hatch Does And Why It Matters
On buildings without a stair penthouse, a roof hatch is the only practical way to reach the roof from inside. That access is needed for inspections, drain cleaning in autumn, snow checks, and servicing rooftop units. Owners of small commercial and multi-unit properties often underestimate how often the hatch is used, and by how many different people, until something breaks.
A well-built hatch has four jobs:
- Access: an opening large enough for a person carrying tools, matched to a ladder or stair below.
- Weather protection: a curb and lid that shed water and seal against wind-driven rain.
- Thermal control: an insulated curb and lid so the opening does not become a cold patch that drips condensation.
- Safety: hardware that holds the lid open, and guarding and grab points so people are not stepping out beside an open hole.
For owners of multi-unit, retail and office buildings, hatches are part of the broader maintenance picture we cover under commercial flat roofing services for low-rise buildings.
Choosing The Right Roof Hatch Size
Hatch size should be chosen based on what the opening is for and what sits underneath it, not on what is cheapest or what fit the old hole. Manufacturers offer a range of standard sizes; the table below shows the typical categories and uses. Always check the actual dimensions in the manufacturer’s current product data.
| Typical opening (approximate) | Access type below | Common use | Notes |
|---|---|---|---|
| About 30 x 36 inches | Vertical fixed ladder | Most common for occasional service access on small buildings | Tight when carrying tools; climber needs both hands on the ladder |
| About 30 x 54 inches | Ship’s ladder (steep stair) | More frequent access, easier to carry small items | Needs more floor space below for the ladder footprint |
| About 30 x 96 inches | Standard stair | Regular access, such as buildings with rooftop amenity or frequent service | Large opening means heavier lid and stronger hardware |
| Larger equipment hatches | Open to below for lifting | Moving equipment or materials up through the building | Often double-leaf lids; used more on commercial buildings |
| Small residential access hatches | Pull-down or fixed ladder in a closet or hallway | Houses, townhouses and small multi-unit buildings | Often site-built or undersized; frequent source of leaks and drafts |
If you are replacing an existing hatch, the frame opening in the structure usually dictates the size. Enlarging it means cutting joists and adding headers, which is structural work and may need a permit. Many owners stay with the existing opening but upgrade to a better curb, lid and hardware.
Curb Height And Flashing Into The Membrane
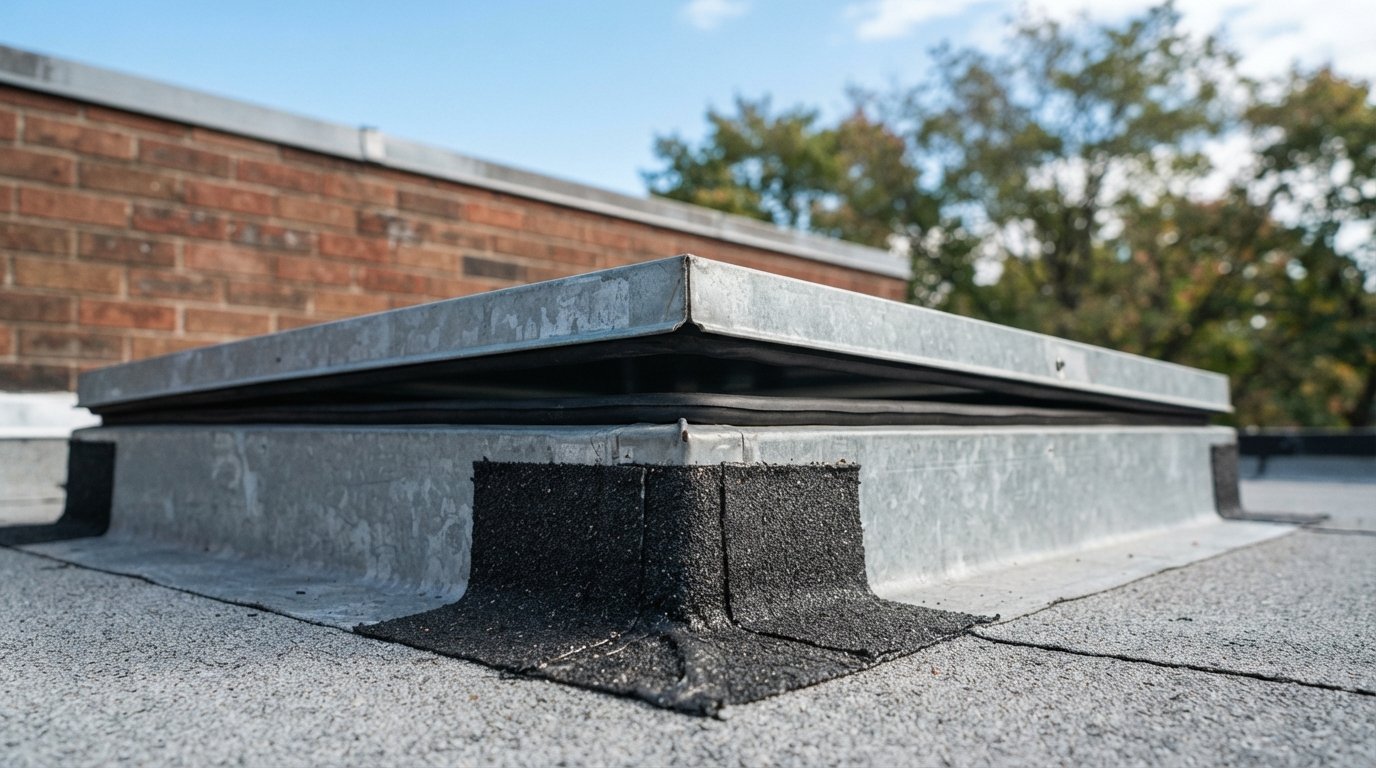
Almost every leaking hatch we are called to has a flashing problem rather than a lid problem. The hatch sits on a curb, which is either built into the hatch unit or framed on site, and the membrane has to run up that curb high enough that water, slush and snow cannot get over it.
How the curb should be built
- Height above the roof: the curb must stand high enough that the membrane can be carried up it as base flashing. Many manufacturer details call for the base flashing to reach roughly 8 inches above the finished roof surface; confirm the requirement for your membrane.
- Solid attachment: the curb must be anchored to the structure, not just to insulation, so it cannot rock when people climb through.
- Insulation: the curb walls should be insulated to reduce condensation on the inside face.
- Cant or transition: on some membranes a cant strip at the base eases the turn from horizontal to vertical so the membrane is not bridged in a sharp corner.
Base flashing and the cap
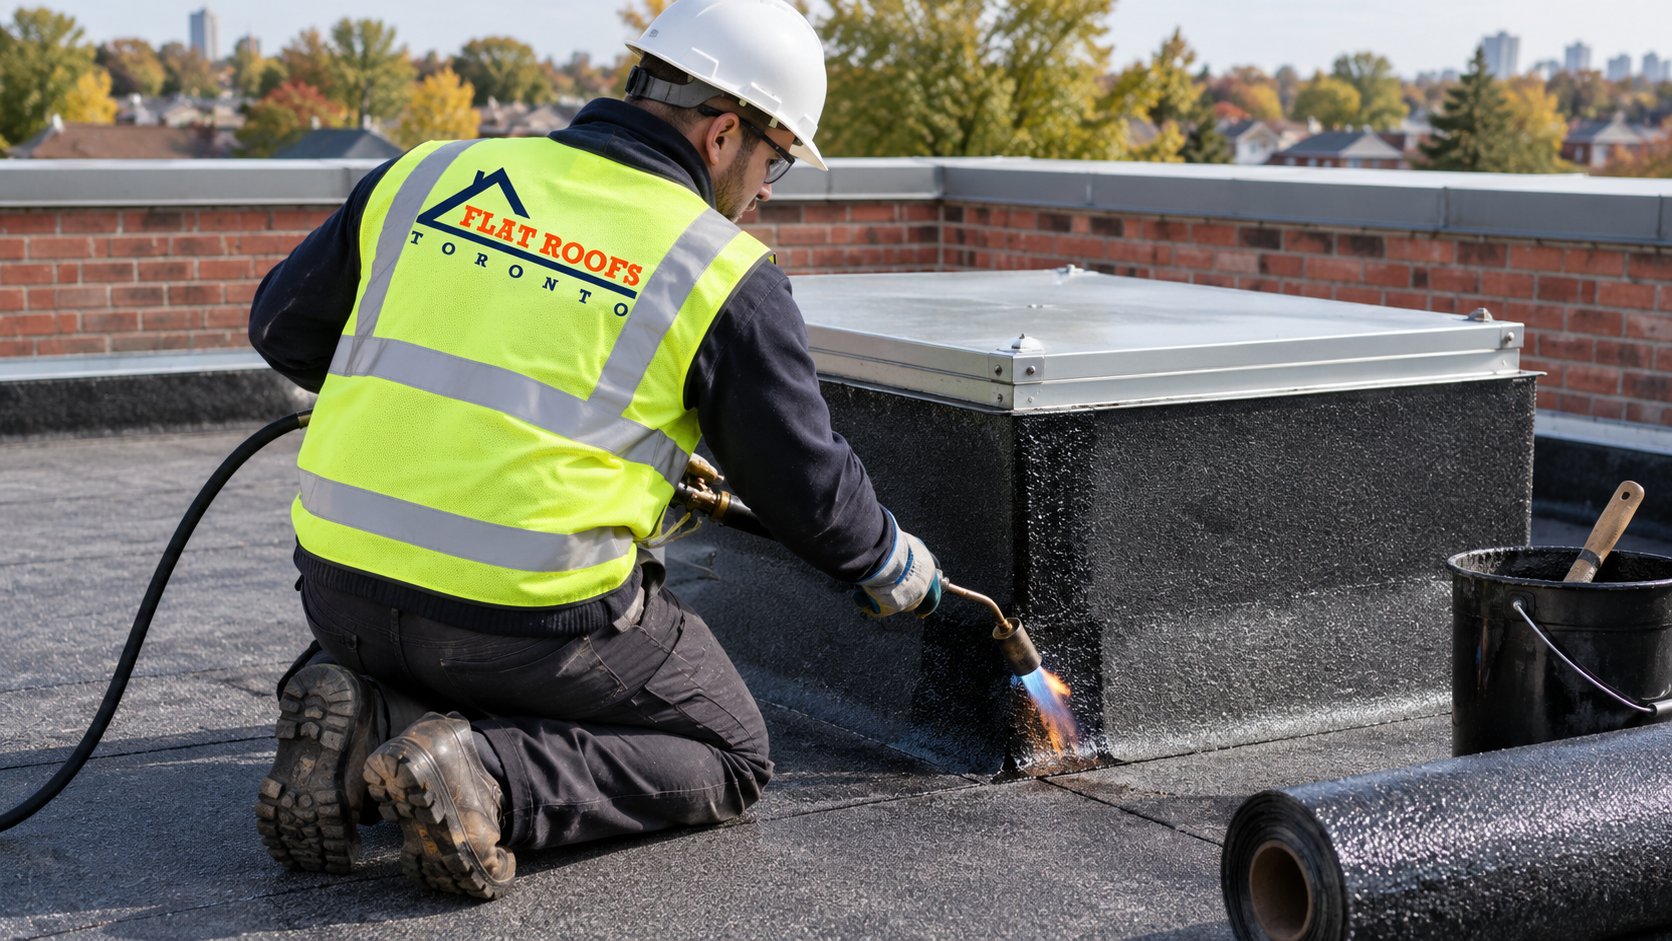
With modified bitumen, the base sheet and cap sheet are turned up the curb, with the corners reinforced by extra pieces because corners are where membranes crack. With single-ply systems such as EPDM or TPO, pre-formed corners or carefully welded or taped corner patches are used. At the top of the curb, the hatch’s own flange or a metal cap flashing laps over the membrane so water runs off the outside rather than behind the flashing.
Poor practice to watch for includes membrane stopping short of the top of the curb, caulking used in place of a cap, fasteners through the top of the flashing without a cover, and a hatch set on a curb with no slope around it so water ponds against the upstand. On older roofs we also see hatches that were set directly on the roof with only a few inches of curb, which cannot be flashed properly.
Insulated Lids, Gaskets And Condensation
The inside of an uninsulated hatch is a sheet of metal exposed to outdoor temperatures. On a cold day, warm, humid indoor air rising up the ladder shaft meets that metal and condenses. Water then drips down the ladder or soaks the ceiling around the opening. Owners often assume the hatch is leaking when it is actually sweating.
Modern hatches typically have insulated lids and curbs, with a continuous gasket around the lid. Some higher-end models also include thermally broken frames. These features help, but a hatch will still condense if:
- The gasket is torn, compressed flat or missing at the corners, so warm air leaks around the lid.
- The ceiling opening below the hatch is not air sealed to the curb, letting building air flow into the shaft.
- The shaft walls between the ceiling and the curb are uninsulated or unsealed.
- Indoor humidity is high, as in older multi-unit buildings or near kitchens and bathrooms.
The fix is usually a combination: a better lid or new gasket, insulating and air sealing the shaft, and sometimes adding an interior insulated panel or a secondary ceiling access door that stays closed most of the year.
Leaks Or Condensation? How To Tell
| What you see | When it happens | Likely cause | What to check |
|---|---|---|---|
| Drips from the lid underside | Cold days, often without rain | Condensation on uninsulated or poorly sealed lid | Lid insulation, gasket condition, air sealing of the shaft |
| Water running down the curb inside | During or right after rain | Failed base flashing or cap flashing on the curb | Membrane height, corners, cap laps, fasteners |
| Water at the ceiling around the opening | After snowmelt or heavy rain | Ponding against the curb or cracked membrane at the base | Slope around the curb, cracks at the membrane transition |
| Water only when the lid is left open | After service visits | Lid not latched or not closing fully | Hardware, hold-open arm, latch and gasket seating |
| Rust streaks on the lid or curb | Ongoing | Aged coating, trapped moisture, galvanic corrosion | Coating condition, fasteners and dissimilar metals |
If you are not sure which it is, note the weather conditions whenever you see water. Condensation tends to appear on cold, dry days; rain leaks track the weather. That record makes the inspection far quicker.
Roof Hatch Safety: Railings, Grab Bars And Hold-Open Arms
The most dangerous moment on a flat roof is often the step out of the hatch. The climber is off balance at the top of the ladder, and once out, the open hatch is a hole beside them. On larger roofs there may also be an unguarded roof edge nearby.
Safety equipment worth considering for any roof hatch that sees regular use:
| Equipment | What it does | When it is most useful |
|---|---|---|
| Hatch railing system | Guardrail mounted to the curb around the opening, with a self-closing gate on the access side | Any hatch used more than occasionally, or near an unguarded roof edge |
| Ladder extension post or grab bar | Gives the climber a solid handhold above the hatch while stepping on and off the ladder | Vertical ladders, where the transition at the top is most awkward |
| Hold-open arm with positive latch | Locks the lid fully open so wind cannot slam it onto someone | All hatches, especially on windy, exposed roofs |
| Compression springs or gas struts | Help lift a heavy lid and stop it dropping | Larger lids and ship’s ladder or stair hatches |
| Handles and a secure latch on both sides | Allow opening from inside and outside and lock out intruders | Multi-unit and commercial buildings with shared access |
Workplaces in Ontario, including buildings where contractors and staff work on the roof, are subject to the Occupational Health and Safety Act and its regulations, which address guarding and fall hazards. Building code rules apply to new construction and alterations. The details depend on the building and its use, so confirm current requirements with the province’s workplace safety guidance, your municipality or a qualified safety advisor rather than assuming the existing setup is compliant.
Roof Hatches On Low-Rise Residential Buildings
On houses and small residential buildings, hatches are often the weakest detail on the roof. We regularly see:
- Site-built wooden hatches with a plywood lid wrapped in membrane, no gasket and no insulation, sitting on a curb only a few inches high.
- Hatches hidden in closets where condensation goes unnoticed until the closet ceiling is stained.
- Hatches that have been roofed over during a previous replacement, leaving no access for future inspections.
- Undersized openings that make it hard for a tradesperson to get tools onto the roof safely.
For a house or townhouse, a manufactured insulated hatch on a properly flashed curb is usually a large upgrade over a homemade lid. The best time to do it is during a roof replacement, when the curb can be rebuilt and flashed as part of the new membrane. If you are planning that work, our flat roof replacement service covers hatch curbs along with drains, skylights and other penetrations. Where natural light rather than access is the goal, a flat roof skylight is the better product; hatches are not designed to be glazed light sources.
Replacing Or Upgrading A Roof Hatch
A hatch replacement on an existing roof typically involves removing the old hatch and flashing, checking the framing around the opening, installing a new curb or hatch unit, and flashing the new curb into the existing membrane with compatible materials. The membrane around the opening must be in good enough condition to tie into; on an aging roof, it is often sensible to plan the hatch as part of a replacement rather than patching new flashing into brittle old material.
Costs vary widely with the hatch size, whether the curb is reused, the membrane type and access. As a very rough guide, replacing a standard service hatch with a new insulated unit and new flashing often lands somewhere in the low thousands of dollars, while adding a railing system and ladder extension adds to that. A site visit is needed for any real number.
Questions to ask your contractor:
- Which hatch model and size do you recommend, and why?
- Is the lid insulated and gasketed, and what is the frame made of?
- How high will the base flashing go, and how are the corners reinforced?
- How will you air seal and insulate the shaft below the curb?
- What safety equipment do you recommend for how often this roof is accessed?
What size roof hatch do I need?
Why does my roof hatch drip on cold days when it is not raining?
How high should a hatch curb be?
Do I need a railing around my roof hatch?
Can a roof hatch be replaced without a new roof?
How often should a hatch be inspected?
Book A Roof Hatch Inspection Or Upgrade
A hatch that leaks, drips or feels unsafe to climb through is worth fixing before the colder months. Flat Roofs Toronto inspects, re-flashes and replaces hatches on houses, townhouses and low-rise commercial buildings, and ties them properly into the roof membrane.
Call us today at (647) 333-3528 or request a free estimate.
Serving building owners and homeowners across Toronto and the GTA.