
Most homeowners only ever see the top of their flat roof: a black or grey membrane, maybe some gravel, a drain or two. But flat roof construction is really a stack of separate layers, each doing one job, and when a roof leaks, drips condensation or sags, the cause is almost always a layer that was missing, installed in the wrong order, or chosen without thinking about the others. This guide walks through that stack from the bottom up, the way a roofer sees it when a section is opened during a tear-off.
If you are planning a replacement, buying a house with a flat roof, or trying to understand a quote that lists six materials you have never heard of, knowing what each layer does will let you ask sharper questions and spot the difference between a complete assembly and a membrane laid over whatever happened to be there.
What Flat Roof Construction Actually Involves
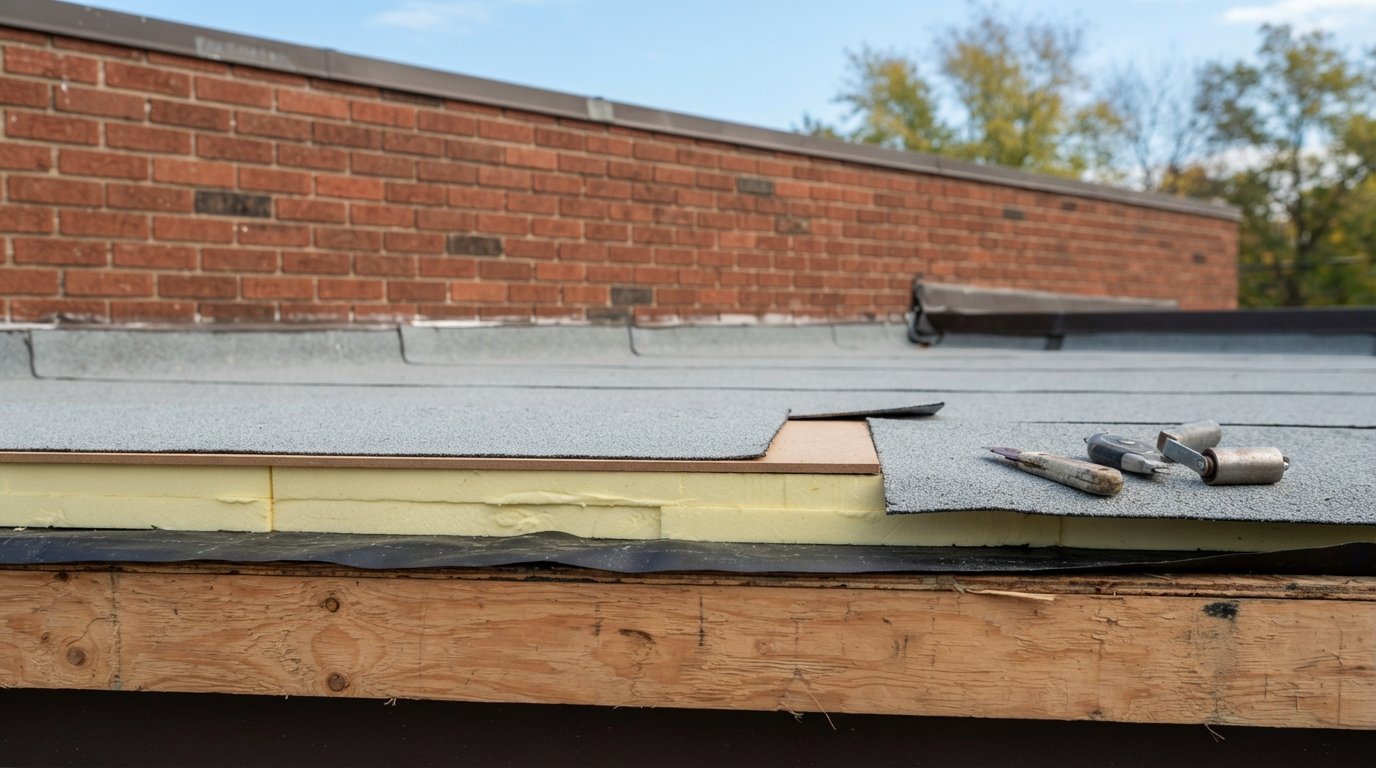
A pitched roof sheds water fast. A flat roof holds water longer, carries snow for months, and sits directly over a heated room in many GTA houses. That is why flat roof construction behaves more like building a small, sealed system than laying a covering. The membrane keeps rain out, but the layers underneath decide whether it stays flat, stays attached, stays dry from below and drains properly. Every well-built flat roof construction answers five questions: what holds it up, where indoor moisture stops, where the heat is kept in, what gives the membrane a firm base, and how water gets off the roof.
For the membrane options themselves, our guide to the flat roofing systems we install and how they compare covers modified bitumen, EPDM, TPO and built-up roofs. Below, we focus on how the pieces fit together.
Layer One: The Structure And Roof Deck
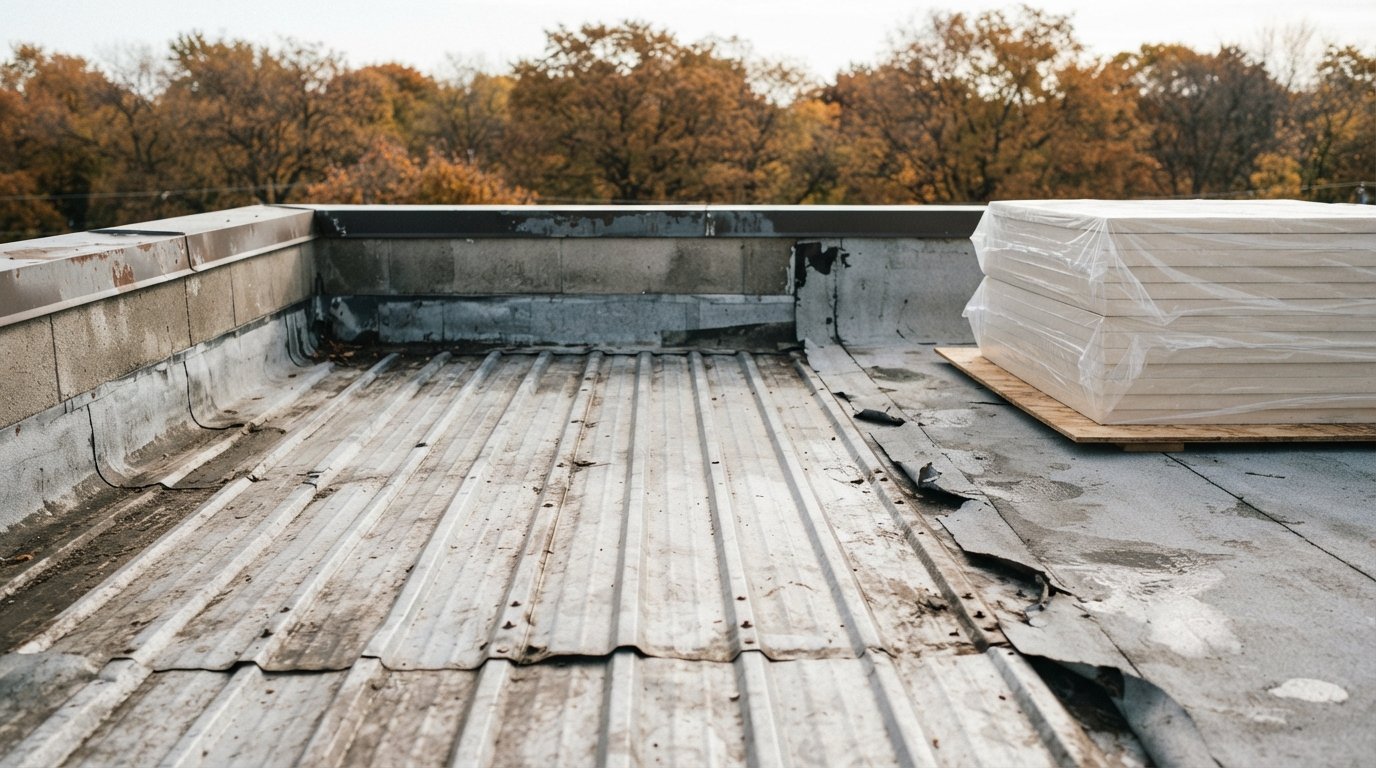
On most detached houses, semis and rear additions in the Toronto area, the structure is wood joists spanning between walls. Older homes, especially pre-war and post-war houses, often have 1×6 or 1×8 board sheathing nailed across the joists. Newer work and most replacements use plywood or OSB, commonly 5/8 inch or 3/4 inch thick depending on joist spacing and load. Small commercial and mixed-use buildings may have steel deck on steel joists, or a concrete slab.
The deck is the foundation of all flat roof construction. Old boards go soft at joints after years of wetting, and gaps can telegraph through thin membranes. During tear-off, a roofer walks and probes the deck; soft spots, rot around drains and chimneys, and flexing sections are replaced before anything goes on top. Ask how rotted decking is priced, since it is usually found only once the old roof is off.
Where slope comes from
No roof should be dead flat. Slope comes from sloped joists, tapered wood firring strips on top of the joists, or tapered insulation above the deck. On older houses the original framing pitch has often settled, which is why ponding appears mid-roof after decades. A replacement is the chance to correct it.
Layer Two: The Vapour Retarder And Air Barrier
Indoor air in an Ontario house in January carries a lot of moisture. If it leaks up into a cold roof assembly, it condenses on the first cold surface, often the underside of the deck. The result looks exactly like a roof leak: stained drywall, dripping on a mild day, mould on the sheathing, but it is not rainwater at all.
The vapour retarder is the layer that stops this, and its location depends on the design:
- In a warm roof, where insulation sits above the deck, a self-adhered or torch-applied vapour retarder membrane goes directly on the deck, under the insulation.
- In a cold roof, where insulation sits between the joists, the vapour barrier is on the ceiling side, usually polyethylene sheet behind the drywall, sealed at the edges.
The rule: vapour control goes on the warm side of the insulation, and gaps around pot lights, fans and stacks must be sealed, because air leakage carries far more moisture than diffusion.
Layer Three: Insulation, Above Or Below The Deck
Insulation is where flat roof construction choices have the biggest long-term effect on comfort and heating bills. There are three broad approaches used on GTA homes, and the right one depends on how much height you have, what is below the roof and whether the ceiling is being opened.
| Assembly type | Where the insulation sits | Where it works well | Watch-outs |
|---|---|---|---|
| Cold roof (vented) | Between the joists, under the deck, with an air space and vents above | Older houses where the ceiling is already open, or where roof height at walls and doors is very tight | Needs a clear, continuous vent path; blocked vents and air leaks from below cause condensation and mould |
| Warm roof (conventional) | Rigid boards above the deck, under the cover board and membrane | Most full replacements; keeps the deck and joists warm and dry; allows tapered insulation to fix drainage | Raises the roof height, so door thresholds, parapet heights and flashings must be planned |
| Inverted or protected membrane | Rigid extruded polystyrene on top of the membrane, held down with ballast or pavers | Roof decks and terraces with foot traffic; membrane is protected from sun and damage | Heavier; structure must carry ballast; leaks are harder to trace under the insulation |
The warm roof has become the default for most replacements because keeping the deck warm leaves condensation nowhere cold to form, and tapered boards can build in the slope the old framing lacks. The cost is height: several added inches at the edge must be worked out around walkout doors, windows and neighbouring walls on a semi.
Common boards are polyiso (most insulating value per inch), XPS (water resistant, used in inverted roofs) and EPS (economical, common in tapered systems). If the ceiling below is being opened or you are also working on the space under a cold roof, our insulation services can cover that side of the assembly as well. Current minimum insulation levels for roofs are set by the Ontario Building Code and its energy efficiency requirements; confirm what applies to your project with the municipality when a permit is involved.
Layer Four: The Cover Board
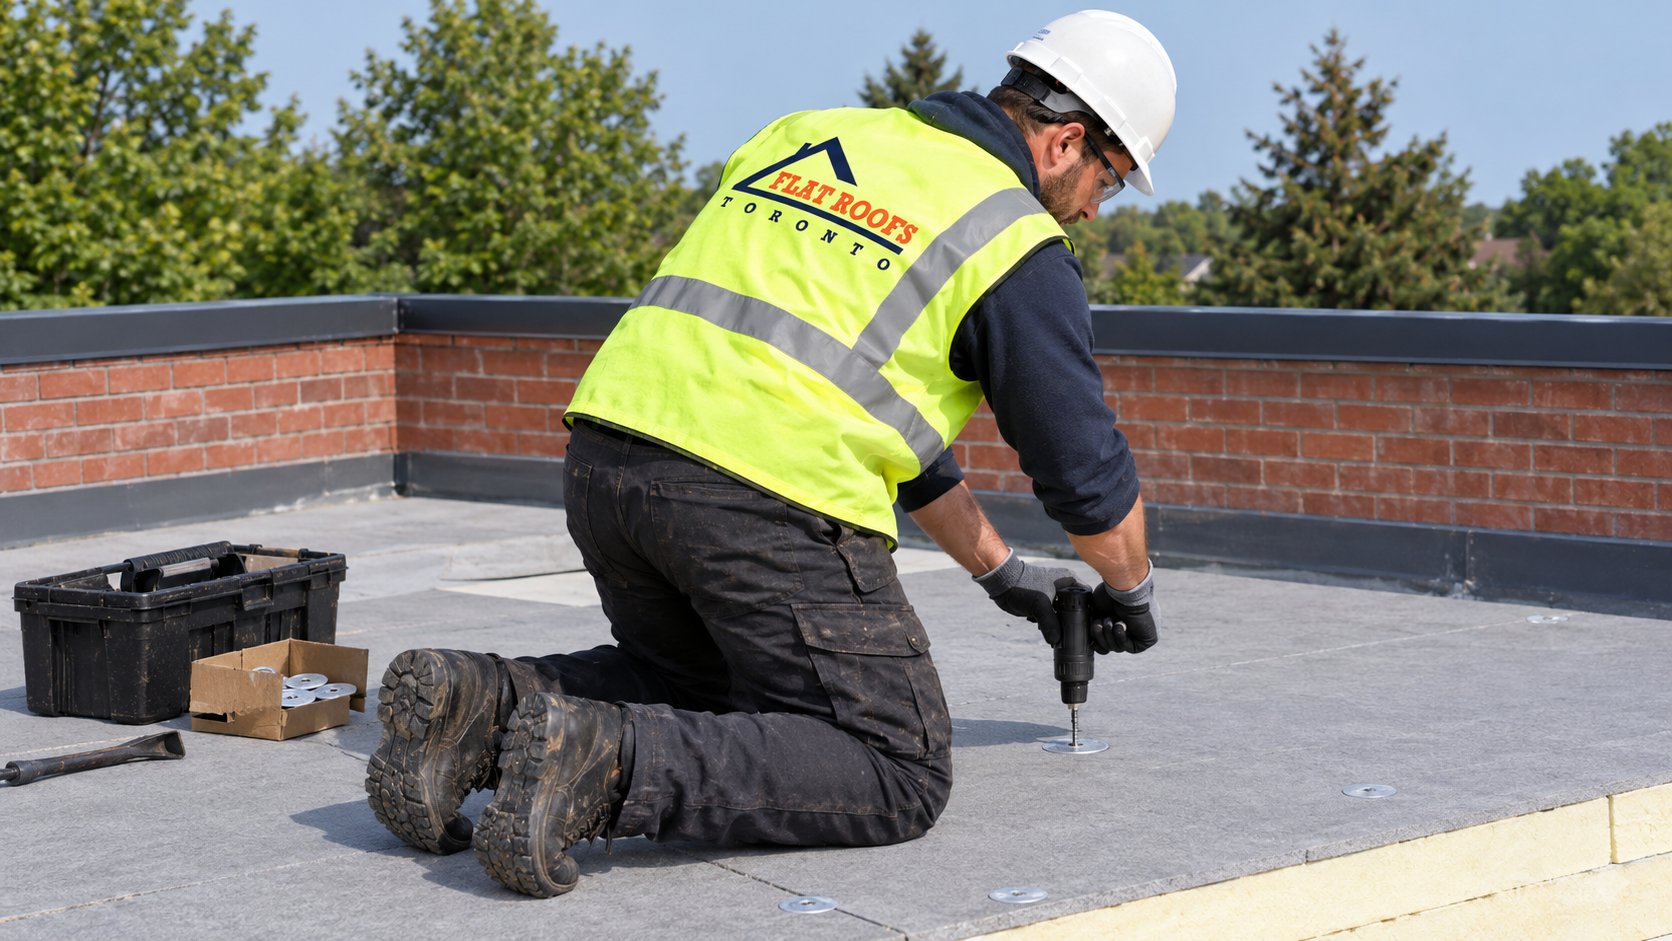
The cover board is a rigid sheet, typically 1/4 inch to 1/2 inch thick (fibreboard, gypsum board, high-density polyiso or asphaltic board), laid over the insulation. Foam is soft: foot traffic, hail and torch heat damage it, and many membranes cannot bond directly to it. The cover board spreads loads, protects the insulation and gives the membrane something firm to grip. Skipping it is a common corner cut on low bids, and the membrane often shows dents and loose laps within a few years.
Layer Five: The Membrane
This is the waterproof layer most quotes are built around. On Toronto-area houses it is usually two-ply SBS modified bitumen (a base sheet and a granulated cap sheet, torched or self-adhered), EPDM rubber, or a thermoplastic sheet such as TPO with hot-air welded seams. Older buildings may still have built-up tar and gravel, which is now mostly replaced rather than installed new on houses.
How the membrane is attached, whether adhered, torched, fastened or ballasted, matters as much as the product. Attachment must suit the deck, insulation and cover board below, and manufacturers publish specific assembly requirements for their warranties, so ask which assembly your contractor is following.
Layer Six: Flashings, Edges And Penetrations
Flat roofs rarely leak in the open field of the membrane. They leak at edges, walls and holes, which is what flashing is for.
Base flashing and counterflashing
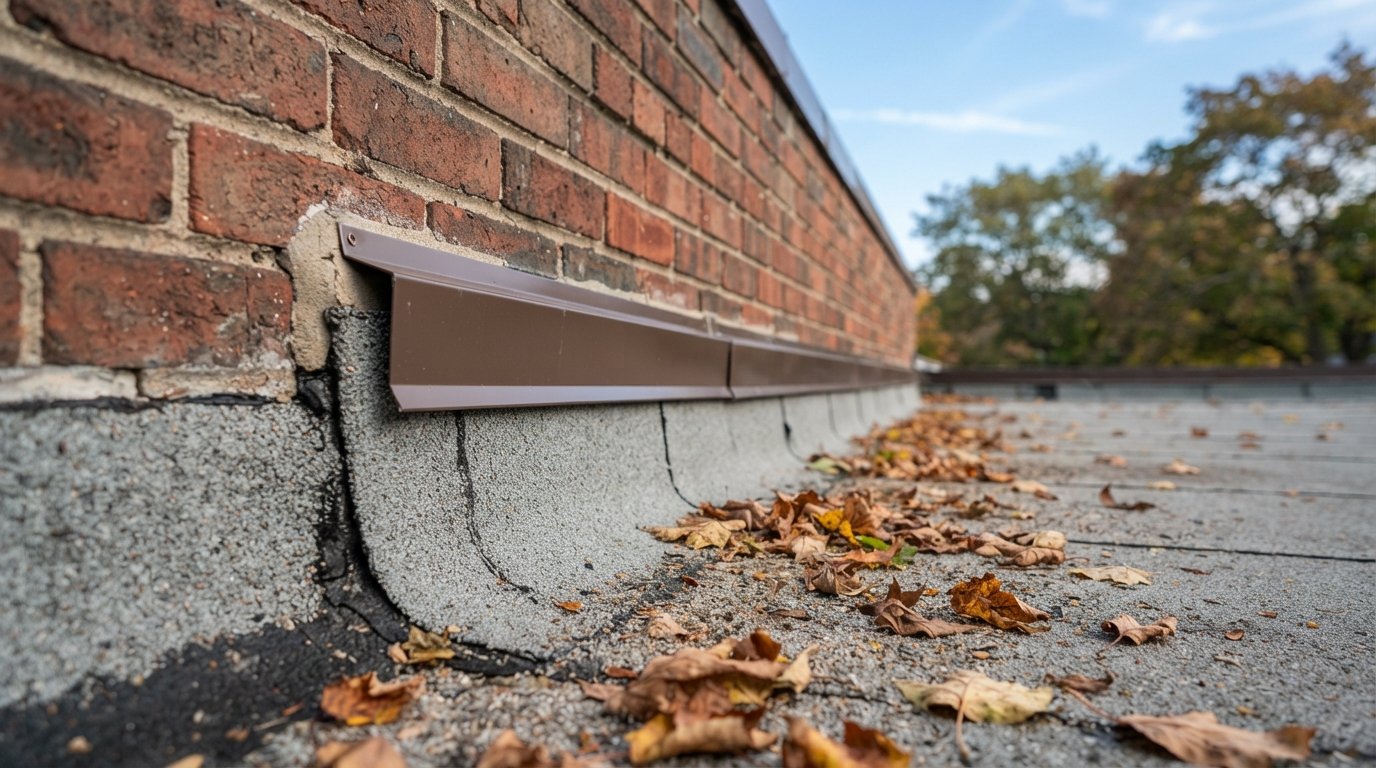
Where a roof meets a parapet or a house wall, the membrane turns up the wall as a base flashing. Many manufacturer details call for this upturn to reach roughly 200 mm (about 8 inches) above the finished roof surface, though requirements vary by product and situation. The top of that upturn is then protected by counterflashing: metal let into a mortar joint or reglet, or tucked behind siding and the wall’s weather barrier, so water running down the wall lands on the outside of the flashing rather than behind it. On older brick semis, failed counterflashing at the shared wall is one of the most common leak sources we see.
Roof edges and drip metal
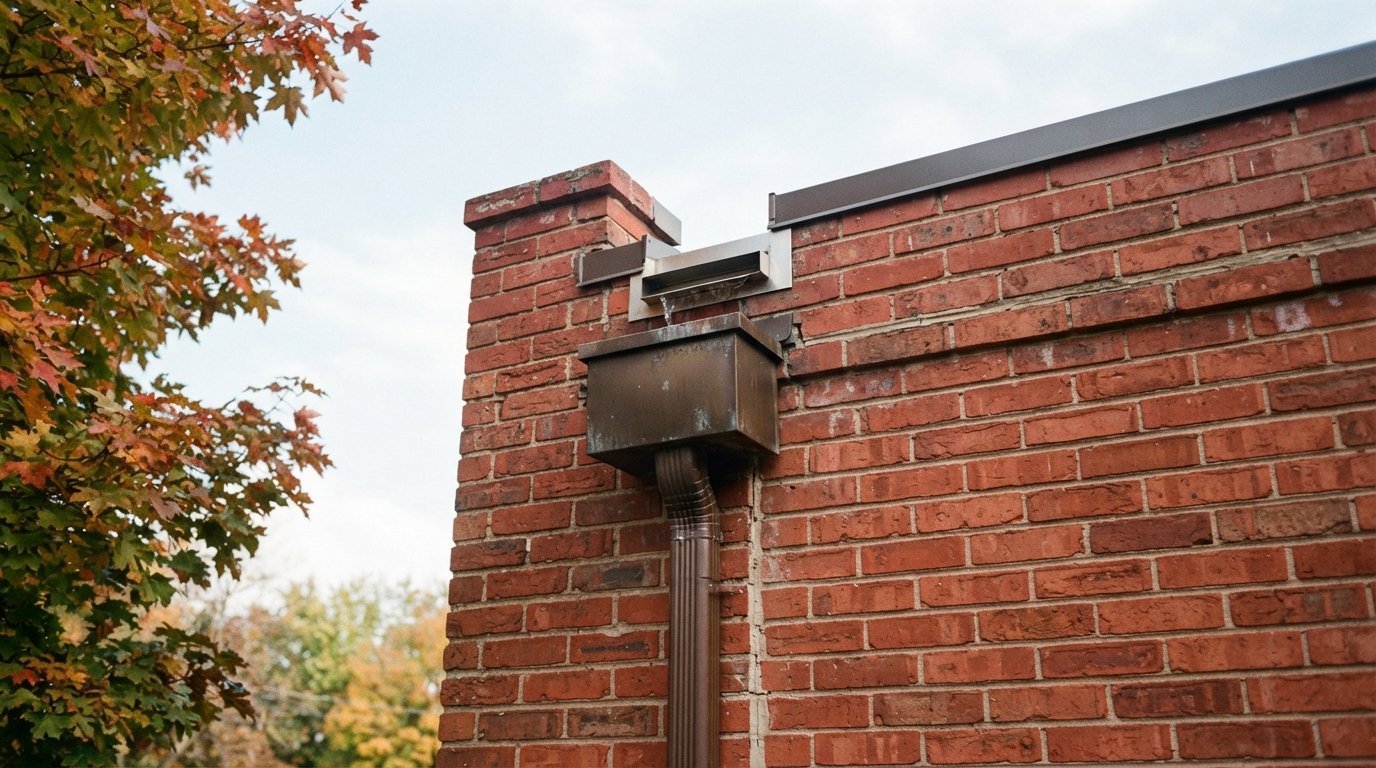
At an open edge, the membrane terminates onto metal drip edge or gravel stop, which directs water into the eavestrough and away from the fascia. Edge metal should be securely fastened, stripped in with membrane, and sized so water drips clear of the wood below. Loose edge metal is also where wind starts to peel a roof in a storm.
Penetrations
Plumbing stacks, vents, hatch curbs and equipment supports each need their own flashing detail: a boot, a membrane collar, a metal sleeve or a raised curb. Skylights combine a curb, a glazing unit and often a condensation issue; our page on residential flat roof skylights explains how those details are handled.
Layer Seven: Drainage
In flat roof construction, drainage is a design decision that runs through every other layer. Water leaves a flat roof in one of three ways: through interior drains that run down inside the building, through scuppers cut in a parapet, or over an open edge into an eavestrough. The slope built into the deck or tapered insulation steers water to those outlets, and crickets (small sloped sections) divert water around chimneys, curbs and back walls.
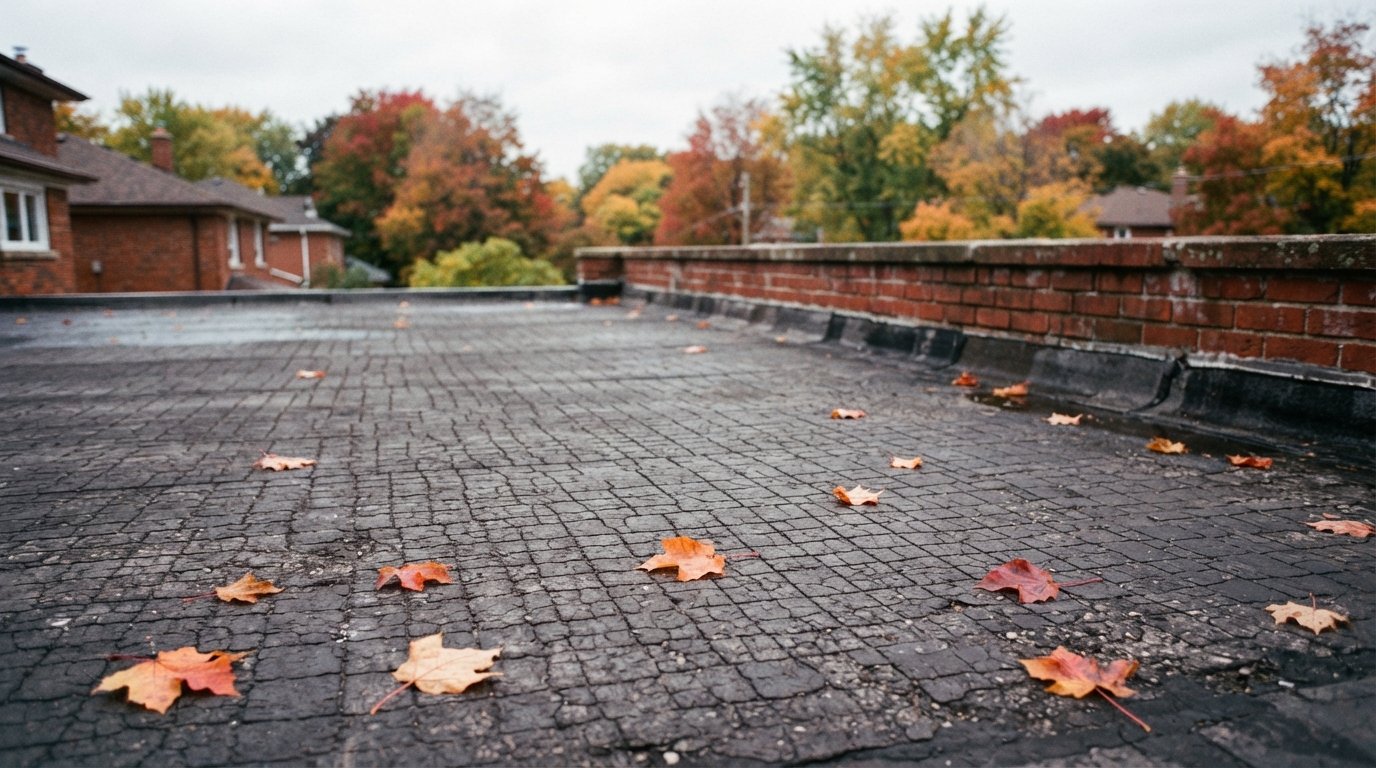
Good practice for new work is to design for positive drainage, meaning water should clear the roof within a reasonable time after rain rather than sitting for days. Membrane manufacturers commonly address ponding in their warranty terms, so check their current documents. In the GTA, drainage also has a seasonal side: freeze and thaw cycles, leaves in autumn and snow melt in spring all test drains and scuppers. A drain that is slightly high because insulation was added without adjusting the drain body will leave a permanent puddle around it.
How The Layers Are Installed, In Order
On a typical residential warm roof replacement, the sequence looks like this. Each step has a checkpoint worth asking about.
| Step | What happens | What to check |
|---|---|---|
| 1. Tear-off | Old membrane, insulation and damaged materials are removed down to the deck | Photos of the exposed deck; any rot or soft areas identified |
| 2. Deck repair | Rotted boards or sheets are replaced; fasteners checked | How much was replaced and how it was billed |
| 3. Vapour retarder | Membrane applied to the deck and turned up at walls and edges | Laps sealed; continuous with the wall air barrier where possible |
| 4. Insulation and taper | Rigid boards laid, often tapered toward drains or edges, joints staggered | Taper layout matches drain locations; no large gaps between boards |
| 5. Cover board | Board fastened or adhered over the insulation | Fastener pattern follows the manufacturer’s detail |
| 6. Membrane and flashings | Base and cap sheets or single-ply installed; walls, curbs and edges flashed | Upturn heights, lap widths, counterflashing and edge metal secured |
| 7. Drains and clean-up | Drains, scuppers and eavestroughs reconnected and tested | Water flows to outlets; no debris left in drains |
On a small house roof this often takes a day or two, weather permitting. Whatever is opened must be closed in before the crew leaves; opening more roof than can be sealed in one shift is how interiors get soaked mid-project.
Why Flat Roof Construction Has To Suit The GTA Climate
Southern Ontario tests every layer. Freeze and thaw widens any gap under a lap or behind a flashing, so upturn heights and sealed counterflashing matter. Heavy snow tests the structure, and meltwater against a warm wall or a blocked scupper can back up under flashings. Cold outdoor air against humid interiors drives condensation, which is the vapour retarder’s job. UV ages exposed membranes, which is why cap sheets carry granules and single-ply sheets are often light coloured. And autumn leaves clog drains, so early autumn, before the colder months, is the right time to clear outlets and check edges on any flat roof construction.
Problems That Trace Back To A Missing Or Wrong Layer
When a roof fails early, the symptom usually points to one layer of the flat roof construction above.
| What you notice | Likely layer involved | Typical cause |
|---|---|---|
| Drips or stains in winter with no rain | Vapour retarder or ventilation | Warm indoor air condensing inside the assembly; blocked vents in a cold roof |
| Puddles that stay for days | Deck, slope or drainage | Settled framing, no taper, drains set too high |
| Blisters or bubbles in the membrane | Membrane, cover board or substrate | Trapped moisture or poor adhesion to the surface below |
| Leak at a wall or chimney | Flashing | Short upturn, failed counterflashing, cracked mortar joint |
| Soft or spongy areas underfoot | Insulation or deck | Wet insulation from a long-term leak; rotted sheathing |
| Membrane lifting at the edge | Edge metal and attachment | Loose or undersized edge metal, poor fastening |
Some of these are local repairs; wet insulation across a large area usually means replacement. If water is coming in now, start with emergency flat roof repair.
Questions To Ask Before You Sign
A quote for a new flat roof should describe the full assembly, not just the membrane brand. These questions tend to reveal whether a contractor has thought about the whole system:
- Is this a full tear-off to the deck or a recover, and why?
- How is rotted decking identified and priced?
- Warm roof or cold roof, and where exactly is the vapour control layer?
- What insulation type and thickness, and is it tapered to the drains?
- Is a cover board included, and does the assembly match the manufacturer’s published details?
- How will the added height affect door thresholds, flashings and edge metal?
For budget planning, a full warm roof replacement on a typical small house roof in the GTA often falls somewhere in the range of $12 to $25 per square foot, but this is only a rough estimate: the real figure varies widely with access, insulation thickness, deck repairs, the number of penetrations and the membrane chosen. For a detailed look at the replacement process itself, see our flat roof replacement page.
What are the main layers of a flat roof?
Is a warm roof or a cold roof better for a Toronto house?
Why does my flat roof drip in winter when it is not raining?
Do I really need a cover board?
Can a new membrane go over my old roof?
How thick is a finished flat roof?
Getting Your Flat Roof Construction Right The First Time
A flat roof is only as good as the least carefully built layer in it. At Flat Roofs Toronto, we explain the full assembly before we start, open the roof down to the deck when it needs it, and build each layer to suit the house, its drainage and our local climate. If your roof is aging, leaking or you simply want to know what is up there, we can inspect it and walk you through the options.
Call us today at (647) 333-3528 or request a free estimate.
Proudly serving homeowners and property owners across Toronto and the GTA.