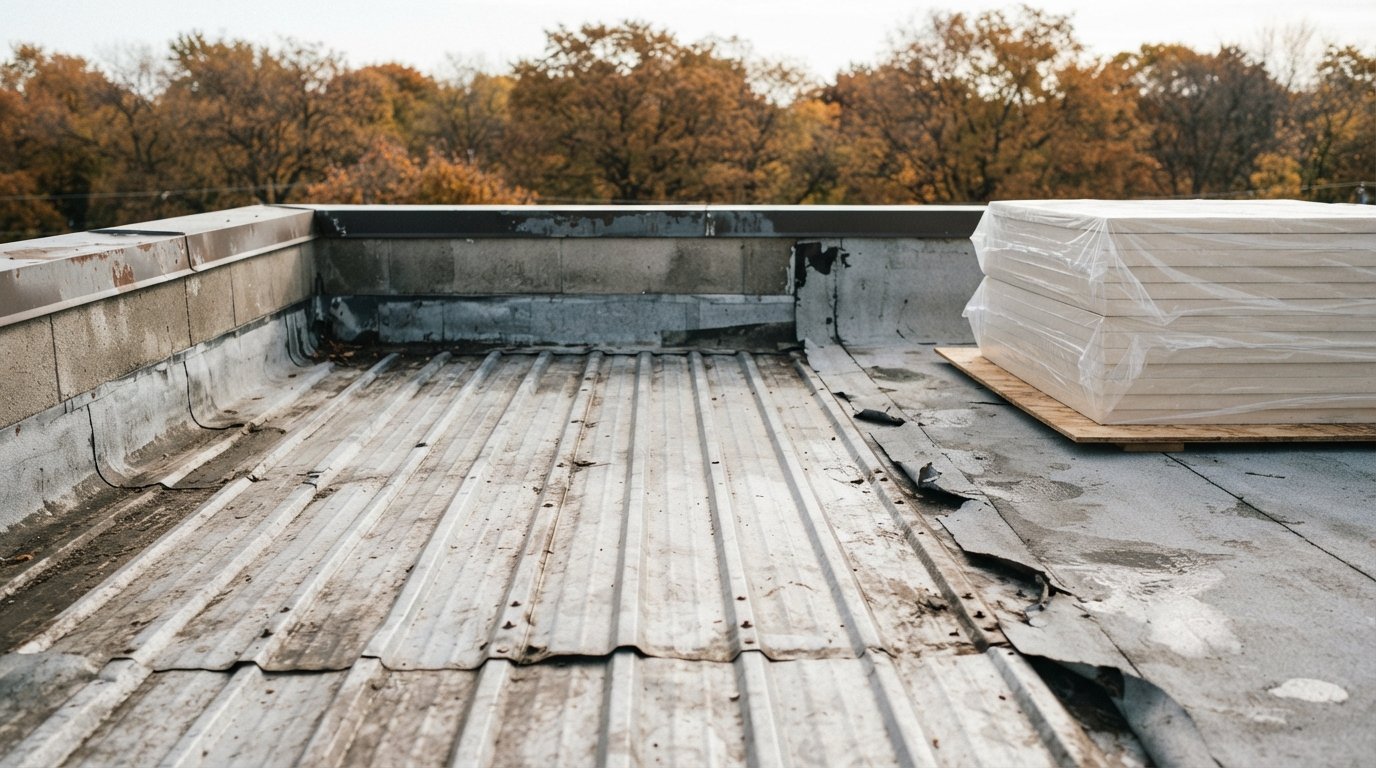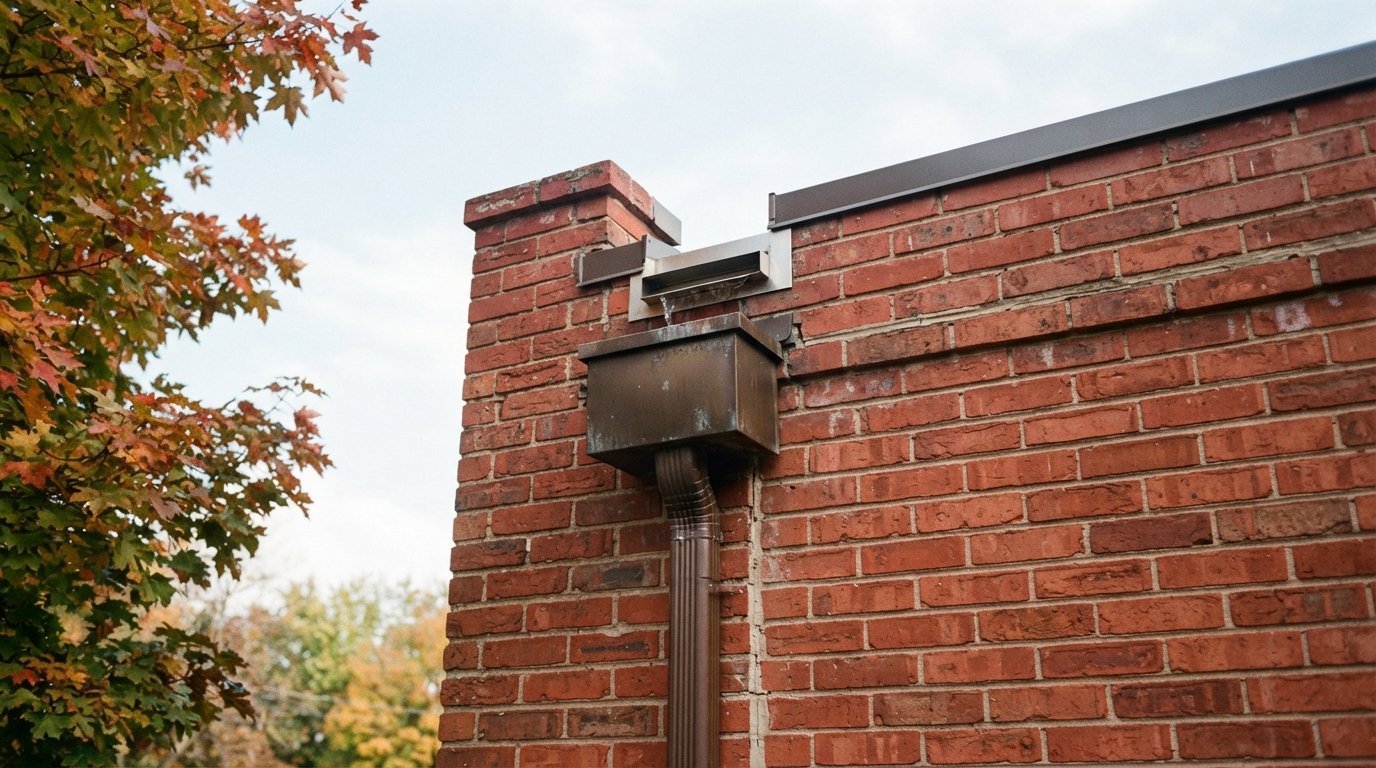

If you asked a flat roofing crew where most leaks actually start, few would point to the middle of the roof. They would point to the edges, the places where the field of the roof turns up a wall, a parapet, a chimney or an equipment curb. That turn is protected by base flashing, and it is one of the most stressed details on any low-slope roof. This guide explains what base flashing is, why a cant strip sits behind it on some systems, how the pieces are lapped and finished, and what a good repair looks like.
It is written for Ontario homeowners and small property owners who want to understand the work before they approve it. Nothing here asks you to inspect the roof yourself. Every roof check described below is done by the crew, and if you spot a stain inside, the right move is to call a professional for flat roof repair, not to climb a ladder.
What base flashing is and where it goes
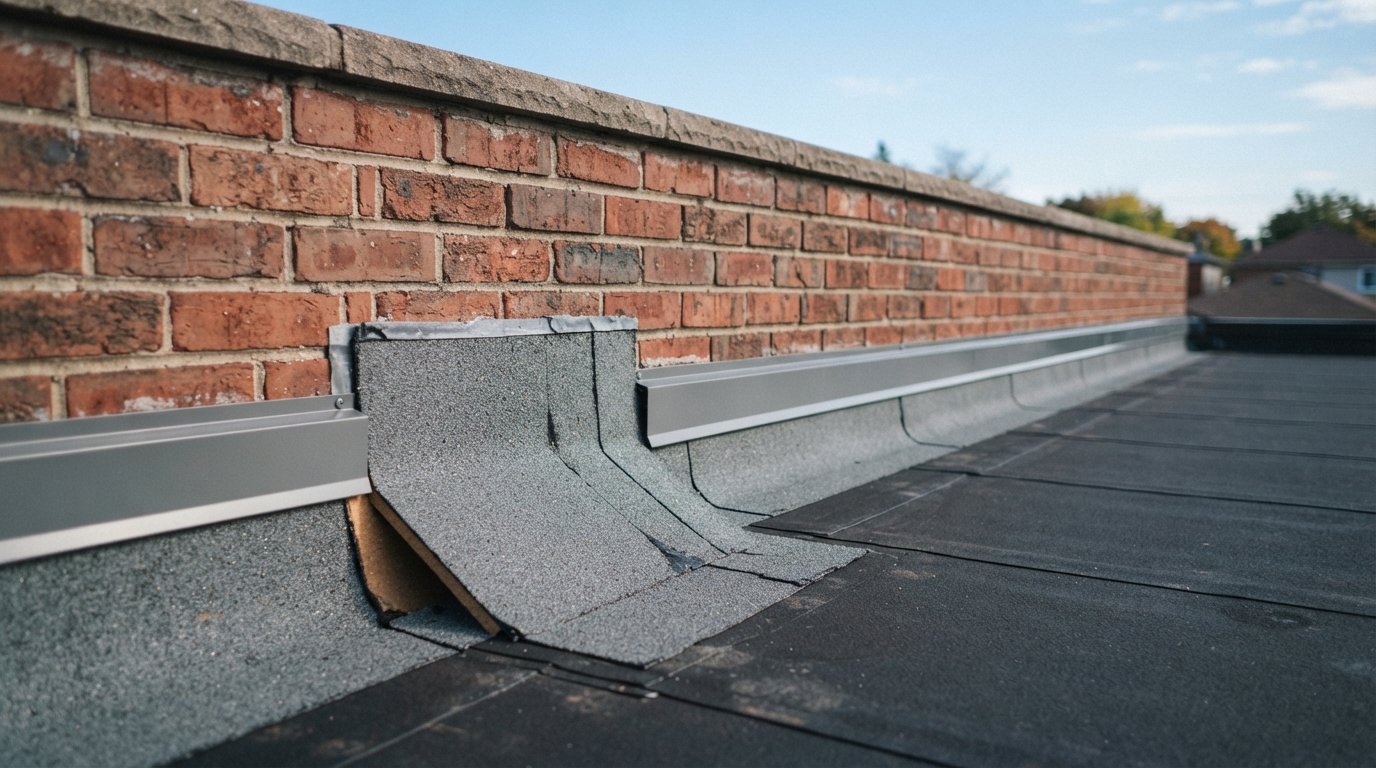
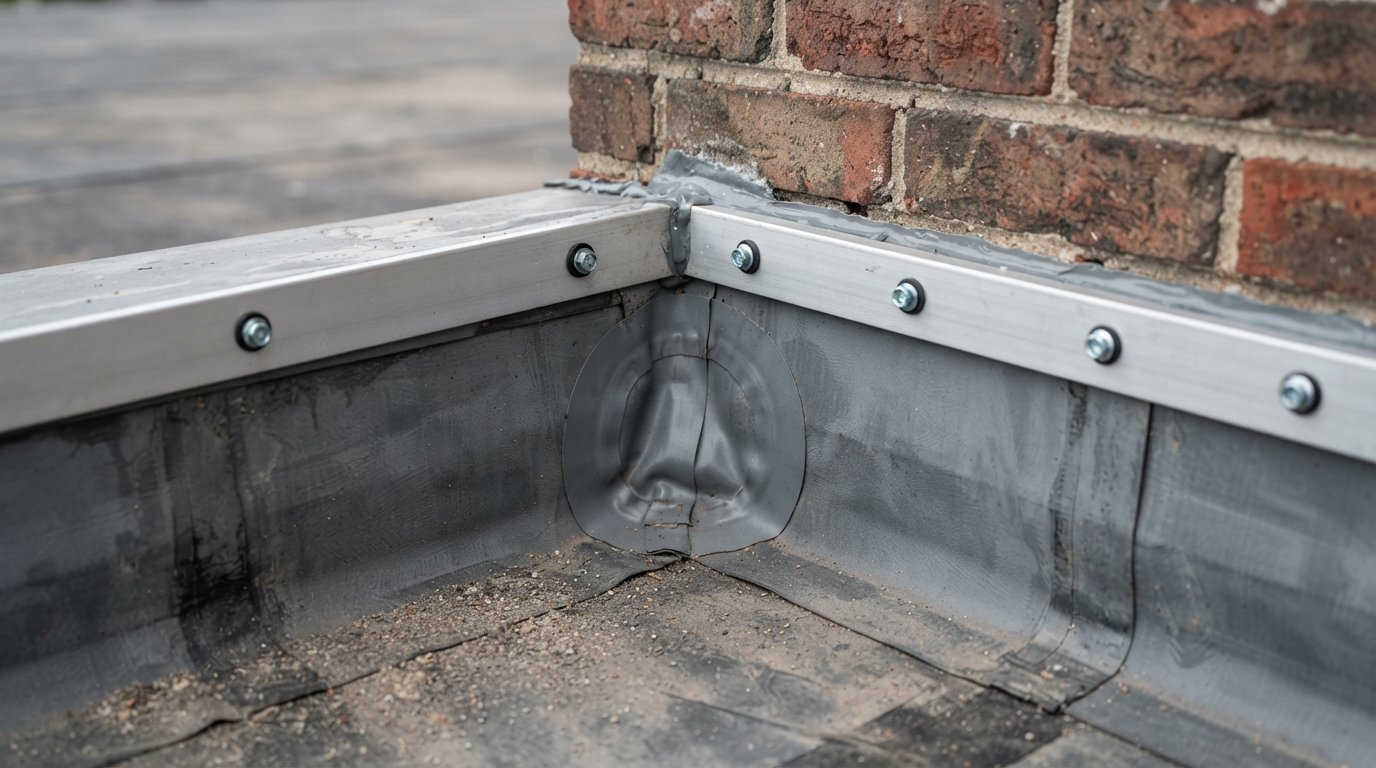
A flat roof sheds water across its surface and off the edge. Wherever that surface meets something vertical, water can run down the wall and into the seam. It is the waterproof layer that runs from the roof membrane up the vertical surface, so water meets a continuous sheet instead of an open joint. Think of the roof as a shallow tray: the base flashing is the raised lip of the tray.
You will find it at:
- Parapet walls and the walls of a taller neighbouring building
- Masonry chimneys and brick chases
- Curbs around skylights, hatches and rooftop mechanical units
- Plumbing and vent stacks (where it is often a prefabricated boot rather than a wall detail)
- Door thresholds and the walls of a rooftop terrace or deck
The layer that sits above it is called counterflashing (sometimes called cap flashing). Base flashing is the lower, waterproofing piece attached to the roof system. Counterflashing is the upper piece, usually metal, that laps over the top edge of the base flashing and sheds water away from it. A leak is often a failure of the pair, not of either piece alone. This article stays on the membrane turn; our guides on parapet coping and HVAC curbs cover the metal work and equipment side.
Why a cant strip is used, and when it is not
A cant strip is a small wedge, usually triangular, installed in the inside corner where the flat surface meets the wall. It is typically made of wood fibre, perlite, dense insulation board or a similar rigid material. Its job is simple: it turns a sharp 90 degree corner into a gentler 45 degree slope.
That matters because some membranes do not like sharp folds. Built-up roofing (BUR) and modified bitumen are made of layered felts or reinforced sheets that are relatively stiff. Fold them tightly into a right angle and they can crack, or they can bridge across the corner and leave a hollow underneath. A cant strip gives the plies a gradual bend so they hug the surface and stay adhered.
Single-ply membranes such as TPO, PVC and EPDM behave differently. They are flexible sheets that can be formed into a corner without cracking. Many manufacturers therefore do not require one with single-ply, and some actively discourage one in certain details. That is a manufacturer-by-manufacturer question, which is why a good contractor reads the current installation details for the specific product rather than working from habit.
| Membrane type | Corner wedge? | Why | Typical base flashing material |
|---|---|---|---|
| Built-up roofing (BUR) | Usually yes | Stiff plies can crack or bridge at a right angle | Additional felt or modified sheet plies |
| Modified bitumen | Usually yes | Reinforced sheet needs a gradual bend to stay bonded | Torch, cold-applied or self-adhered flashing sheet |
| TPO or PVC | Often not required | Flexible sheet forms into the corner | Same membrane, heat-welded to the field sheet |
| EPDM | Often not required | Flexible rubber sheet conforms to the corner | Flashing membrane or pre-formed corners with adhesive |
| Liquid-applied systems | Depends on the product | Manufacturer details vary by chemistry and reinforcement | Reinforced liquid layers at the turn |
If you are unsure which system your roof has, our overview of flat roofing systems explains how to tell them apart, and a crew can confirm during an inspection.
How high should base flashing go?
Homeowners often ask for a number. The honest answer is that the upturn height depends on the manufacturer, the membrane and the detail. Manufacturers publish minimum and maximum heights in their installation manuals, and a low curb, a parapet and a tall masonry wall are not treated the same way.
The reasoning behind a minimum height is worth knowing. The flashing has to rise above the level that water and drifting snow will reach at the base of the wall. If it is too short, meltwater ponding against the wall can find the top edge. If it is too tall and unsupported, especially with a heavy membrane, it can sag or peel from the wall under its own weight. That is why the top edge is always mechanically secured and covered, which we come to below.
When you get a quote, it is fair to ask which manufacturer’s details will be followed and to ask the contractor to point to the flashing height in that document. Any reputable installer will be comfortable with that question. Rules from the Ontario Building Code and municipal requirements can also apply to certain roof assemblies, so confirm current requirements with the City or your local building department where a permit is involved.
How base flashing is lapped and finished
Good base flashing is a system of small, correct decisions. The main ones are these.
Substrate preparation
The wall or curb surface has to be sound, dry, clean and reasonably smooth. Crumbling mortar, loose paint and dust all reduce adhesion, so crews may repoint masonry or apply a primer before flashing goes on. Skipping this step is one quiet reason it fails early.
Laps and seams
Sheets are laid so that water runs over the laps, not into them, and vertical seams are staggered from the seams of the field membrane below. Laps are kept away from the inside corner where possible, because that is the point of greatest stress. Corners are formed with pre-made pieces or carefully cut and welded or adhered patches, following the manufacturer’s corner details.
Termination at the top edge
The top of the flashing is the most common failure point, so it is fixed in one of several ways:
- A metal termination bar fastened through the flashing into the wall, sealed along the top with a compatible sealant
- A reglet cut into masonry, with the flashing tucked in and the counterflashing set above it
- Metal counterflashing that laps over the flashing and sheds water away from the joint
- Wall cladding or a proper cap that fully covers the top edge on parapets
Sealant alone is not a termination. It ages, and it should not be the only thing holding a flashing top edge in place.
Why this junction causes most flat-roof leaks
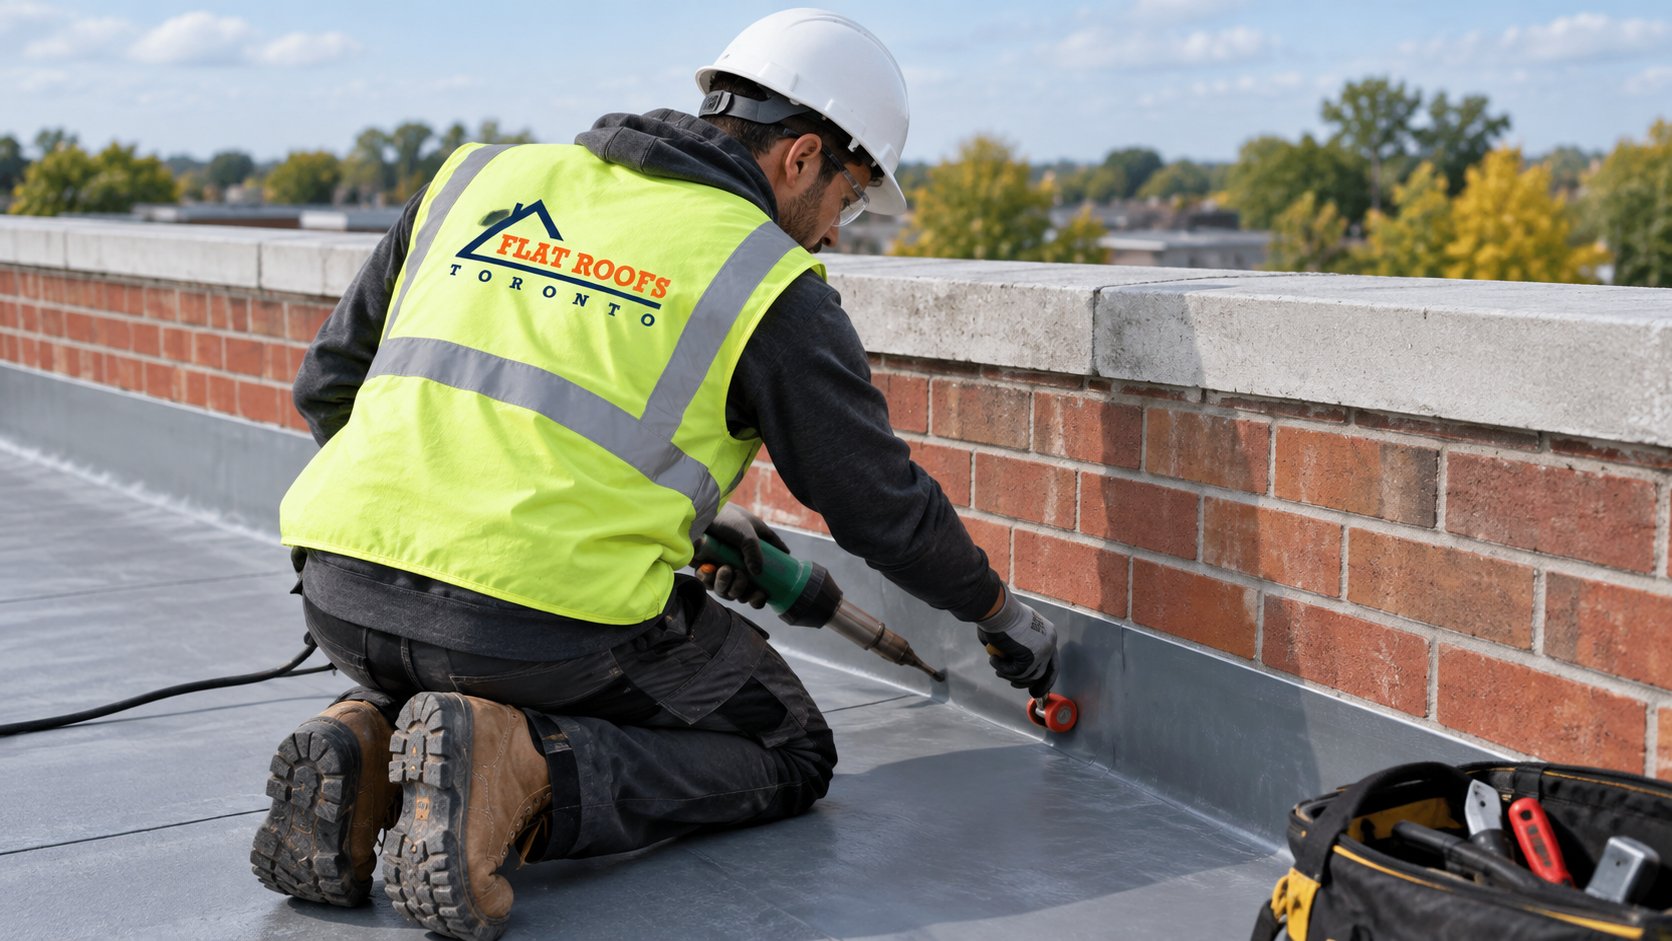
The field of a flat roof is a simple sheet. The edges are where different materials and different movements meet. Four problems account for most of what crews find.
Shrinkage and pull-back
Some membranes shrink slightly as they age. Where the sheet is anchored at the top of a wall, shrinkage pulls it away from the corner and creates tension that can open a seam or lift the edge over several freeze-thaw cycles.
Bridging
If the membrane is stretched tight across an inside corner instead of following it, a void forms behind. The unsupported sheet is easily punctured, and it can split when the roof moves. This is common where the corner wedge was left out of a system that needed one, or where a sheet was cut short.
Open laps
A lap that was not fully bonded or welded may look closed for years, then start to open at one corner in the first cold snap. Flashing laps are hard to inspect once the counterflashing is over them, which is why the installation quality matters so much.
Failed termination
Dried, cracked sealant, loose bars, missing fasteners and gaps behind counterflashing let water in at the top, behind the membrane. Water then travels down the back of the flashing until it finds a gap at the bottom. The stain inside may appear far from the actual entry point.
| What you or a crew might notice | Likely cause | Typical fix |
|---|---|---|
| Stain on the ceiling or wall along an exterior wall | Failed termination or open lap at the wall junction | Locate the entry point, reseal or replace the affected section |
| Flashing sagging or pulling away from the wall | Poor adhesion, missing fasteners or membrane shrinkage | Re-adhere with correct fasteners and a new termination |
| Hollow or spongy feel at the corner | Bridging over the corner or wet insulation behind | Open the area, dry or replace insulation, add a wedge if the system needs one |
| Cracked or missing sealant along the top edge | Sealant age and sun exposure | Remove and replace with a compatible sealant, and check the bar or reglet |
| Blisters or splits at a mod-bit or BUR upturn | Trapped moisture or a brittle fold at a sharp corner | Cut out and rebuild the plies, with a proper corner wedge |
Repair or rebuild: how a crew decides
Not every problem needs a full re-do. The decision usually depends on the age of the flashing, the extent of the damage, and whether the material below is dry.
When a repair makes sense
If the flashing is otherwise sound and the issue is a local failure, such as one open lap, a short section of lifted edge or dried sealant, a targeted repair is reasonable. The crew prepares the area, replaces the failed piece with compatible material and restores the termination. Piling roof cement over a bad joint is a temporary measure, not a repair.
When a rebuild is the better call
If the flashing is brittle, widely delaminated or patched many times, more patches tend to move the leak rather than end it. Wet insulation behind the corner has to be replaced too. In those cases, rebuilding the turn gives a more dependable result. When the wider roof is also near the end of its life, it can make sense to fold the work into a flat roof replacement so every edge is done to the same standard at the same time.
What a typical rebuild involves
- Protect the surroundings and confirm the weather window is dry.
- Remove the old counterflashing or termination as needed and strip failed flashing back to sound material.
- Check the wall and curb substrate, and repair masonry or sheathing where required.
- Test and replace wet insulation, then install a new corner wedge if the system calls for one.
- Install new base flashing with staggered laps and formed corners.
- Secure the top edge with a termination bar or reglet detail, then reinstall or replace the counterflashing.
- Seal with compatible materials and walk the completed detail with the site contact through photos.
What a base flashing job can cost, in general terms
Pricing for this work varies widely, so treat the following as broad estimates only. Real quotes depend on access, the height and length of the wall, the number of corners and penetrations, the condition of what is underneath, and the roof system.
| Scope of work | Estimated range (CAD) | What moves the price |
|---|---|---|
| Small local repair at one lap or corner | Often a few hundred dollars up to about $1,500 | Access, materials, and whether wet insulation is found |
| Re-terminating a section of wall flashing | Typically in the range of $1,500 to $4,000 | Length of wall, masonry condition, sealant and bar work |
| Rebuilding base flashing along one full parapet or wall | Often falls in the range of $3,000 to $8,000 | Membrane type, corner wedge, insulation repair, corners |
| Full perimeter flashing as part of a re-roof | Usually bundled into the total project cost | Roof size, number of walls, curbs and penetrations |
These figures are estimates for planning, not quotes. Ask for a written scope that separates the flashing work from other work.
Timing this before freeze-thaw
Early autumn is a good time to have this junction looked at. Temperatures are still moderate for adhesives and sealants, days are drier than in late fall, and any defects can be fixed before freeze-thaw cycling begins. Water that enters behind flashing in winter expands as it freezes and can lift the edge further, so a small opening in October can become a larger repair by spring.
If the roof is already leaking, do not wait for a scheduled visit. Use the emergency line, and the crew can stabilize the area first and plan the permanent fix afterwards. Residential owners can read more about residential flat roofing, and owners of larger buildings can look at our commercial flat roofing work.
Questions to ask a contractor before base flashing work
- Which manufacturer’s details will you follow? A clear answer names the product and the current installation manual.
- Is a wedge at the corner required for this system? The answer should match the membrane type, not habit.
- How will the top edge be terminated? Listen for a termination bar, reglet or counterflashing, not just sealant.
- What happens if wet insulation is found? A good contractor explains how it is handled and how the price would change.
- Will I get photos of the work before and after? Completed flashing is hard to see once counterflashing is on.
You can also browse our recent projects and frequently asked questions for more background on how work is planned and carried out.
What is base flashing on a flat roof?
Do all flat roofs need a cant strip?
How high should base flashing extend up the wall?
Can sealant alone fix a leaking wall junction?
Why is my ceiling stained along an exterior wall?
When should base flashing be checked before winter?
Book a base flashing inspection before the cold arrives
The membrane turn at a wall is small, but it decides whether a flat roof stays dry through winter. Flat Roofs Toronto inspects, repairs and rebuilds base flashing on residential and commercial flat roofs across the GTA, with the crew doing all of the roof work and photos so you can see what was found and what was done.
Call us today at (647) 333-3528 or request a free estimate.
Proudly serving Toronto and the GTA.