A flat roof can leak for months before a stain shows on the ceiling below, and by then the water has usually travelled sideways through the insulation, soaking far more than the spot you can see. An infrared roof inspection is the most practical way to find that hidden water without tearing the roof apart. Done properly, it turns a vague “somewhere up there is wet” into a map of exactly which areas need attention, which is the information you need before spending money on a repair, a recover or a full replacement.
This guide explains how thermal scanning actually works on a flat roof, why the timing matters so much, how a good contractor confirms what the camera shows, where the method falls short, and how to use the resulting moisture map to make a sensible decision. Early autumn is a good time to think about it: the roof has taken a full summer of sun and storms, and anything you learn now can be fixed before freeze and thaw cycles start working on wet materials.
How an Infrared Roof Inspection Finds Wet Insulation
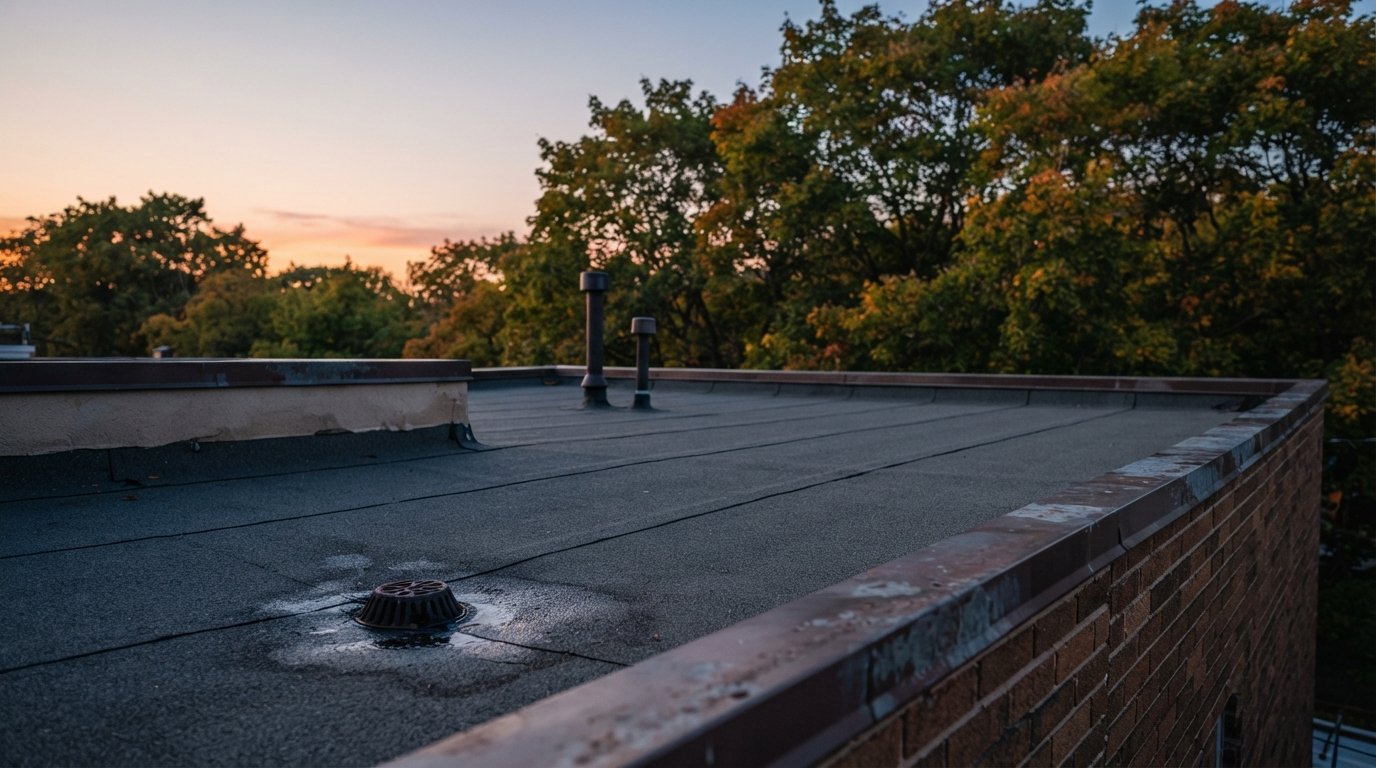
The principle is simple physics. Dry roof insulation is mostly trapped air, so it holds very little heat. Water holds a great deal of heat. On a sunny day, the whole roof warms up, and the wet sections soak up and store far more of that energy than the dry sections around them. When the sun goes down and the roof surface starts cooling, the dry areas lose their heat quickly while the wet areas keep radiating warmth for hours.
A thermal camera does not see water. It sees surface temperature differences. During an infrared roof inspection, the technician walks the roof (or flies a drone over larger commercial roofs) in the evening and looks for patches that stay warmer than their surroundings. Those warm patches are the candidates for wet insulation. On a typical house roof they often appear as irregular blotches spreading out from a drain, a vent stack, a skylight curb or a seam, because that is where the water got in.
The shape of the pattern tells an experienced eye a lot. Water that entered at a single point tends to spread in a rough fan or oval following the slope and the joints between insulation boards. A clean rectangle often means one insulation board has soaked up water and the neighbouring boards have not yet. Long, narrow warm lines can be water running along a board joint or a lap in the membrane.
On larger buildings, thermal scanning is a routine part of managing commercial flat roofing, because a warehouse or retail roof can have thousands of square feet of insulation and nobody wants to tear it all out to find a few wet sections. The same method works on a house or a small mixed-use building, with a few extra limitations that we cover below.
Timing: Why the Scan Happens at Dusk
Most failed thermal scans fail because of timing, not because of the camera. The conditions that give a clear, readable image are fairly specific:
- A clear, sunny day beforehand. The roof needs a good dose of solar heat for the wet areas to store it. An overcast day gives weak contrast, and a scan after several grey days may show almost nothing.
- A dry roof surface. Rain, dew or puddles on the membrane cool the surface unevenly and hide what is underneath. Scans are normally postponed if it has rained that day.
- Light wind. Wind strips heat from the surface and flattens the temperature differences. Calm evenings produce the sharpest images.
- The right window after sunset. Scanning too early catches leftover sun glare and reflected heat. Scanning very late can mean the roof has cooled so much that the contrast is fading again. The useful window is usually from shortly after sunset into the first few hours of darkness, depending on the roof and the weather.
September and early October often give good conditions in the GTA: clear days still carry enough solar gain, evenings cool off quickly, and the scan can be done at a reasonable hour. By late autumn, short days and frequent cloud make it harder to get a clean result, and once there is frost or snow on the roof the method is not usable until spring.
Reading the Thermal Image: What Warm Spots Can Mean
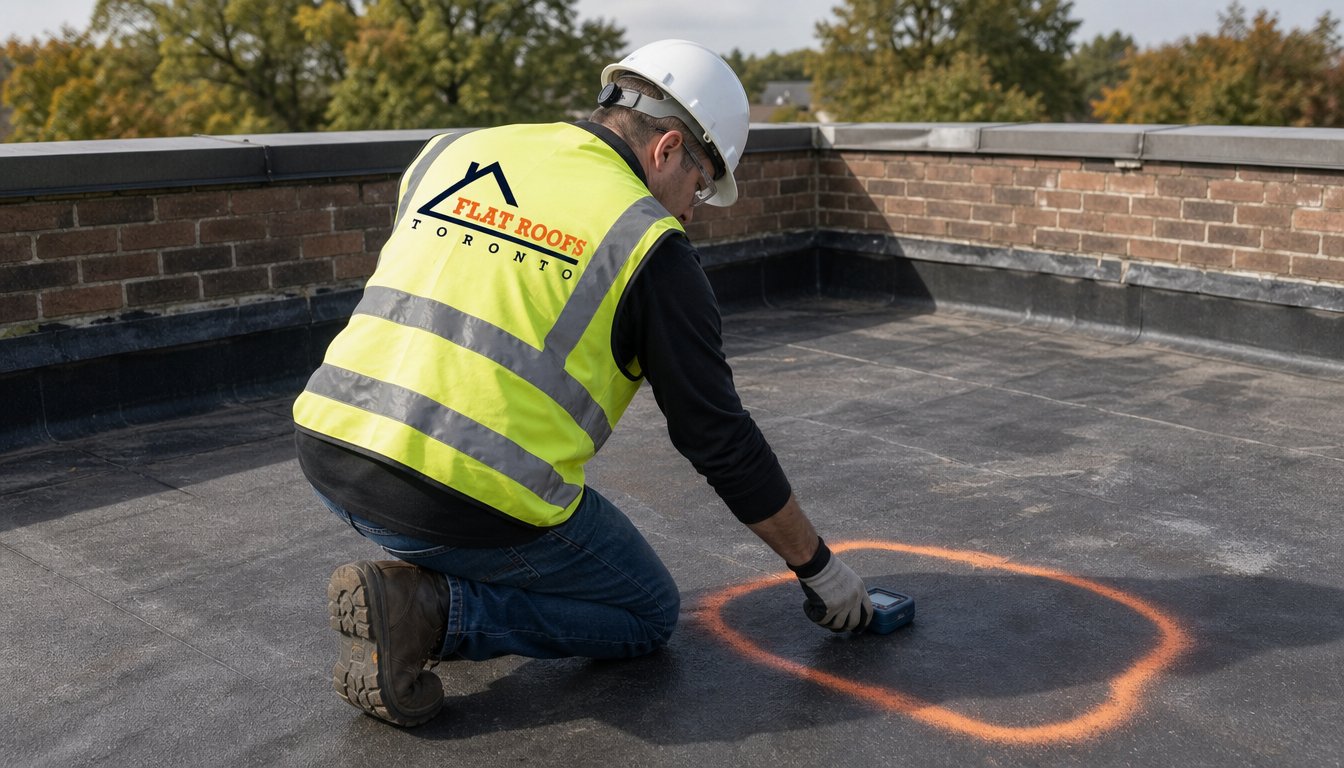
Not every warm patch is wet insulation. A careful technician marks each anomaly on the roof with paint or tape, photographs it in both thermal and normal view, and then asks what else could explain it. This table covers the patterns we see most often on flat roofs and what they usually turn out to be.
| Thermal pattern | Common cause | How it is checked |
|---|---|---|
| Irregular warm blotch around a drain, vent or curb | Water entering at a failed flashing and spreading through insulation | Moisture meter survey, then a core cut at the edge of the blotch |
| Sharp rectangular warm area | Single insulation board saturated, joints limiting the spread | Core cut in the centre of the board |
| Narrow warm line | Water tracking along a board joint or open membrane lap | Probe the seam, meter readings along the line |
| Warm patch with no obvious entry point | Extra membrane layers, patches or thicker bitumen holding heat | Visual check of the surface, meter reading, core cut only if unclear |
| Warm area over a heated room or duct | Heat loss from the building, missing or thin insulation | Compare with the floor plan, check from inside |
| Cool streak on a mostly warm roof | Recent repair with new, dry material or different surface finish | Compare with repair history and the visual surface |
Confirming the Findings: Core Cuts and Moisture Meters
A trustworthy infrared roof inspection always includes a confirmation step. Without it, you are paying someone to show you colourful pictures. The two everyday tools are meters and core cuts; very large roofs sometimes use a nuclear gauge as well.
Moisture meters
Non-destructive meters are passed over the membrane surface to read relative moisture in the layers below. Capacitance and impedance meters are the common types. They are quick, they do not damage the roof, and they are useful for tracing the boundary of a wet area once the thermal scan has found it. Their limits: they read relative values rather than an exact moisture content, they only reach a certain depth, and metal, heavy aggregate or multiple roof layers can throw off the reading.
Core cuts
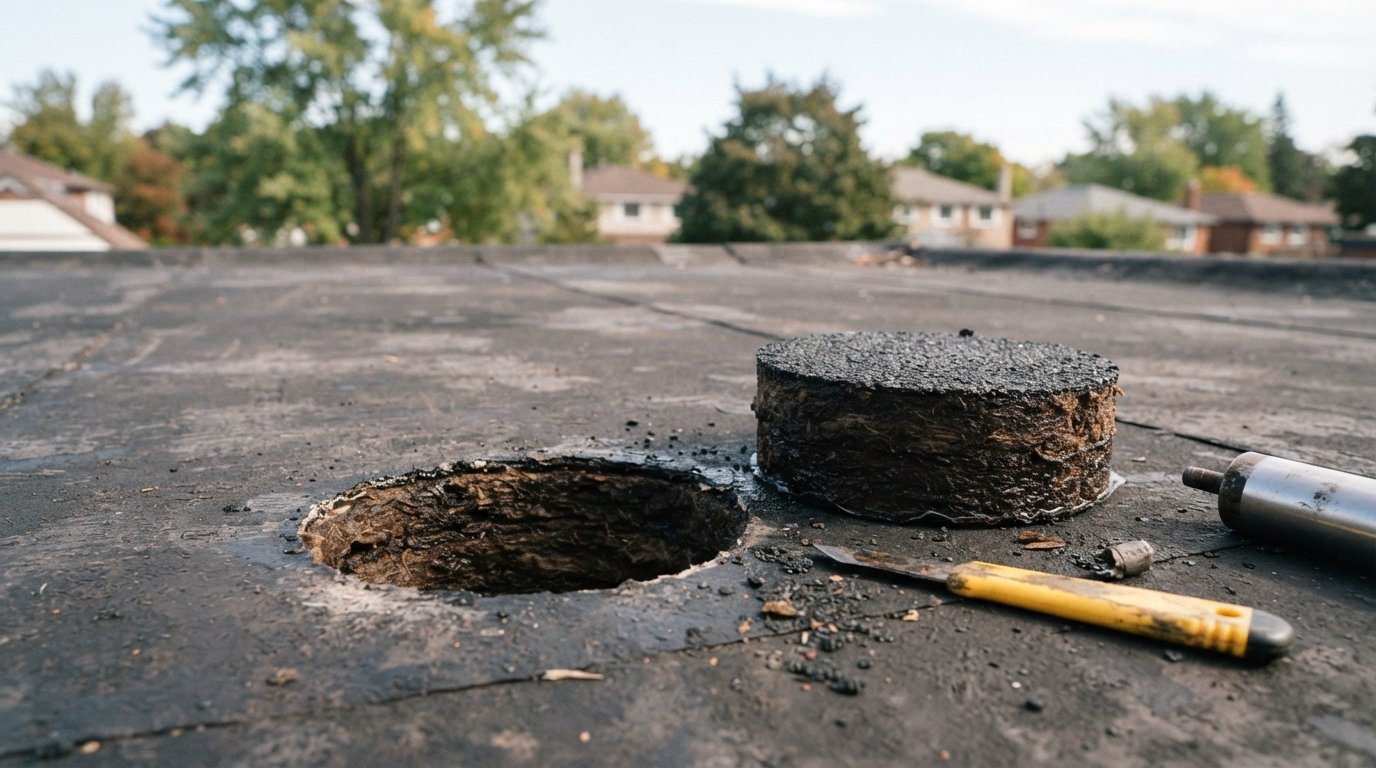
A core cut is a small sample removed through the membrane and insulation down to the deck, usually a few inches across. It is the only way to see and feel the actual materials: whether the insulation is dripping, damp or dry, what kind it is, how many roof layers are there and what condition the deck is in. A good contractor takes cores in a wet area, at the edge of a wet area and in a known dry area for comparison, then patches every cut the same day with compatible membrane so the test does not create a new leak.
| Method | What it tells you | Strengths | Limitations |
|---|---|---|---|
| Thermal scan | Where surface temperatures differ | Covers the whole roof quickly, shows the shape of wet areas | Weather dependent, false positives from surface differences |
| Capacitance meter | Relative moisture near the surface | Fast, no damage, good for tracing edges | Limited depth, confused by metal and heavy aggregate |
| Impedance meter | Relative moisture in the upper layers | Portable, useful on smooth membranes | Relative readings only, needs a dry reference area |
| Core cut | Actual materials, layers and wetness | Definitive, reveals deck condition and layer count | Small damage that must be patched properly |
| Nuclear gauge | Hydrogen content on a grid | Accurate on large roofs, repeatable | Licensed operators, cost, rarely used on houses |
Limits of the Method on Toronto-Area Roofs
Thermal imaging is a strong tool, but it is not magic. Before booking an infrared roof inspection, it helps to know when it will work well and when it will give weak or misleading results.
Insulation type matters. Absorbent insulations such as fibreboard, perlite board and fibreglass soak up water and hold it, so they show up clearly. Closed-cell foams such as extruded polystyrene absorb much less and often allow water to run between boards rather than soaking in, which gives a fainter or patchier image. Polyisocyanurate sits in between: the foam itself resists water, but its facers can soak up moisture, and water collecting on top of the boards may or may not show depending on the amount.
Where the insulation sits matters even more. Many older Toronto houses have what is called a cold roof: the membrane sits directly on a wooden deck, and the insulation is below, in the joist space between the deck and the ceiling. There is little or no insulation above the deck to hold water. In that case, a scan from the roof top may show wet wood decking at best, and wet batts inside the joist cavity may be invisible from above. Checking from inside, through the ceiling or an access hatch, is often more useful on these roofs. Our guide to insulating the space under a roof explains why this type of assembly is also prone to condensation.
Surfaces interfere. Ballast gravel, pavers, green roof soil and heavy decking hide the membrane and blur the signal. Very reflective white membranes pick up less solar heat during the day, so contrast can be weaker. Standing water on the surface produces its own thermal signature that has nothing to do with the insulation.
Inverted and ballasted roofs. On an inverted (protected membrane) roof, the insulation and ballast sit above the membrane, so they mask the thermal signal from any moisture below. Infrared scanning from the surface is much less reliable on these roofs, and other methods such as core samples or an electronic leak survey may be needed.
Turning the Moisture Map Into a Decision
The useful output of the survey is a moisture map: a roof plan showing each wet area, its approximate size, the core results and the likely entry point. That map is what lets you decide whether to repair, recover or replace, and it is the document you should ask any contractor to produce.
| What the map shows | Usual recommendation | Typical scope and rough cost |
|---|---|---|
| One or two small wet areas with a clear entry point, rest of roof dry, membrane in fair condition | Targeted repair | Cut out wet insulation, fix the flashing, patch. Often falls in the range of $800 to $3,000 per area, depending on size and access |
| Scattered wet areas, dry deck, membrane aging but sound elsewhere | Repair wet areas, plan replacement within a few years | Several repairs now, budget for a full roof later |
| Membrane near end of life, insulation mostly dry, only one existing roof layer | Possible recover over the existing roof after wet sections are removed | Depends on local rules, layer count and manufacturer approval |
| Large or widespread wet areas, soft or rotted deck at cores | Full tear-off and replacement | Typically priced per square foot; a house roof often runs from roughly $12,000 to $30,000 or more, varying widely with size, access and system |
| Wet insulation below the deck in a cold roof | Open from inside or during replacement, dry or replace batts, fix the leak and air sealing | Combined roofing and interior work, scoped after inspection |
These figures are broad estimates only. Real prices depend on the roof size, how easily materials can be brought up, the membrane system, the number of existing layers to remove and what is found once the roof is open.
Why you should not bury wet insulation
Putting a new membrane over wet insulation is one of the most common and most expensive mistakes in flat roofing. Trapped water cannot dry out through a new waterproof layer. It keeps the insulation from doing its job, raises heating costs, feeds rot in wooden decks and rust in steel decks, and can cause blistering in the new membrane as it heats up and vapour pressure builds. A moisture map lets the contractor remove exactly the wet sections before any recover, instead of guessing.
Local rules also limit recovering. Building codes and most manufacturers restrict how many roof layers can be stacked and require a sound, dry substrate. Confirm current requirements with your municipality and the membrane manufacturer before accepting a recover proposal.
When replacement is the honest answer
If cores show soft decking, several generations of roofing, or wet insulation across much of the roof, patching is only buying time. At that point, a planned flat roof replacement with new insulation, proper slope to drains and correct flashing details is usually the better long-term value, and the moisture map helps you plan it rather than rush it.
What a Good Infrared Roof Inspection Report Includes
Reports vary wildly. Before hiring anyone, ask to see a sample report and check that it covers the following:
- Conditions on the day: weather before the scan, time of scan, wind and surface condition, so you can judge how reliable it is.
- A marked roof plan with each anomaly numbered and its approximate size noted.
- Paired images for each anomaly: thermal view and normal photo from the same position.
- Confirmation results: meter readings and core findings, including insulation type, layer count and deck condition.
- Likely entry points for each wet area, such as a specific flashing, seam or penetration.
- Clear recommendations tied to the map, with the reasoning explained in plain language.
- Proof that core cuts were patched with compatible materials.
Also ask when they plan to scan, what happens if the weather is not suitable, and what the infrared roof inspection costs on its own. If a company offers a thermal scan but will not take cores, or recommends full replacement without showing you where the wet insulation actually is, ask why. You can also browse our flat roofing questions and answers for more on inspections and repair decisions.
What Happens After the Scan
Once the wet areas are known, the repair itself is straightforward. The crew cuts out the membrane over each wet section, removes the wet insulation back to dry material, checks the deck, replaces any damaged decking, installs new insulation of matching thickness, and rebuilds the membrane with proper laps onto the existing roof. The entry point, usually a flashing or penetration, is repaired at the same time, because replacing wet insulation without fixing the leak just resets the clock.
If a leak is active and water is coming into the house, deal with that first. Our emergency flat roof repair crews can make a temporary seal and come back for a proper survey once the roof has dried and the weather is right for scanning.
When is the best time for an infrared roof inspection?
Can a thermal camera see a roof leak directly?
Why do contractors cut holes in my roof after a scan?
Does an infrared roof inspection work on every flat roof?
Can new roofing go over wet insulation?
How much does a thermal roof survey cost?
Book an Infrared Roof Inspection Before the Cold Sets In
If your flat roof has a history of leaks, stains that keep coming back, or a membrane that is getting old, a moisture survey now can save you from replacing more roof than you need to, or from recovering over a problem that will keep getting worse. Flat Roofs Toronto scans, confirms with cores and meters, and gives you a clear moisture map with recommendations you can act on before freeze and thaw season begins.
Call us today at (647) 333-3528 or request a free estimate.
Proudly serving homeowners and property owners across Toronto and the GTA.