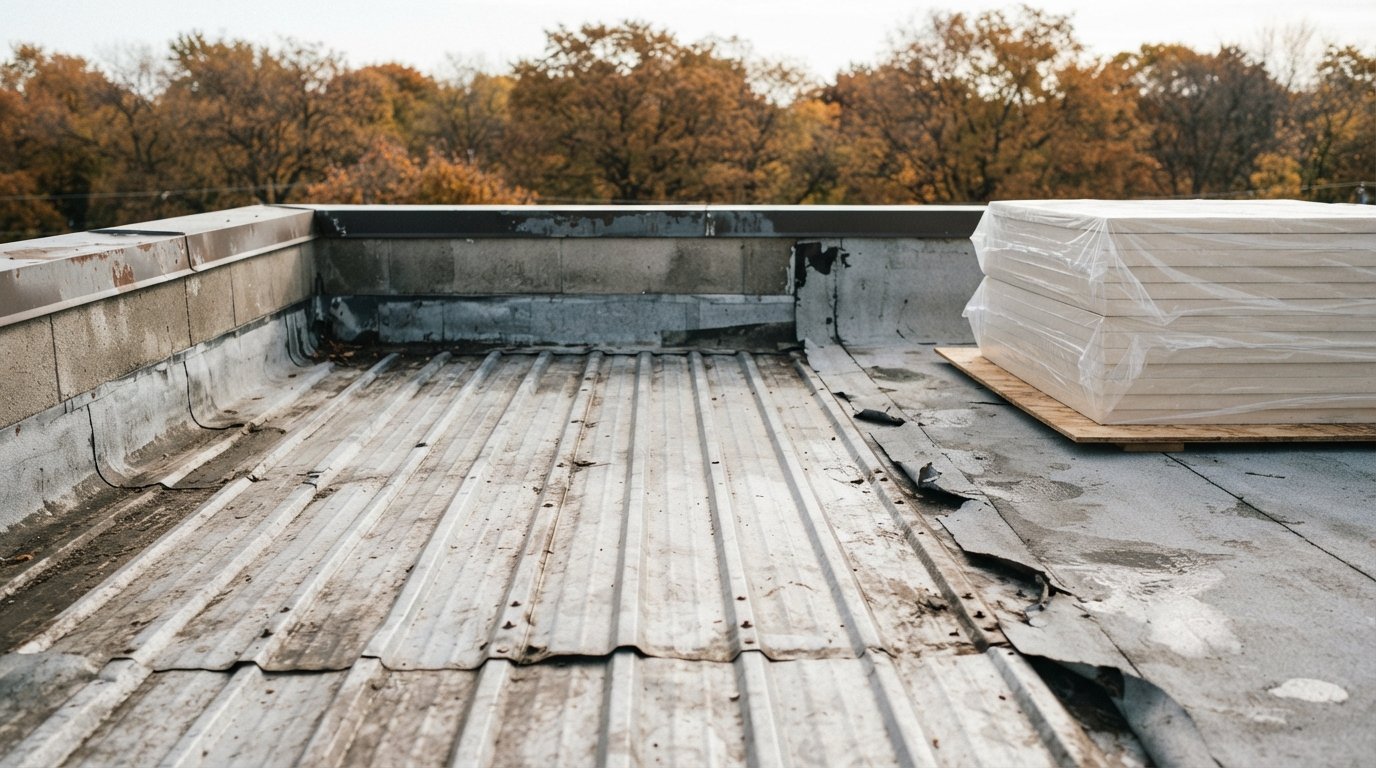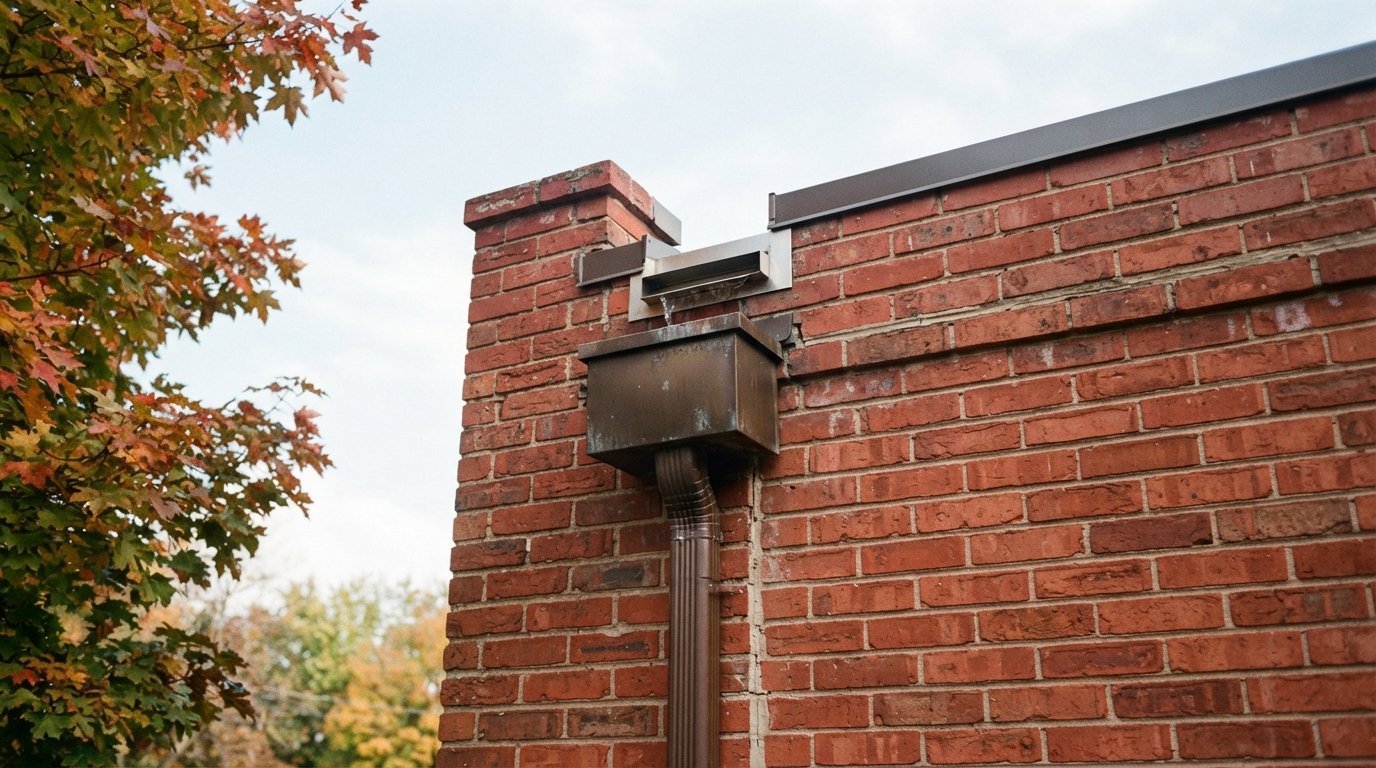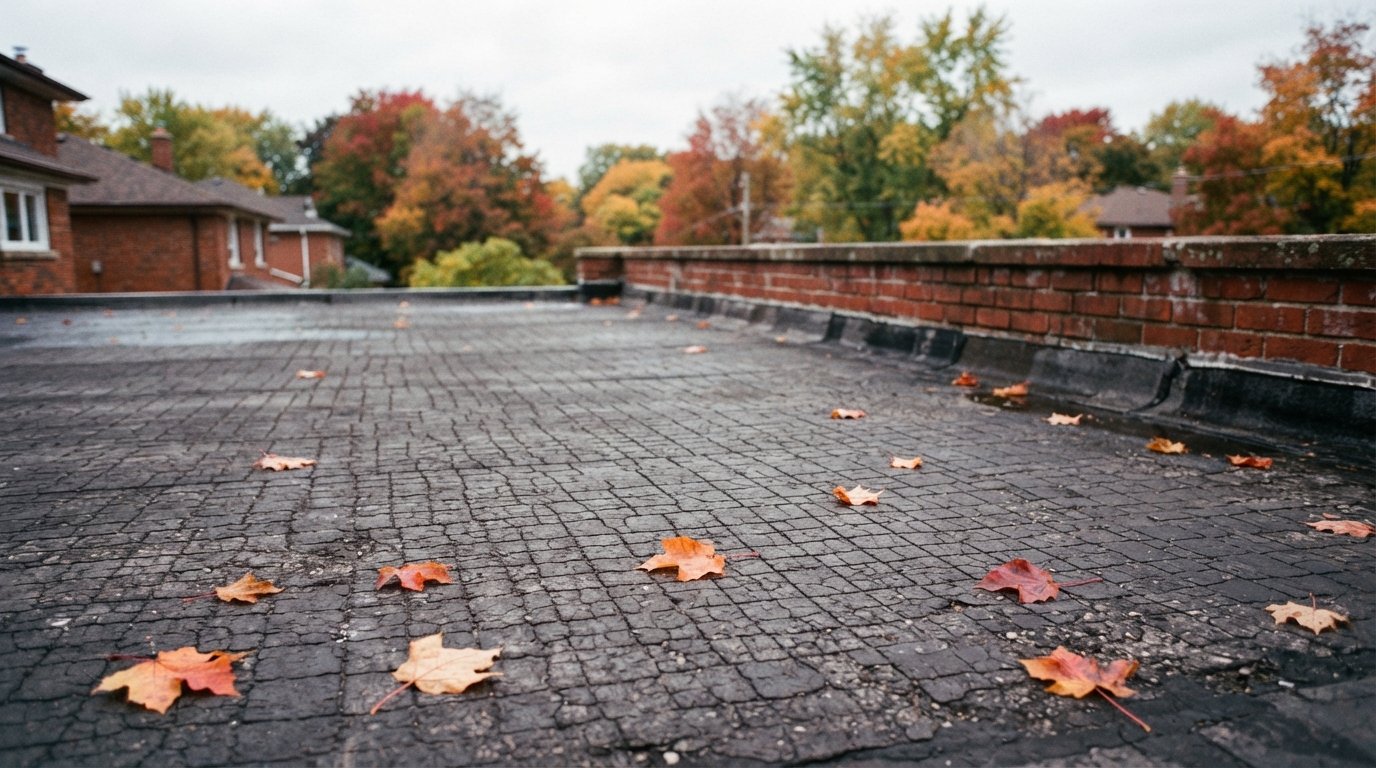

Plenty of older houses, walk-up apartments and small commercial buildings around the GTA still have a built-up roof: layers of felt and hot bitumen with a coat of gravel on top. These roofs can last a long time, but when they start to leak, owners face a choice between patching and replacement. Good tar and gravel roof repair can buy years of service from a roof that is fundamentally sound. Poor repair, using the wrong materials or patching over a wet roof, can make the eventual replacement larger and more expensive.
This article is about keeping an existing built-up roof working: what the common failures look like, how each one is properly repaired, which patch materials are compatible with the old roof, and the signs that it is time to stop patching.
How A Built-Up Roof Works Before You Attempt Tar And Gravel Roof Repair
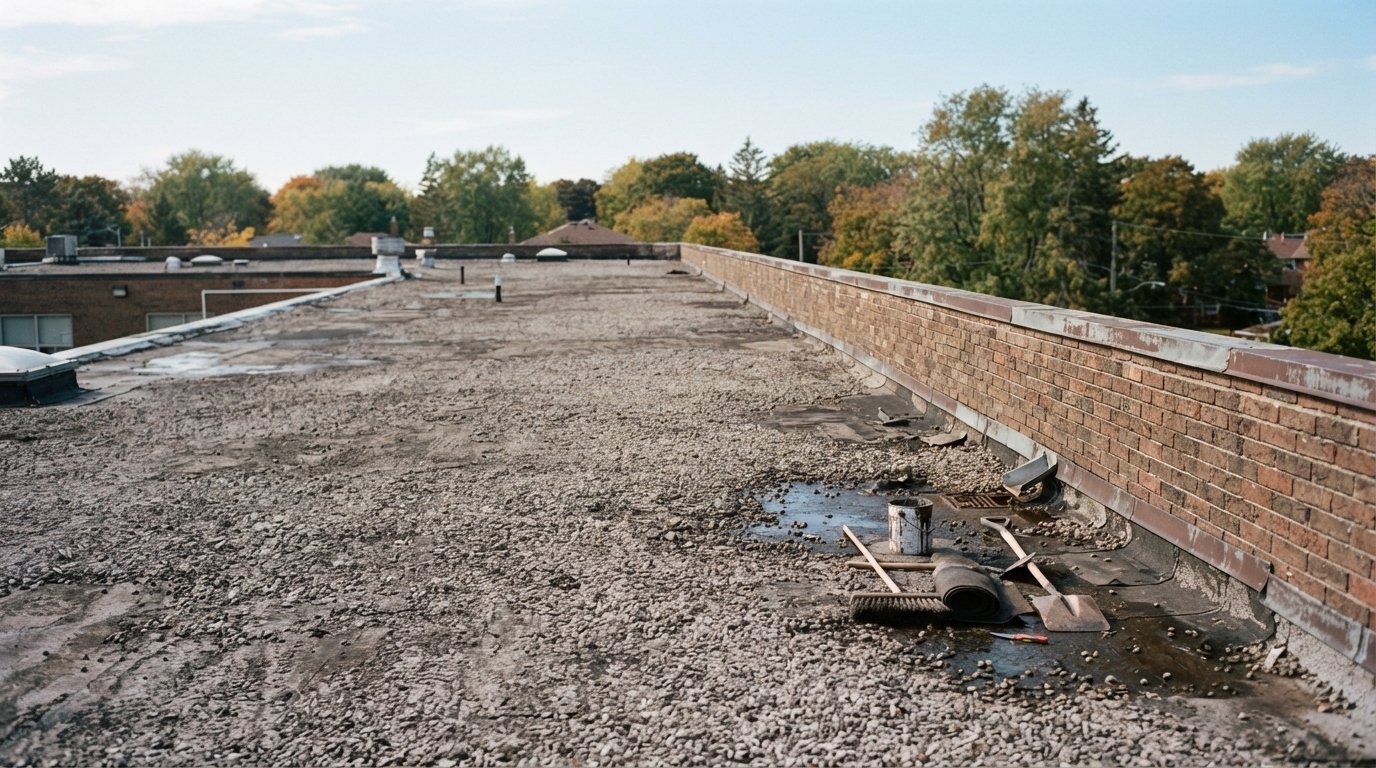
A built-up roof (BUR) is made of several plies of roofing felt, each laid in hot bitumen, finished with a thick flood coat into which gravel is embedded. The plies give strength; the bitumen between them is the waterproofing; the gravel shields the bitumen from sunlight and foot traffic, and weighs down the surface.
That structure explains most failures. When gravel is scoured away, sun and weather dry out the exposed bitumen and it cracks. When moisture gets between plies, it expands on warm days and forms blisters. When the flashings at walls and edges age, water gets behind the roof entirely. Effective tar and gravel roof repair targets which of those layers has failed, rather than smearing material over the symptom.
Many older roofs used asphalt as the bitumen; some, particularly on older commercial buildings, used coal tar pitch. The two behave differently and are not fully compatible with each other, which matters when choosing patch materials. If you are dealing with active leaks now, our flat roof repair service for leaks and storm damage can stabilize the roof first, then plan permanent repairs.
Diagnosing The Problem Before Any Patch Goes On
The spot where water appears inside is often not directly below the spot where it enters. Water can travel between plies and along the deck before dripping through. A proper inspection of a built-up roof usually involves:
- Walking the whole roof, looking for bare spots, blisters, splits, ponding and open flashings, not just the area above the stain.
- Checking all flashings and penetrations, since these are the most common entry points on older roofs.
- Probing suspect areas for soft or spongy spots that suggest wet insulation or rotted deck below.
- Test cuts in selected areas to see whether the plies and insulation are dry, when replacement versus repair is in question.
- Infrared or moisture scanning on larger roofs, which can map wet areas that are not visible on the surface.
If a large part of the roof is wet underneath, patching the surface will not dry it out, and the repair conversation turns into a replacement conversation.
Repairing Blisters
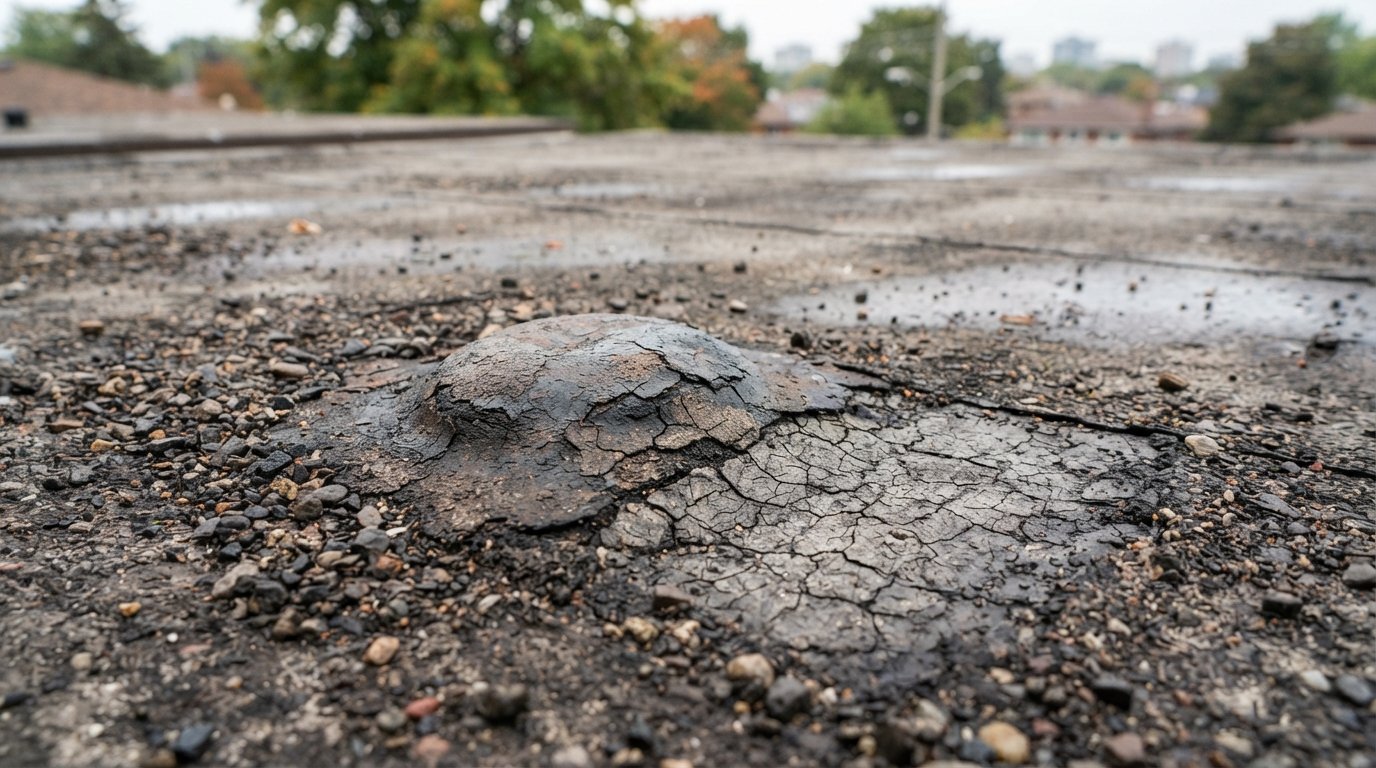
Blisters are raised, often hollow bubbles in the membrane, caused by moisture or air trapped between plies or between the membrane and the insulation. On warm days the trapped vapour expands and lifts the plies.
When to leave a blister alone
A small, intact blister that is not cracked, is not in a traffic path and does not grow is often best left alone and monitored. Cutting a sound blister opens the roof for no benefit.
When and how to repair one
Blisters that are cracked, growing, soft or in a walkway should be repaired. The usual method:
- Scrape the gravel clear of the blister and a margin around it.
- Cut the blister open, typically in an X or a cross cut, and fold the flaps back.
- Allow the inside to dry if it is damp, and remove any debris.
- Re-adhere the flaps with compatible bitumen or roofing cement.
- Apply new plies of felt or a modified bitumen patch over the area, larger than the cut, embedded in compatible bitumen.
- Re-coat and embed gravel over the repair so it is protected like the rest of the roof.
A field of many blisters across the roof is different. It usually points to trapped moisture in the insulation or poor adhesion across a large area, and repairing blisters one by one rarely ends the problem.
Bare Spots Where Gravel Has Scoured Away
Wind, water flowing toward drains, foot traffic around equipment and snow clearing all move gravel. Once the flood coat is exposed, sunlight oxidizes it, it goes grey and brittle, and the top ply eventually cracks. Bare areas are often found near scuppers, drains, roof edges and around rooftop units.
Repair depends on how far the damage has gone:
- Exposed but intact flood coat: clean the area, apply fresh compatible bitumen and embed new gravel. On small areas, a cold-applied, gravel-compatible roof cement or coating can be used where hot work is not practical.
- Cracked or alligatored top ply: scrape back to sound material, install one or more new plies or a modified bitumen patch, then flood coat and re-gravel.
- Recurring scour: fix the cause. That may mean larger gravel, pavers along a walkway, walk pads to equipment, or adjusting drainage so water does not rush across one area.
Simply dumping loose gravel back onto a bare spot without a fresh flood coat does little, because the gravel must be embedded in bitumen to stay put.
Flashing Failures At Walls, Edges And Penetrations
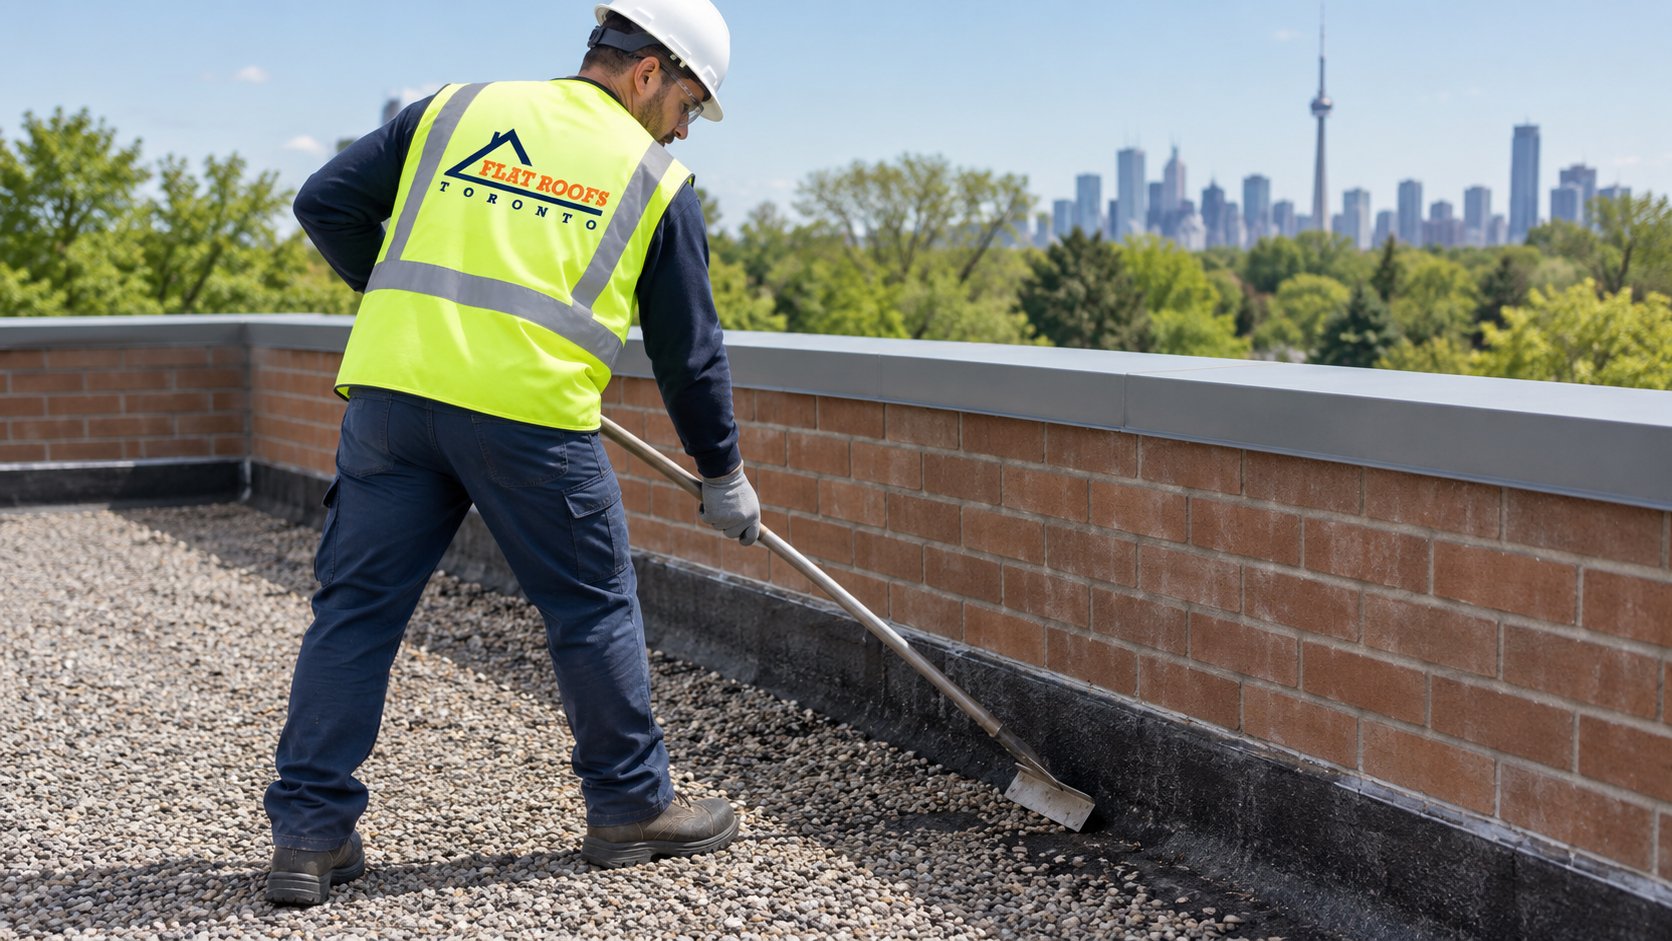
On most older built-up roofs we inspect, flashings fail well before the field of the roof. The base flashing at a parapet or wall has often shrunk, cracked or slumped, and the counterflashing above it has pulled away from the masonry.
| Problem area | What you see | Typical repair |
|---|---|---|
| Parapet or wall base flashing | Cracks, splits at corners, flashing sagging away from the wall | Remove failed flashing, prime, install new modified bitumen base flashing stripped into the BUR, add or reset counterflashing |
| Roof edge and gravel stop | Loose metal, split felt strips over the metal flange, water behind the fascia | Refasten or replace the gravel stop, strip in with new plies or modified bitumen |
| Pitch pockets around supports | Filler shrunk or cracked, gaps at the edge of the pocket | Clean and refill with compatible filler or replace with a more durable detail such as a boot or curb |
| Plumbing stacks and vents | Cracked lead or boot flashing, gaps at the collar | Replace the flashing sleeve or boot and strip into the membrane |
| Drains and scuppers | Ponding, cracked membrane at the drain bowl, loose clamping ring | Remove debris, repair membrane at the bowl, reset the clamping ring or rebuild the scupper sleeve |
Replacing a failed base flashing with a new modified bitumen flashing is one of the most useful tar and gravel roof repair jobs, because it deals with the most common leak source without disturbing the field of the roof. The new flashing must be stripped into the old roof over a clean, primed surface, with the gravel removed from the tie-in area.
Compatibility: Choosing Patch Materials That Bond To An Old Roof
This is where many repairs go wrong. A patch material has to bond to the existing roof, stay flexible alongside it, and not react chemically with it.
| Material | Use on asphalt BUR | Use on coal tar pitch BUR | Notes |
|---|---|---|---|
| Hot asphalt and new felt plies | Compatible | Generally not recommended | Traditional repair method; requires kettle and trained crew |
| Hot coal tar pitch and felt | Not recommended | Compatible | Specialized; fewer contractors work with pitch today |
| Asphalt roof cement or mastic | Compatible for small patches and flashings | Check manufacturer; often not recommended | Good for temporary and small repairs; not a long-term fix over large areas |
| SBS modified bitumen sheets | Generally compatible with proper cleaning and primer | Usually needs a separator or specific approval | Common for new flashings and larger patches |
| Silicone or acrylic sealants and coatings | Only products made for BUR; many are not | Only products made for pitch | Generic sealants can fail to bond and make later repairs harder |
If you do not know whether your roof is asphalt or pitch, a roofer can usually tell from the material’s look and smell and from the building’s age and history, and a sample can confirm it. Always check the patch manufacturer’s current product data for compatibility with the existing roof.
Two more cautions. First, torching directly on a gravel roof is a fire risk and does not bond well; gravel must be removed and the surface cleaned and primed before any torch-applied patch. Second, some older roofing materials can contain asbestos. If large areas are to be removed, testing before work begins is the responsible approach, and removal must then follow the applicable Ontario rules.
Autumn Maintenance That Prevents Repairs
A short maintenance visit from the roofing crew each early autumn heads off a lot of tar and gravel roof repair work. Before the colder months, the crew clears leaves and debris from drains and scuppers so meltwater has somewhere to go, and checks that strainers are in place. They rake displaced gravel back over any thin areas before they turn into bare spots, and note any that are already exposed. They also look along the parapets for cracked base flashing or loose counterflashing, and around rooftop equipment for damage left by service crews over the summer. Small defects fixed now are far cheaper than the leaks that freeze and thaw cycles would turn them into.
Temporary Fixes Versus Permanent Repairs
During a storm, emergency tar and gravel roof repair often means a roofer applies roofing cement with reinforcing fabric over a split or around a flashing to stop water coming in. That is a legitimate temporary fix. The problem is when temporary patches become the long-term plan. Roofs covered with layers of mastic patches are harder to diagnose, harder to repair properly and can hold water in low spots created by the patches themselves.
A permanent tar and gravel roof repair rebuilds the affected layers: new plies or new modified bitumen, a proper flood coat and embedded gravel, or a new flashing tied into sound roofing. Ask your contractor whether a proposed repair is temporary or permanent, and what the next step will be.
When To Stop Patching
Every built-up roof reaches a point where more tar and gravel roof repair no longer makes financial sense. The table below is how we frame that decision with owners.
| Condition found | Usually repairable | Usually time to replace |
|---|---|---|
| Moisture under the membrane | Small, isolated wet area around one leak source | Wet insulation or soft deck over a significant part of the roof |
| Blisters | A few isolated blisters | Widespread blistering across the field |
| Leak history | One or two leaks traced to specific flashings | Leaks in new locations every season despite repairs |
| Surface condition | Local bare spots with sound plies below | Brittle, dried-out plies across large areas that crack underfoot |
| Flashings | Failure at one wall or a few penetrations | Flashings failing all around the roof |
| Drainage | Ponding caused by a blocked or high drain | Ponding that cannot be fixed without rebuilding the slope |
Age alone is not the deciding factor. We see decades-old gravel roofs that are still dry and worth maintaining, and much younger ones that were poorly built and saturated. What matters is what a proper inspection, and sometimes a test cut, shows about the plies and insulation.
At that stage, a replacement with a modern system, often two-ply modified bitumen with new insulation and tapered slope, usually costs less over the next decade than continued patching. Our flat roof replacement page explains how we approach tear-off and new roof design.
For budgeting, small tar and gravel roof repair jobs such as a blister or a short flashing section often fall in the range of a few hundred dollars to about $1,500, while rebuilding flashings along a full parapet can run into several thousand. These are only rough estimates: access, roof size, material type and what is found under the surface change the cost significantly.
Can a tar and gravel roof be patched?
Should I cut open every blister?
What material should be used to patch a gravel roof?
Can I just add more gravel to bare spots?
Why does my gravel roof leak near the walls?
How do I know when to replace instead of repair?
Book A Tar And Gravel Roof Repair Assessment
An older built-up roof can often be kept working with the right repairs, and when it cannot, you should know why. Flat Roofs Toronto inspects gravel roofs, identifies which layers have failed, and gives a clear recommendation on repair or replacement. Early autumn is a good time to handle it before the colder months.
Call us today at (647) 333-3528 or request a free estimate.
Serving owners of older flat-roofed homes and buildings across Toronto and the GTA.